The Ultimate Guide to Hiking the Barranca de Huentitan in Guadalajara, Jalisco, Mexico
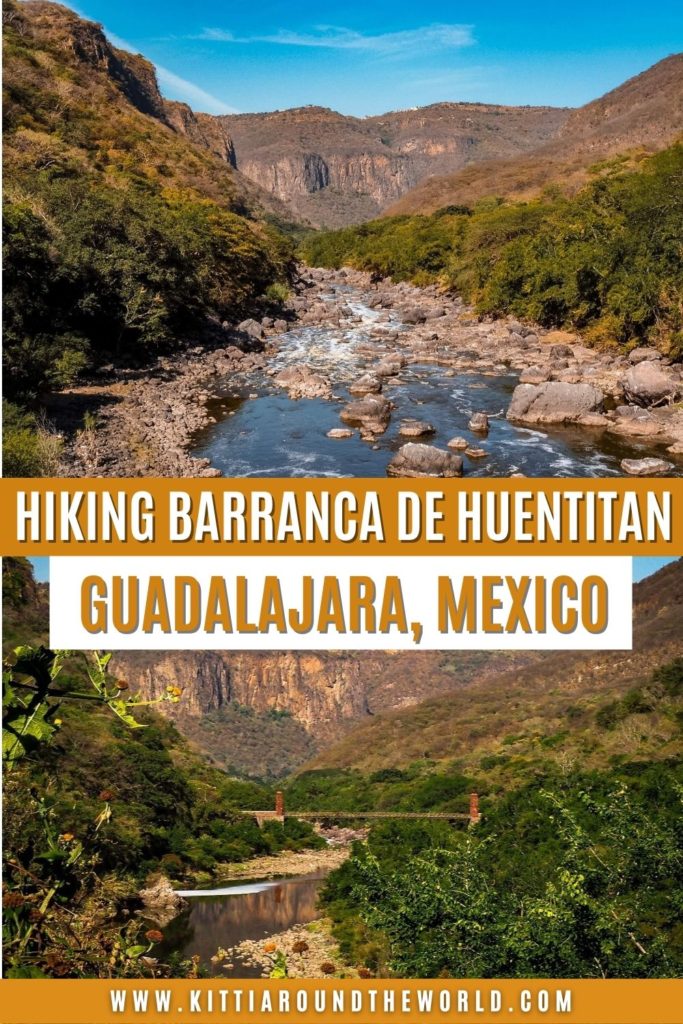
If you love the outdoors then you must spend a day hiking the Barranca de Huentitan, also known as Barranca de Oblatos. Often said to be a smaller version of the well-known Grand Canyon in the USA, it is definitely an excellent day trip if you’re visiting Guadalajara, the capital city of the state of Jalisco.
For reference, we spent 3 weeks in Guadalajara, so we had the chance to take many incredible day trips like this hike. During this time we learnt a lot about the area and its historical significance, witnessed a few traditions, tasted some tequila and tried a ton of Mexican food. All in all, we fell in love with this area of the country. So, I hope this blog post will help you to plan your itinerary, see what to expect or convince you that you have to take a trip to Jalisco.
Disclosure: This post may contain affiliate links, which means we may receive a small commission if you click a link and purchase something. Clicking these links won’t cost you anything, but it will help us to keep this site up and running! Learn more about our affiliate policy.
Barranca de Huentitan or Barranca de Oblatos
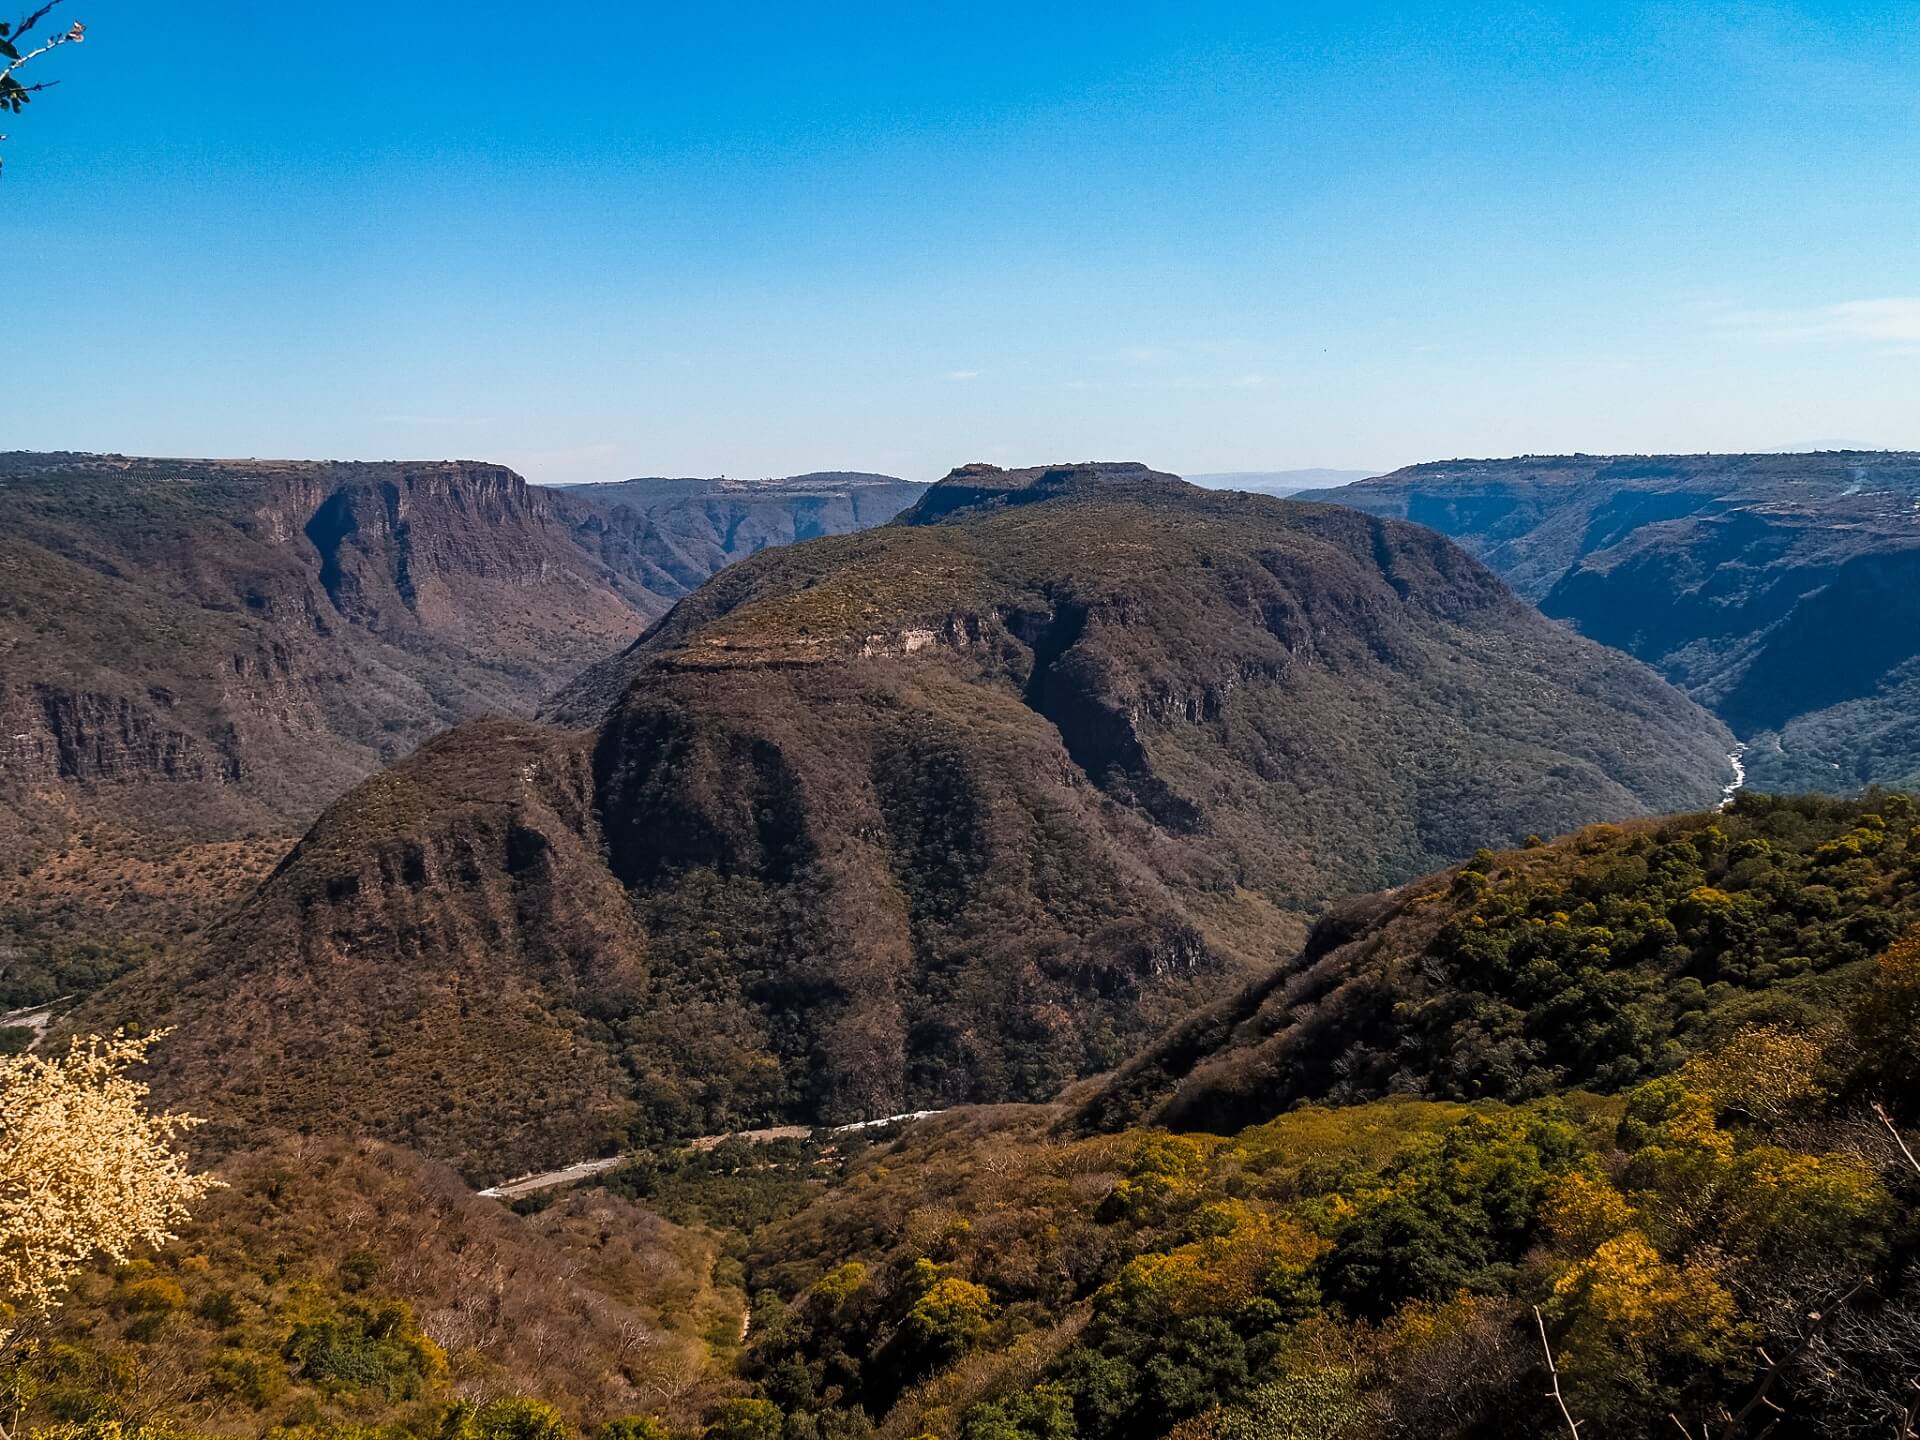
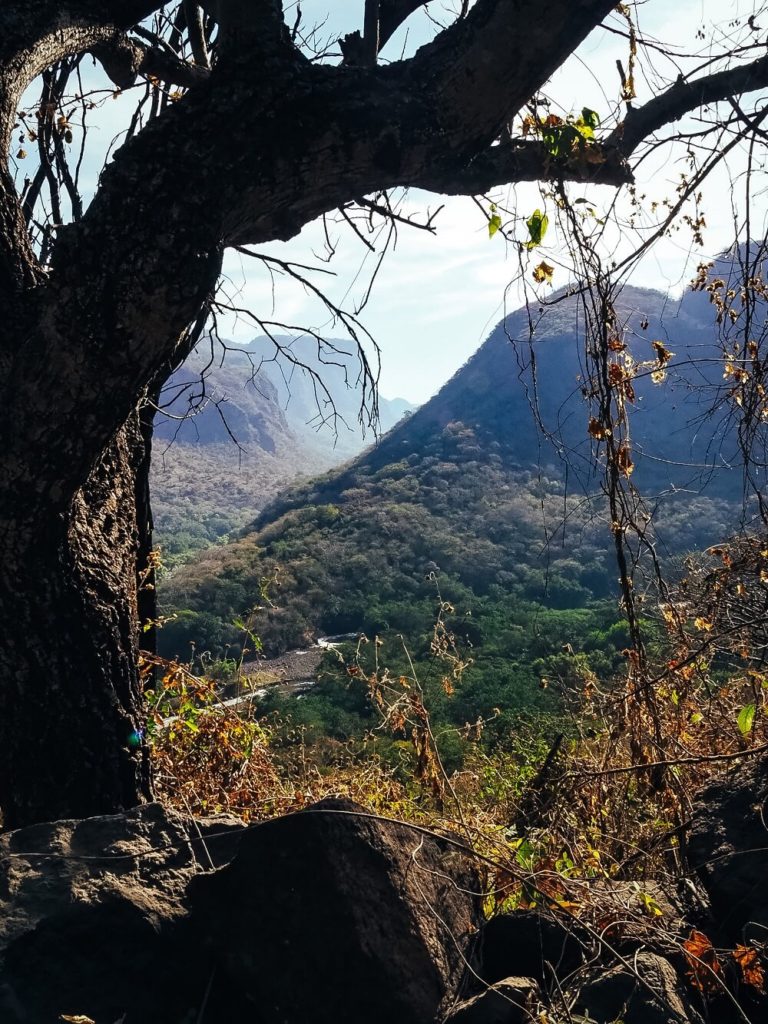
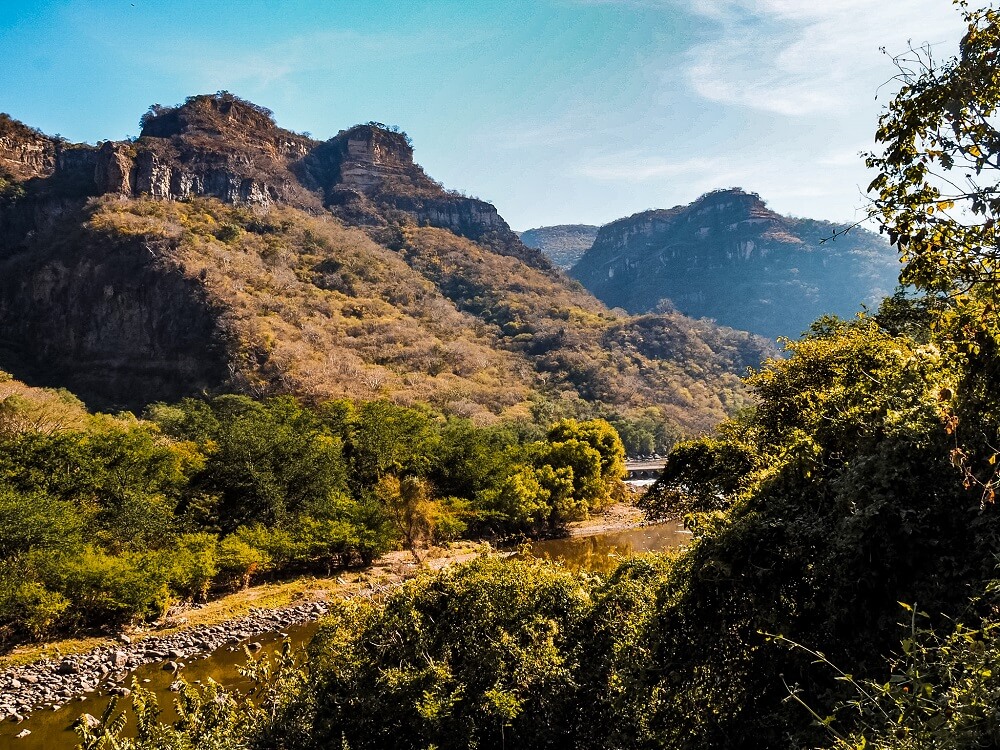
Located just to the northeast of the municipality of Guadalajara is the beautiful Huentitan Canyon, also known as Oblatos Canyon. This canyon definitely offers a natural paradise if you want to get away from the noisy city but don’t want to drive for hours for a little peace and quiet.
Did you know? – You’re probably wondering about the two different names right? I was too. So apparently the two names come from the two towns – Huentitan and Oblatos – both of which have been absorbed by the urban sprawl of Guadalajara.
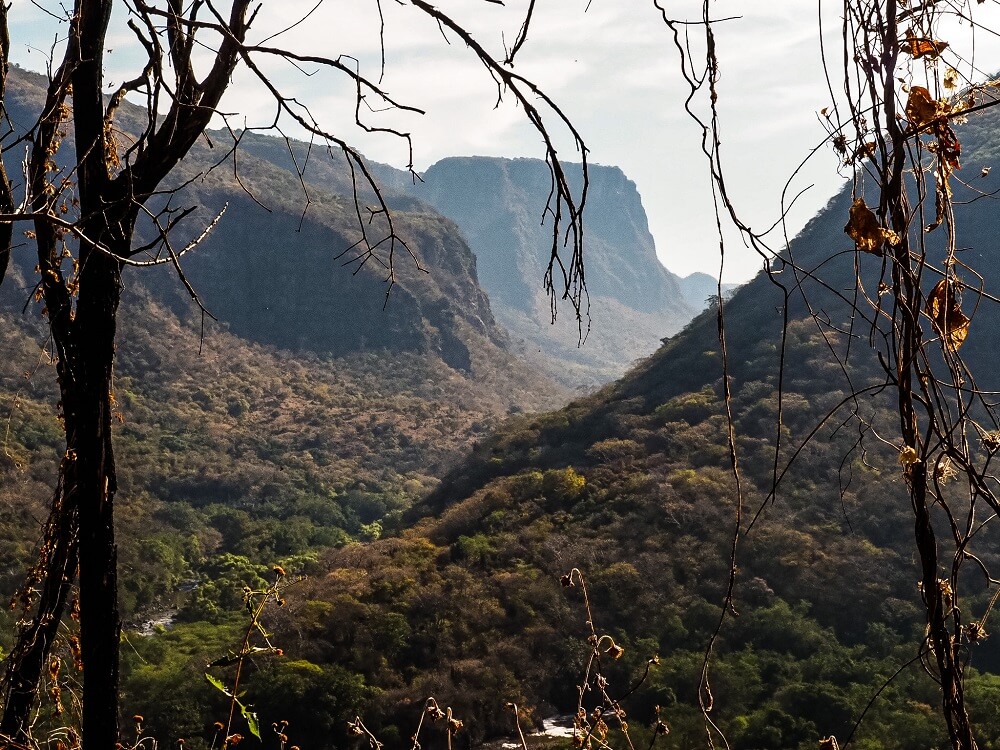
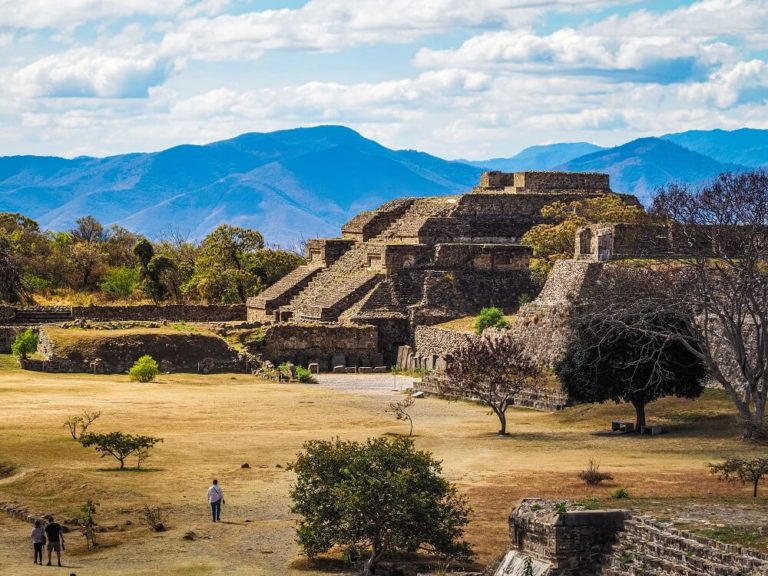
It is a 1,137 hectare, roughly 600m deep canyon that was carved by the Río Grande de Santiago. Due to its structure, it’s often said to be a smaller version of the Grand Canyon and the Cobre Canyon in the north of Mexico.
During your hike, you will be able to experience various types of vegetation such as Tropical, Deciduous, and Riparian forest vegetation and secondary vegetation. For this reason, it’s no wonder that it is a biogeographic corridor and it was also declared as a Protected Natural Area in 1997.
How to get to Barranca de Huentitan
The trailhead of the Barranca de Huentitan is located about 13km to the northeast of Guadalajara city centre. Depending on where you’re staying you have a few options to get there.
By Private Vehicle
Obviously the most convenient way to get to the canyon is by private transport. You can rent a car for a day or for the duration of your stay in Guadalajara. Discover Cars has been recommended on multiple websites where you can find the best rates as it compares local, national and international companies.
If you don’t want to be driving in the city, then you can always get an Uber or a taxi. I think Uber will be cheaper, but you might have to wait a while before a driver accepts your destination. Click here to read more about the best ways to move around Guadalajara by private vehicle.
By Public Transport
There’s actually no direct public transport option from the city centre to the trailhead. However, there are some options you can choose from to get as close to Barranca de Huentitan as possible. (Both options will include a possible Uber or Taxi ride, but it might work out cheaper.)
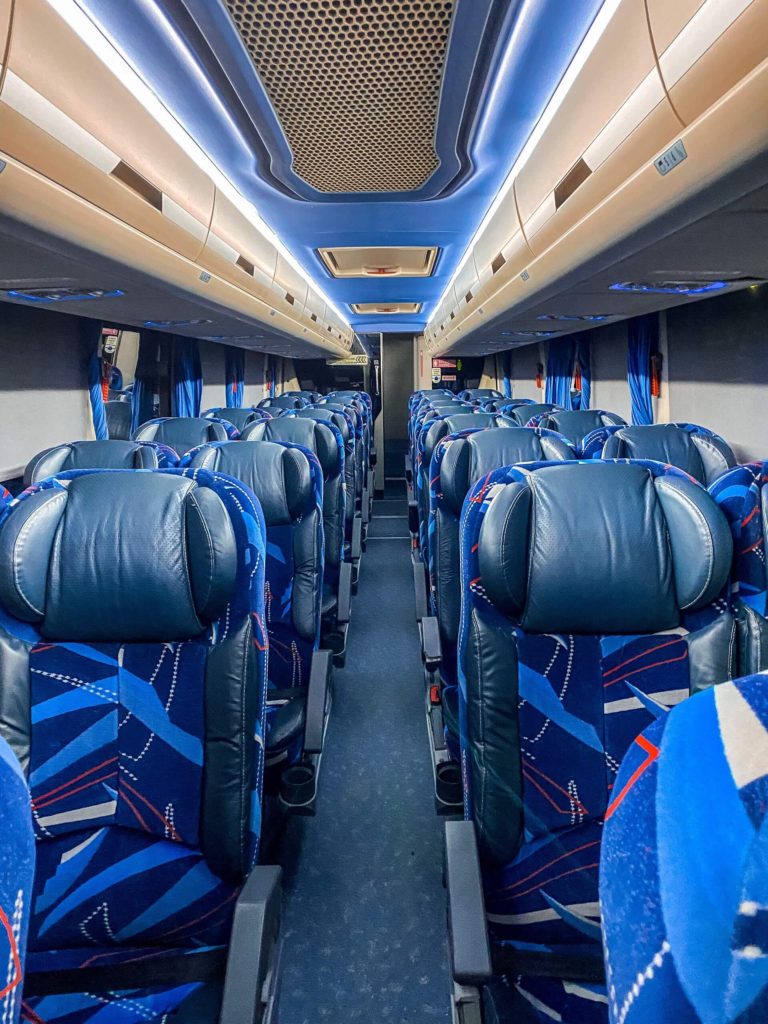
- You can either use the Macrobús dark blue Line 1 (Calzada). The Macrobús is a Bus Rapid Transit (BRT) system, which allows you to get to places quicker than by car. From the city centre you can get to Parque Mirador Independencia, which is located only about 7km to the west of the canyon. For Parque Mirador Independencia you have to disembark at the last stop appropriately called ‘Mirador’. From there you can just call an Uber or taxi and get to the trailhead.
- You can also take Metro Line 1 and disembark at Periferico Norte stop. From there, call an Uber or jump into a taxi.
Click here to read more about the best ways to move around Guadalajara by public transport.
Good to Know Before You Go
Length of the Barranca de Huentitan Hiking Trail
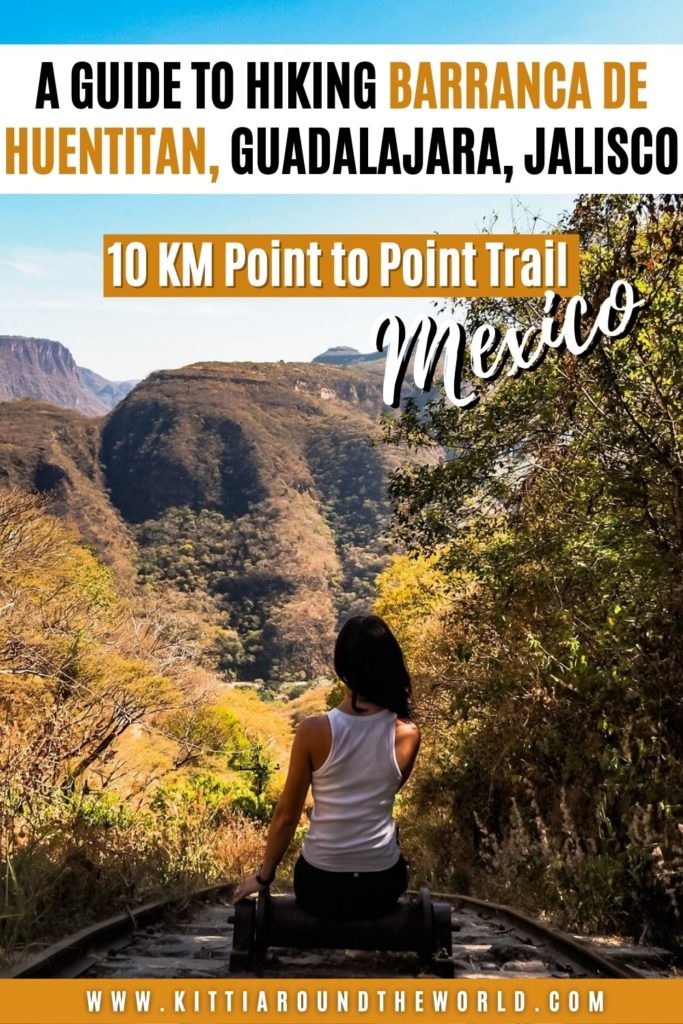
The Barranca de Huentitan hiking trail we did is approximately 10 km (6.2 miles) long. Depending on your speed, how long it takes you to climb back up and how many breaks you take, this route could take around 5 hours. You’ll need to be cautious going downhill which can slow you down a little. In addition, walking uphill will inevitably make you stop more often to catch your breath.
For reference, we started our hike around 08:00AM, got to the bridge around 10:30AM and finished the route around 01:00PM. We took our time because it was pretty hot and we were also filming and taking a lot of photos. So we probably completed the trail a bit slower than if you’re constantly walking with minimal breaks.
Level of Difficulty
Let’s talk about the difficulty of the trail by splitting it into 3 parts.
Elevation and altitude: The rim of the canyon is about 1,520m (4,990ft) above sea level and the river at the bottom is at about 1,000m (3,300ft). So, you’re basically descending about 520m first before you have to hike back up again. Whilst going down will generally feel better, walking back up can be a little struggle, especially if you’re not used to hiking at altitude. Therefore, I recommend getting used to the altitude in Guadalajara before you attempt hiking the Barranca de Huentitan. This hiking trail is actually a great way to get used to hiking in altitude, especially if you’re planning on completing other hikes around Mexico City or travelling to South America like we did.
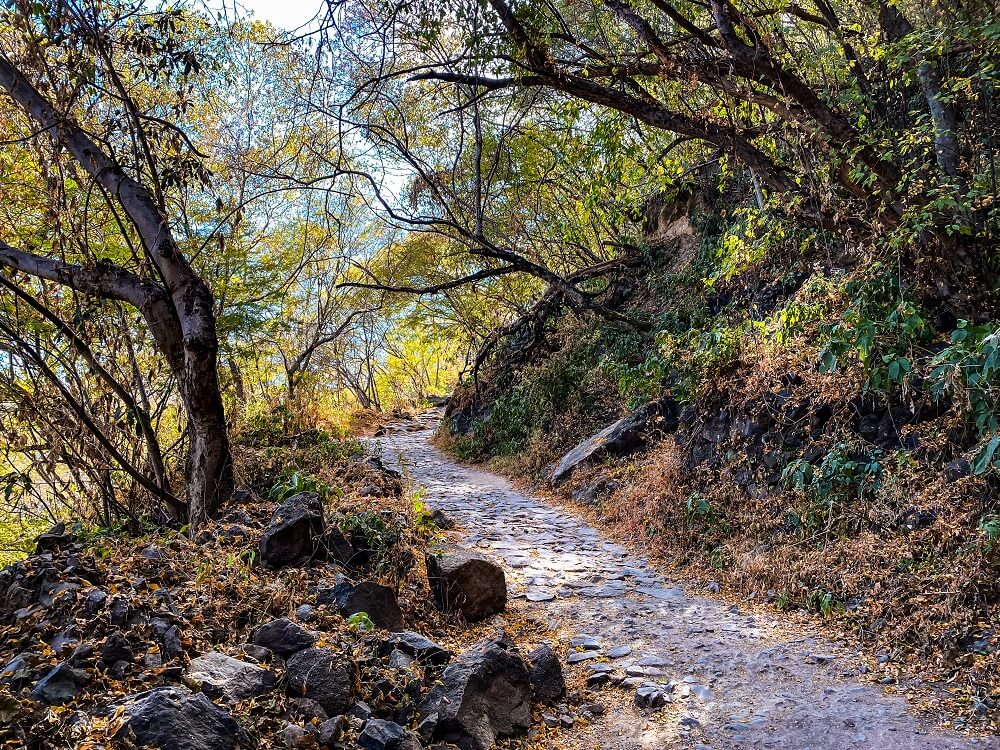
The Descent: Normally you hike up to a summit first then descend. Well, hiking the Barranca de Huentitan you’ll do the complete opposite. This can sound nice, but actually the descent can be just as time consuming as your ascent here. I found the path pretty steep and the stones a bit slippery. I wouldn’t want to be going down there on a very rainy day for sure. So, I recommend taking your time and minding your steps whilst admiring the view.
The Ascent: You’re normally full of energy at the start of your climb up to any mountain. However, at Barranca Canyon you have to preserve plenty of that energy to do the whole journey back up again after carefully descending over 500m. Although going back might be quicker because you’ll have a better grip and it will feel less slippery, it will still be pretty steep. Therefore, I recommend stopping as often as you need to. Make sure to drink enough water to avoid any mild symptoms of altitude sickness. In addition, the weather will have gotten warmer too by that point, so it’s important that you stay hydrated.
Best Time to Hike Barranca de Huentitan
Let’s start with the best time during the year and then narrow it down to the time of the day.
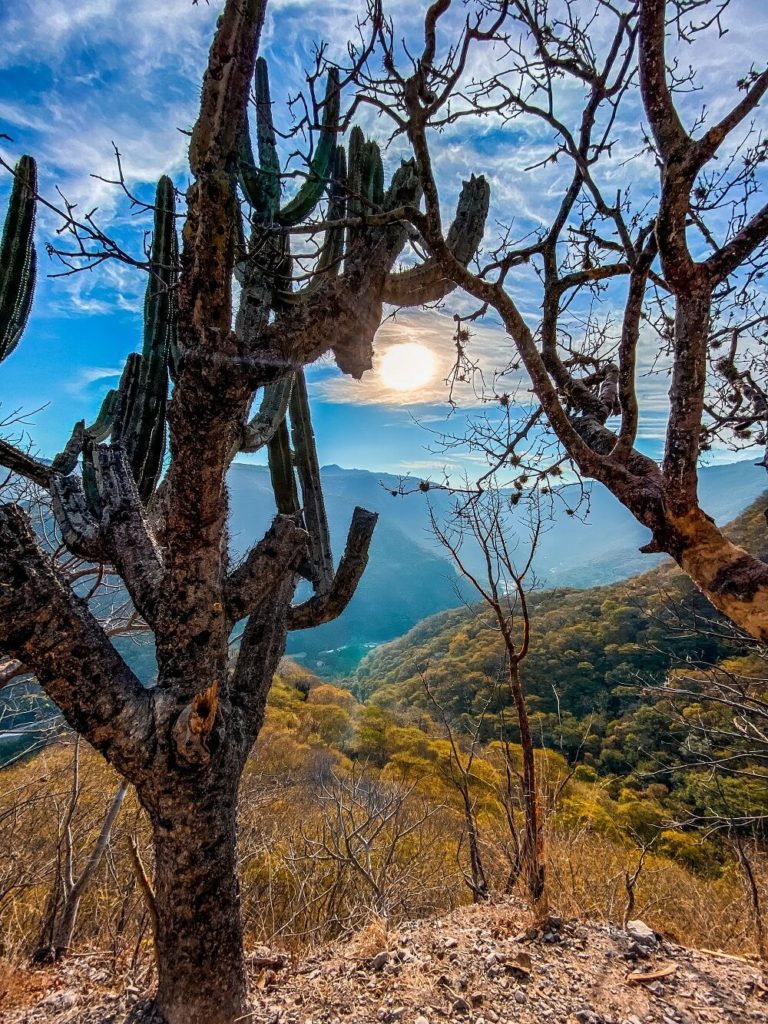
From December to March the mornings and evenings will be a little chilly, but during the day it will be mild or even hot. April to June is when you can experience the hottest temperatures. In addition, July to September is considered the rainy season, when the temperature is mild but heavy showers are expected in the afternoon.
Depending on when you’re visiting Guadalajara, the canyon will look completely different. Obviously, during the rainy season the landscape will be lush, however during the dry season it will look the opposite. We visited the park at end of November, so it was somewhere in between but definitely wasn’t as lush as we saw it on other’s photos taken in the wet season.
Similar to just about everywhere in the world, weekends and holidays equals a lot more people on the trail. Therefore, I recommend checking out Mexico’s holidays and try to avoid weekends if you’d like a slightly quieter hiking experience.
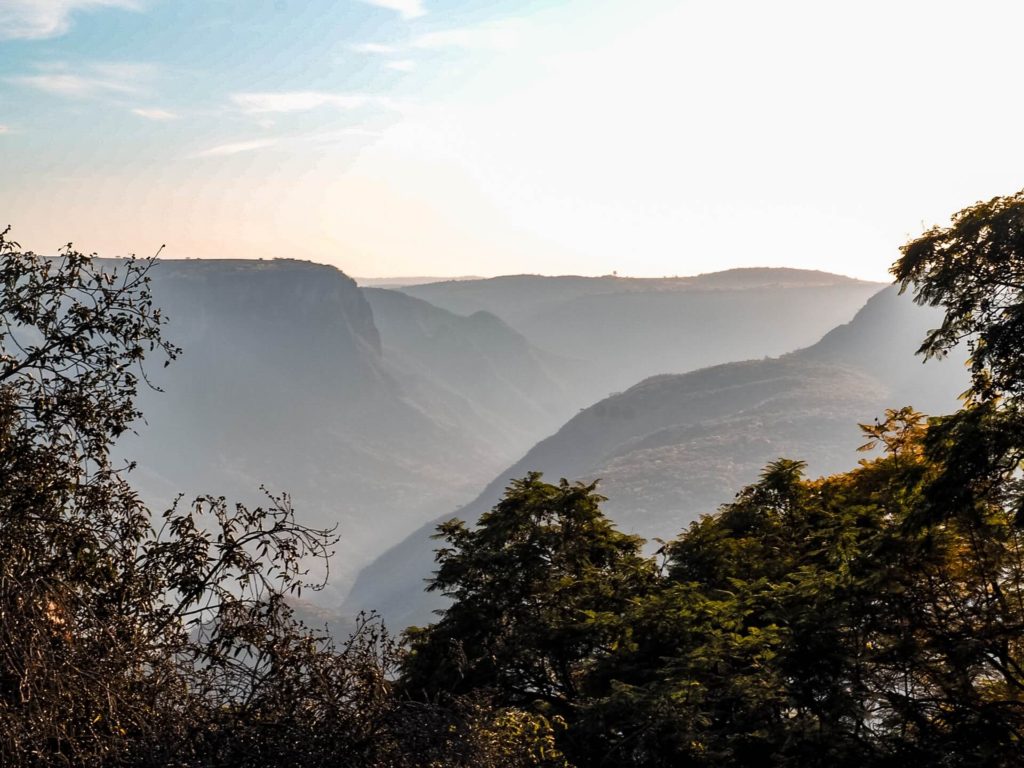
Lastly, I highly recommend starting your hike as early as possible for multiple reasons. Firstly, I think watching the sunrise from the viewpoint at the start of the trail would be magical. (We unfortunately missed it as our transport took longer than expected.) Secondly, you really want to avoid ascending during the hottest hours of the day. Even in the winter months, the lunch hours could get pretty hot. Lastly, my friend told us that later in the day the security guards might not let you walk all the way down. This is because there are normally less people in the afternoon, resulting in the trail getting lonely and dangerous. Obviously it also gets darker quicker down there.
Facilities Around Barranca de Huentitan
Places to eat – Mexico is a country where you can never go hungry. The start of the trailhead is filled with food stalls so you can definitely grab something there to eat after your hike. Don’t worry if you get hungry or thirsty along the trail. There are actually quite a few street vendors selling something to eat or drink along the way. I know, I couldn’t believe my eyes when I saw the amount of people selling something in the middle of nowhere.
Make sure to have small change if you’re planning on buying something along the way. Alternatively, you can also bring either a packed lunch or some snacks and have a quick picnic at the bridge next to the river.
Toilets – There are always public toilets in Mexico, however, I actually didn’t see one around the food stalls at the start of the trail. You might have to look around a bit more, because there won’t be any toilets on the trail. Since the trail is busy and narrow, it might take you a while to find a private spot along the way.
What to Wear and Bring with You?
We completed our hike at the end of November, and it was a little chilly in the early morning. However, the temperature got much higher by late morning. Therefore, I recommend wearing different layers which you can adjust according to the temperature.
If you’re wearing shorts and t-shirt, then make sure to wear sun-cream to protect your skin. Whilst there are sections of the trail that are shaded by the trees, I suggest wearing a cap and bringing some sunglasses.
Although you’ll be seeing some locals wearing just about anything including running in jeans, I recommend wearing supportive shoes with good grip. As I mentioned before, the trail can be pretty slippery so you ideally want shoes with a good grip. I wore a simple pair of trainers and they were pretty sufficient. You can also wear hiking sandals.
I suggest packing some snacks or a packed lunch. Bringing plenty of water is a must because you want to stay hydrated. I recommend having a reusable water bottle with you, however if you run out of drinks you can always purchase more along the trail.
Please Note! – Whatever you bring with you, make sure you either take it home with you or dispose of it responsibly. I suggest bringing a garbage bag with you where you can collect all your waste. Enjoy your time in nature but Leave No Trace!
Barranca de Huentitan Hiking Trail
The Barranca de Huentitan hiking trail is very easy to follow. For a more detailed description of the trail, I divided the route into 3 main sections as follows:
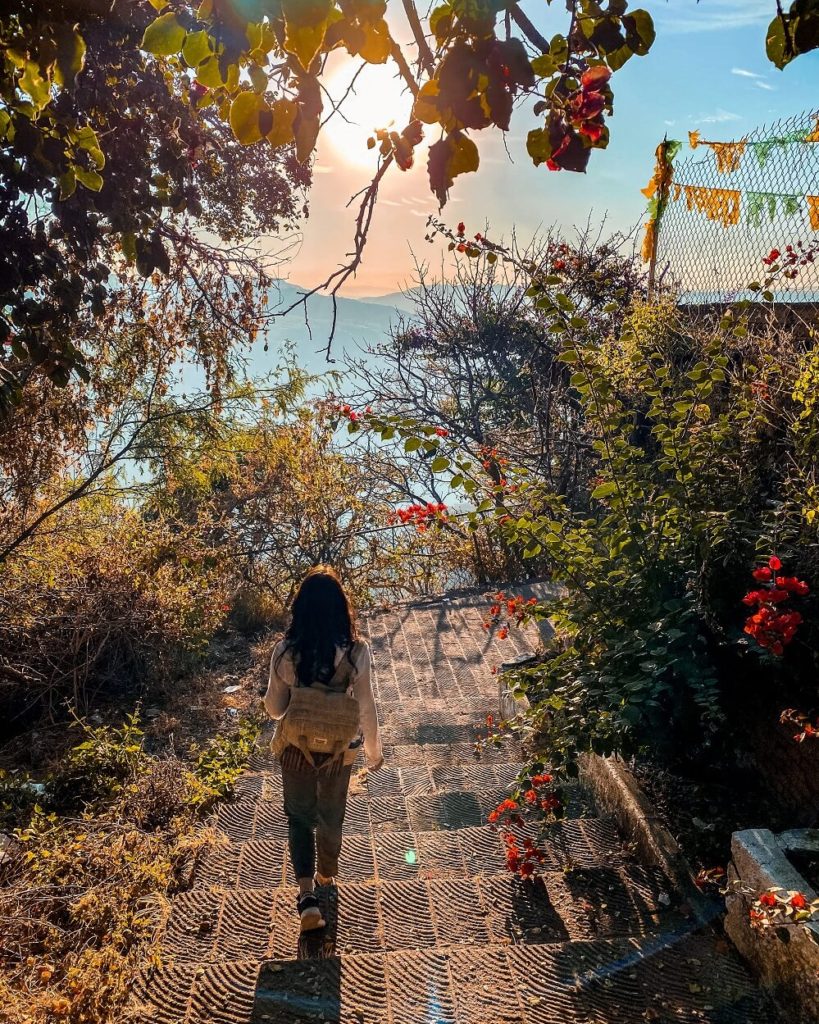
1. From the Rim of Barranca de Huentitan to Arcediano Bridge
When you arrive at the entrance of the canyon, you’ll walk past a few street food vendors. From there you’ll walk down some steps with vendors on both sides and will arrive to a beautiful viewing area overlooking the canyon. You can linger around here a bit and admire the view. If you’re early enough you can also witness the sunrise from here. You can also find a little church here called Capilla De la Barranca de Huentitan.
From this point you’ll start your hike down to the bottom of the canyon. The trail will zig-zag down and will also be quite steep. At every turn you’ll notice some numbers painted onto the stones. These numbers in theory represent the number of turns you have to take until you get to the bottom. The last number will be 64. Although, I’m not sure how accurate these numbers are, they’re definitely a good guide on your way back.
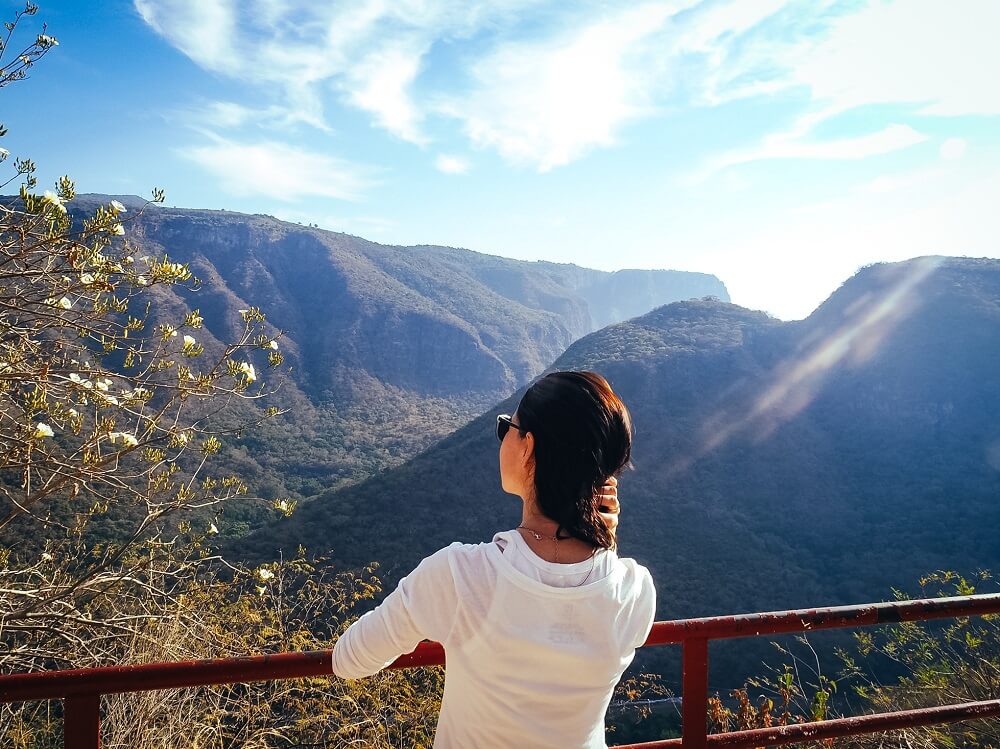
Soon you’ll reach a beautiful viewpoint called Mirador Río Santiago. Most people will come down to this point even if they don’t complete the full hike.
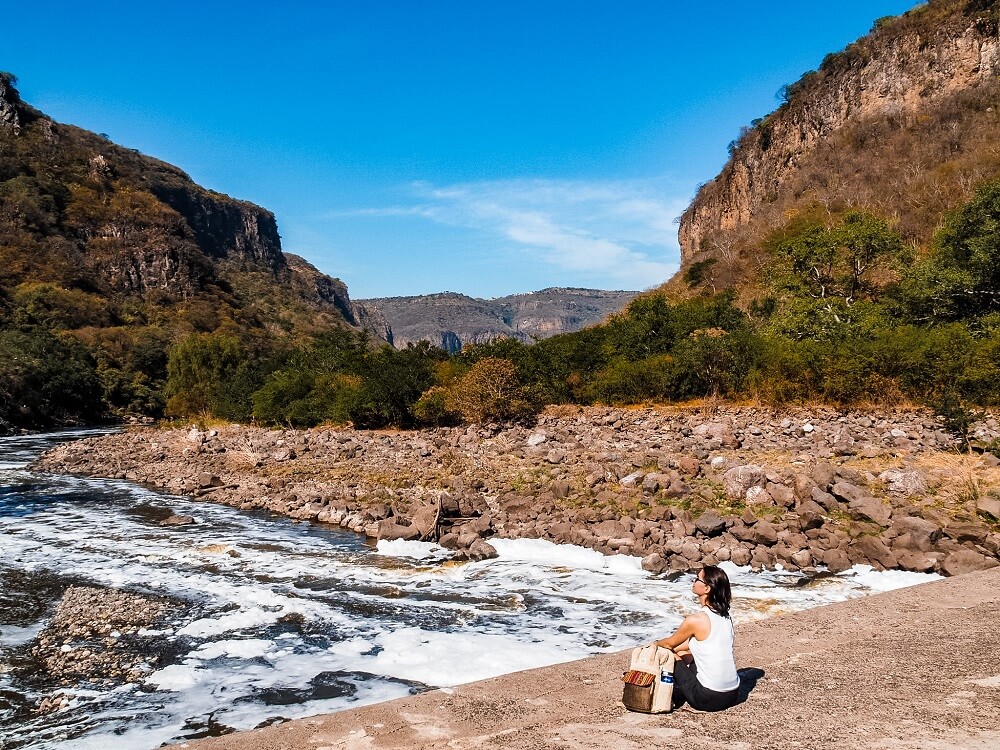
From there the trail carries on until you reach the level of the river. At this point you’ll be just over 500m lower than when you started. From that point the trail will be flat all the way to the Arcediano Bridge.
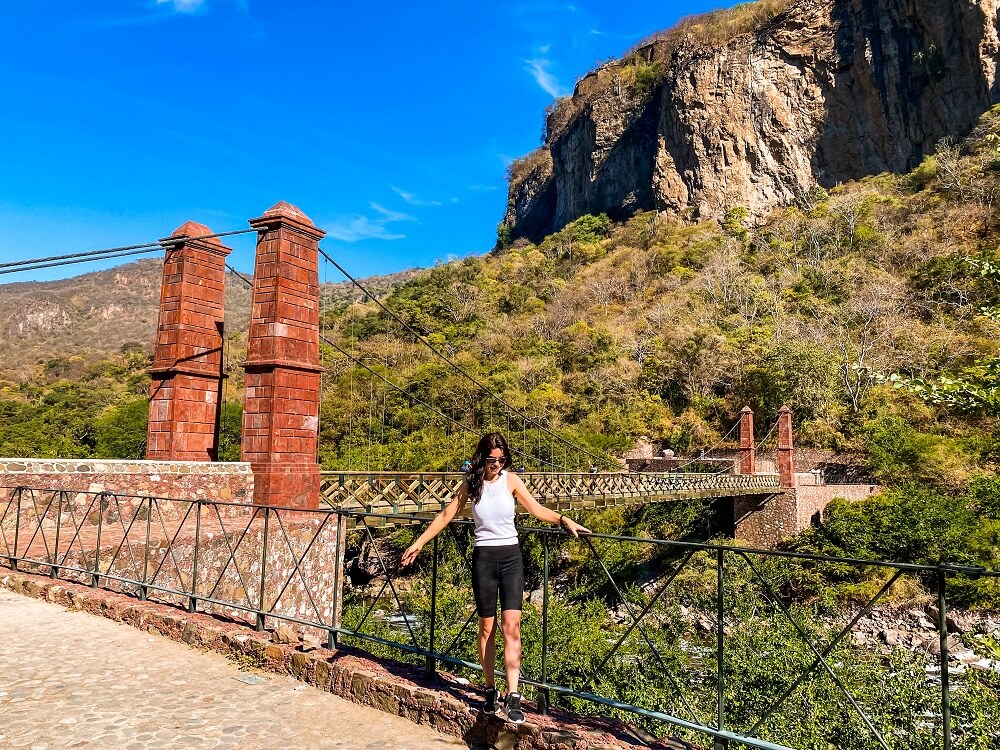
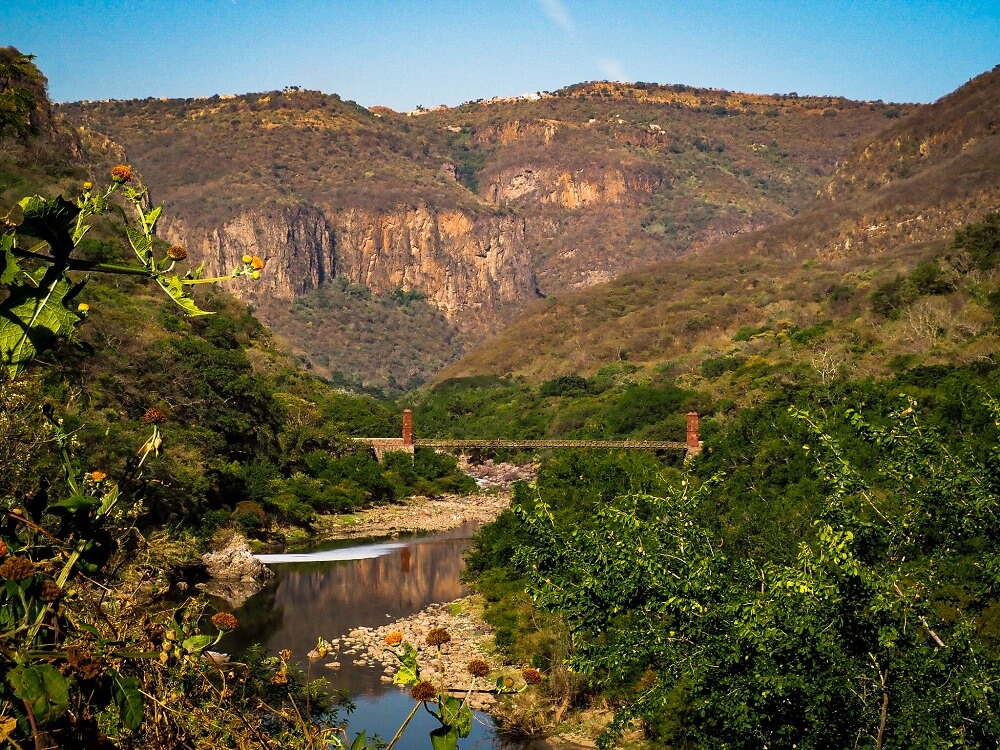
2. The History of Puente de Arcediano (Arcediano Bridge)
The bridge is a great spot for a break before the second part of your hike. You can definitely have a quick picnic here and fill up on energy and the hydration you’ll need for the ascent.
Arcediano Bridge was built in 1894 and it was actually the second suspension bridge built in Mexico.
Fun Fact – Arcediano Bridge was the third suspension bridge on the American continent with the Brooklyn Bridge in New York being the first. (The state of Jalisco is definitely filled with interesting and unique sites.)
Once built, the bridge was used as a gateway to Guadalajara for many towns that would’ve been isolated otherwise. Obviously it also helped to increase trade and other activities which helped the economy and development of these towns.
Unfortunately, due to the controversial Arcediano dam project the original bridge was dismantled in 2005. However, a replica of the old bridge – which you can see today – was constructed about 700 meters downstream in 2013.
Make sure to cross the bridge to get some amazing views of the canyon and River Santiago. There’s also a great viewpoint on the other side of the river across the bridge.
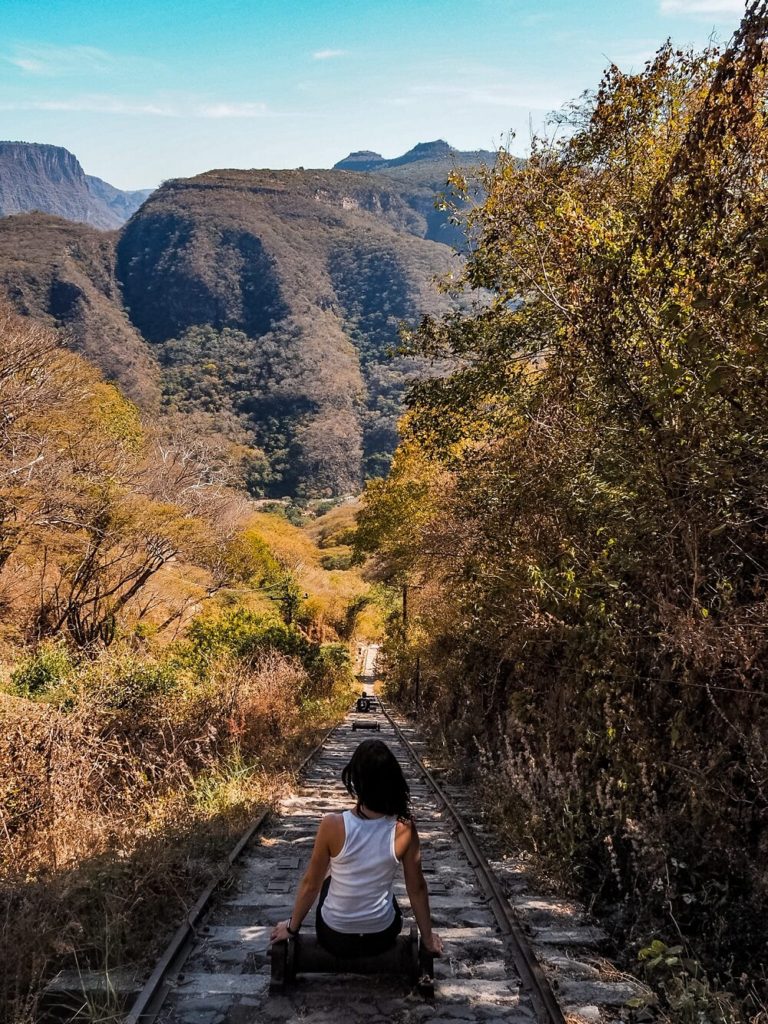
3. From Arcediano Bridge to the Rim of Barrance de Huentitan
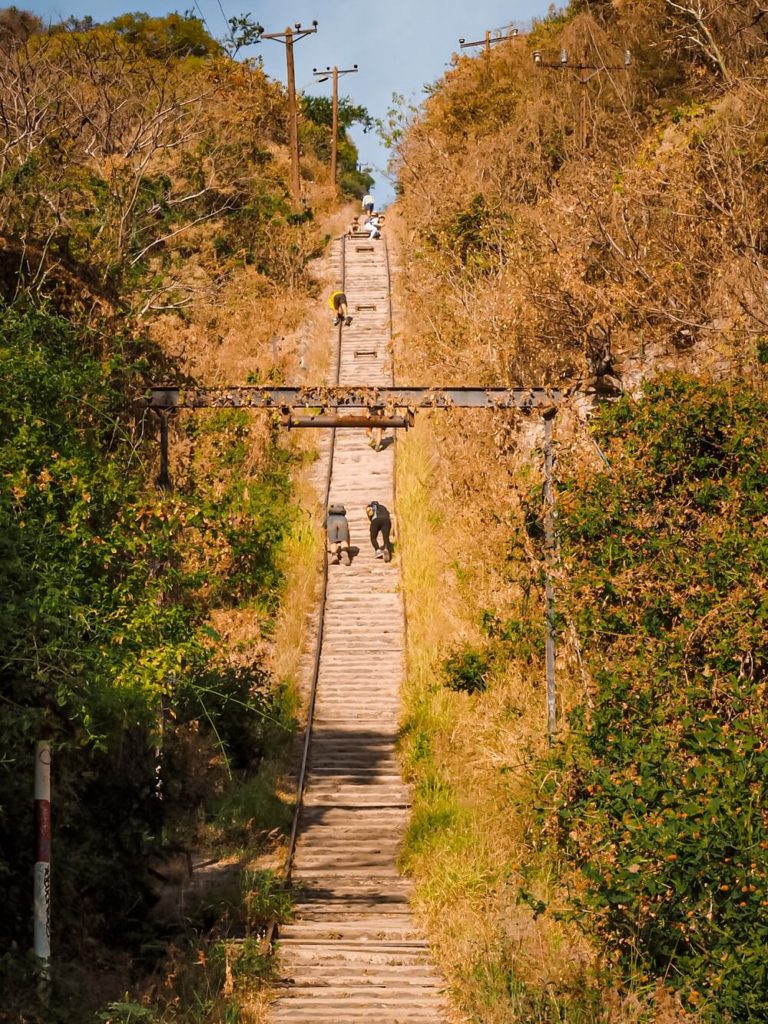
Once you’re well rested, it’s time for the hardest part of your hike: ascending 520m back up to the top of Barranca de Huentitan.
You have two options for your ascent. You can either hike the exact same way you descended or you can follow the former train tracks.
Now before you pick one, let me detail the pros and cons to both trails quickly. The same route will be longer and obviously pretty steep. The train tracks on the other hand will be more direct BUT even steeper. In addition, don’t forget that you’re already about 1000m above sea level at the start of your ascent. (This route actually reminded me of the Koko Head Crater hike in Oahu, Hawaii we completed a few years ago.)
I read that technically you shouldn’t be climbing the track but a lot of people do it anyway. With that in mind, I think if you’re pretty fit and/or wanting to get a good work out in then pick the track. Otherwise I would just stick to the same path. It will still be a great calorie burner. Plus you will have a few places where you can actually step out onto the former train tracks along the way.
You can always use the numbers painted on the stones to track your progress. Once at the top, why not treat yourself with some cold drinks and delicious Mexican food from one of the vendors.
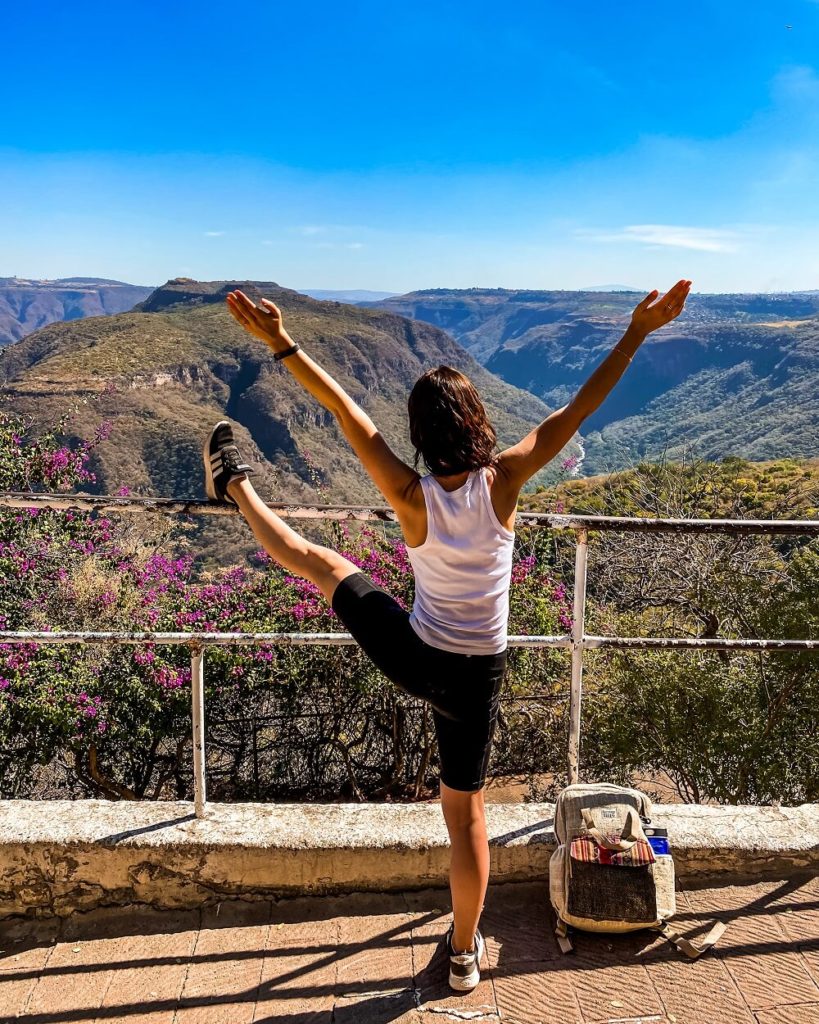
Visit Parque Mirador Independecia
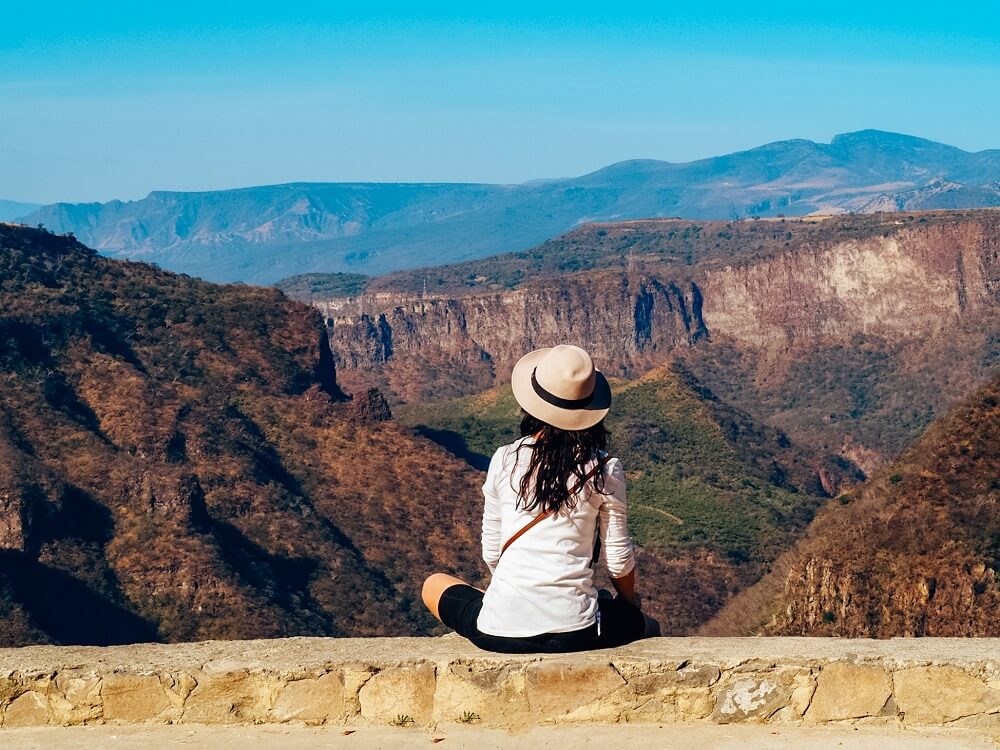
If you still have some energy after your hike I highly recommend a visit to Parque Mirador Independencia. It’s located about 7km to the west of Barranca de Huentitan.
It provides unforgettable views over the canyon and Río Grande de Santiago. Therefore, it is a fantastic place to come to relax after your hike. There are plenty of lookout points to check out and the park also has restaurants, toilets and a few vendors. Basically everything you need for a fun couple of hours.
We actually walked from Huentitan Canyon to the park but you can just call an Uber or hop into a taxi. To get back to the city centre, you can use the Macrobús dark blue Line 1 (Calzada). The Macrobús is a Bus Rapid Transit (BRT) system, which allows you to get to places quicker than by car. It also only costs MX$9.50 which is considerably cheaper than Uber or taxi.
Additional Things to Do in Jalisco
The Guadalajara area in Jalisco is definitely a place that offers a great amount of unique activities. Therefore, if you’re in the area for a bit longer, make sure to check out some other fun day trips you can easily do in and around Guadalajara:
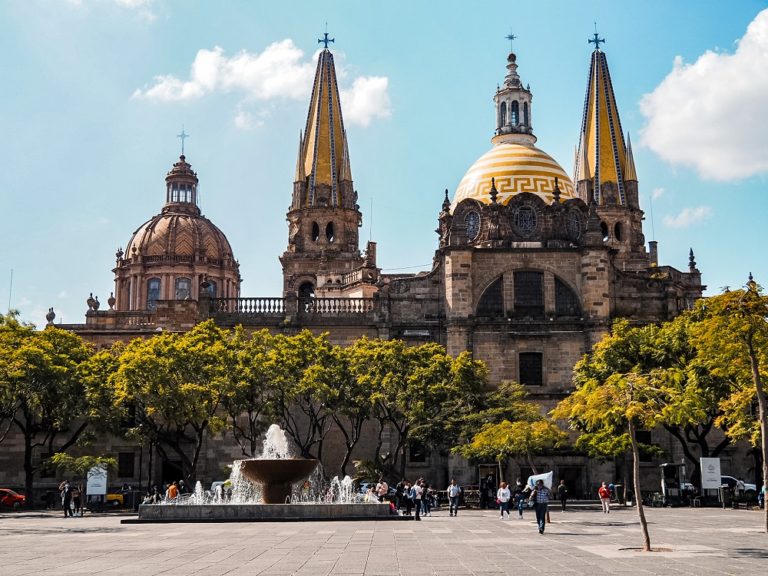
- Explore Guadalajara Historic Centre – A 5km long self guided walk around Guadalajara Historic Centre connecting all attractions that you can’t miss when visiting the city.
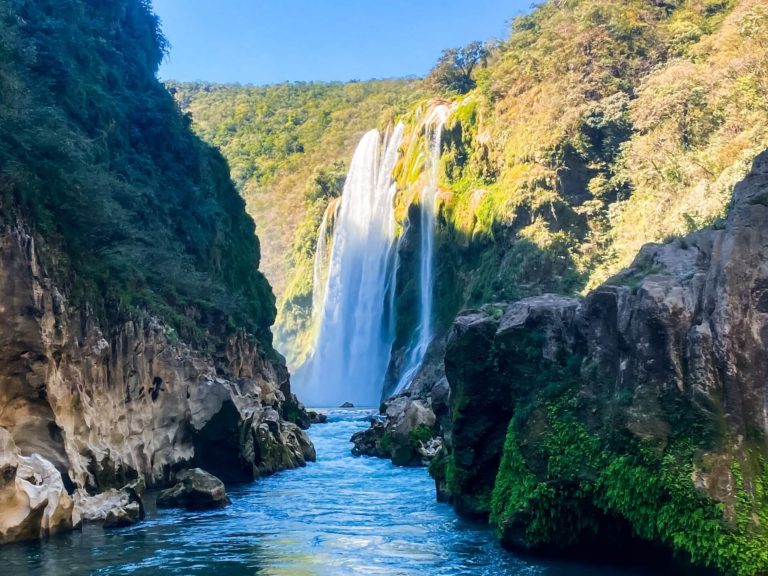
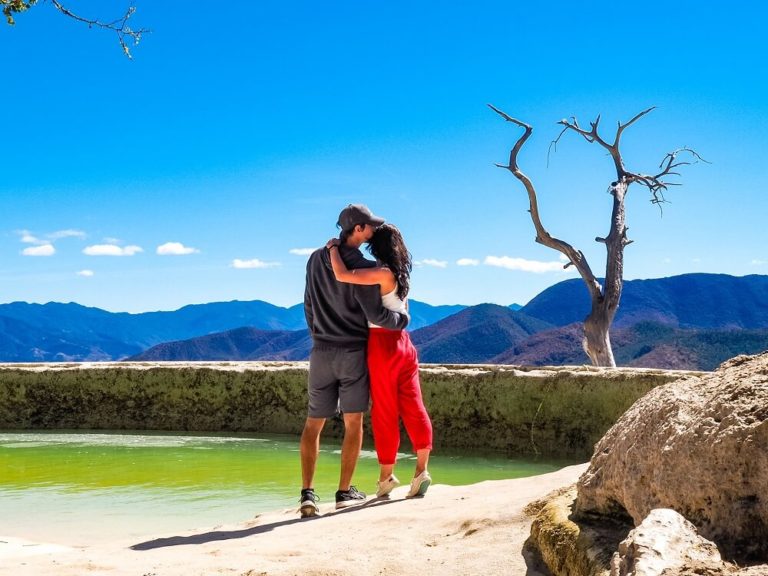
- 8 Day Trips from the City of Guadalajara, Jalisco – 8 day trips from Guadalajara that you can’t miss.
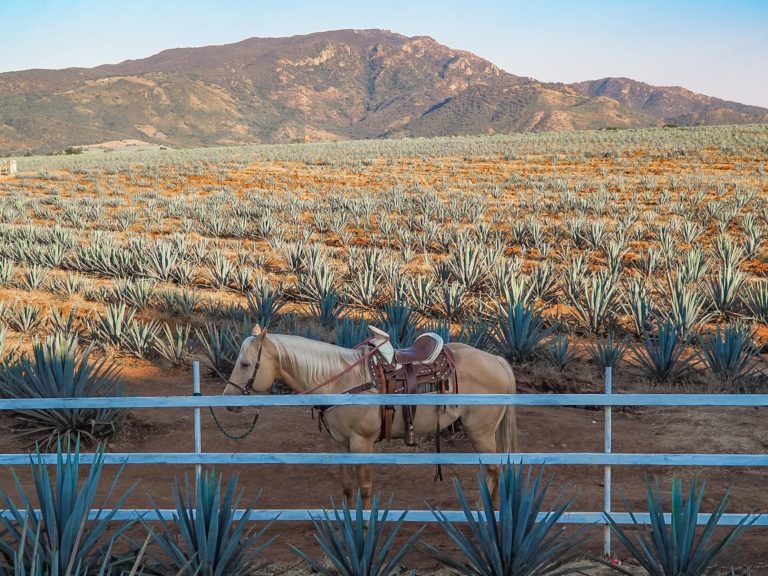
- How to Spend One Day in Tequila, Jalisco – The best way to spend one day in Tequila, the birthplace of the famous tequila drink located in the state of Jalisco in Mexico.
- How to Spend a Day at Lake Chapala in Jalisco – A guide on how to spend a day at Mexico’s only freshwater lake.
You can also browse my Mexico blog posts for more Mexican adventures.
Final Thoughts on Hiking the Barranca de Huentitan
I never would’ve thought that I could enjoy a good hike and a bit of paradise right on the outskirts of the second most important (and biggest) city in Mexico. However – being a nature lover – having so many amazing options for outdoor activities around the municipality definitely made our 3 weeks in Guadalajara more fun and enjoyable.
Hiking the canyon was also a great way to get some hiking experience at altitude which we wanted to gain for our future hikes around Mexico City and later in South America. I think it was also amazing to see just how many locals use the path for training and recreation. In addition, it’s also great that you can still enjoy the magnificent views of the canyon from Parque Mirador Independencia even if hiking isn’t your favourite activity.
Have you ever been to the Barranca de Huentitan or Guadalajara before? If so, how much of the area did you manage to explore? If not, would you want to hike the canyon? Let me know in the comments below.
Now, let your adventure begin,

Our Top Travel Resources
Accommodation: For hotels we always use Booking.com and Hostelworld for hostels. We also book longer stays on Airbnb or Vrbo.
Flights: To find the best flight prices we always check Skyscanner, Google Flights or WayAway. Then we also check the airlines’ websites too for comparison.
Car Rentals: We use Discover Cars when we want to rent a car as it compares local, national and international companies.
Activities: If we book organised tours we always check either GetYourGuide or Viator.
Foreign Currency: Whenever we can we prefer to pay in local currency and for that we always use our Wise card. We can easily withdraw money from the ATM or pay by card at most shops and restaurants.
Travel Insurance: We never go anywhere without travel insurance. You never know what will happen on your trip, so good travel insurance like SafetyWing can protect you in case of injury, illness, theft and cancellations.
eSIM and VPN: To get data abroad we use Airalo which is an app that allows you to download a prepaid eSIM to your phone in over 190 countries. Make sure to have a VPN to avoid hackers accessing your personal data when using public WIFI. We use Surfshark which is the only VPN that offers one account on unlimited devices.
Remember…It all starts with a Pin…
What a lovely canyon trek! You wouldn’t believe you were so close to a big city looking at the pictures! And I love the fact that you get food sellers on the trail in the middle of nowhere!! LOL! Should be compulsory on all treks! Thanks for sharing, Mexico does look like an amazing place. X
Thank you Karan. Yes we really loved seeing some food sellers along the trail and knowing that we can always buy something if we get thirsty or hungry.