
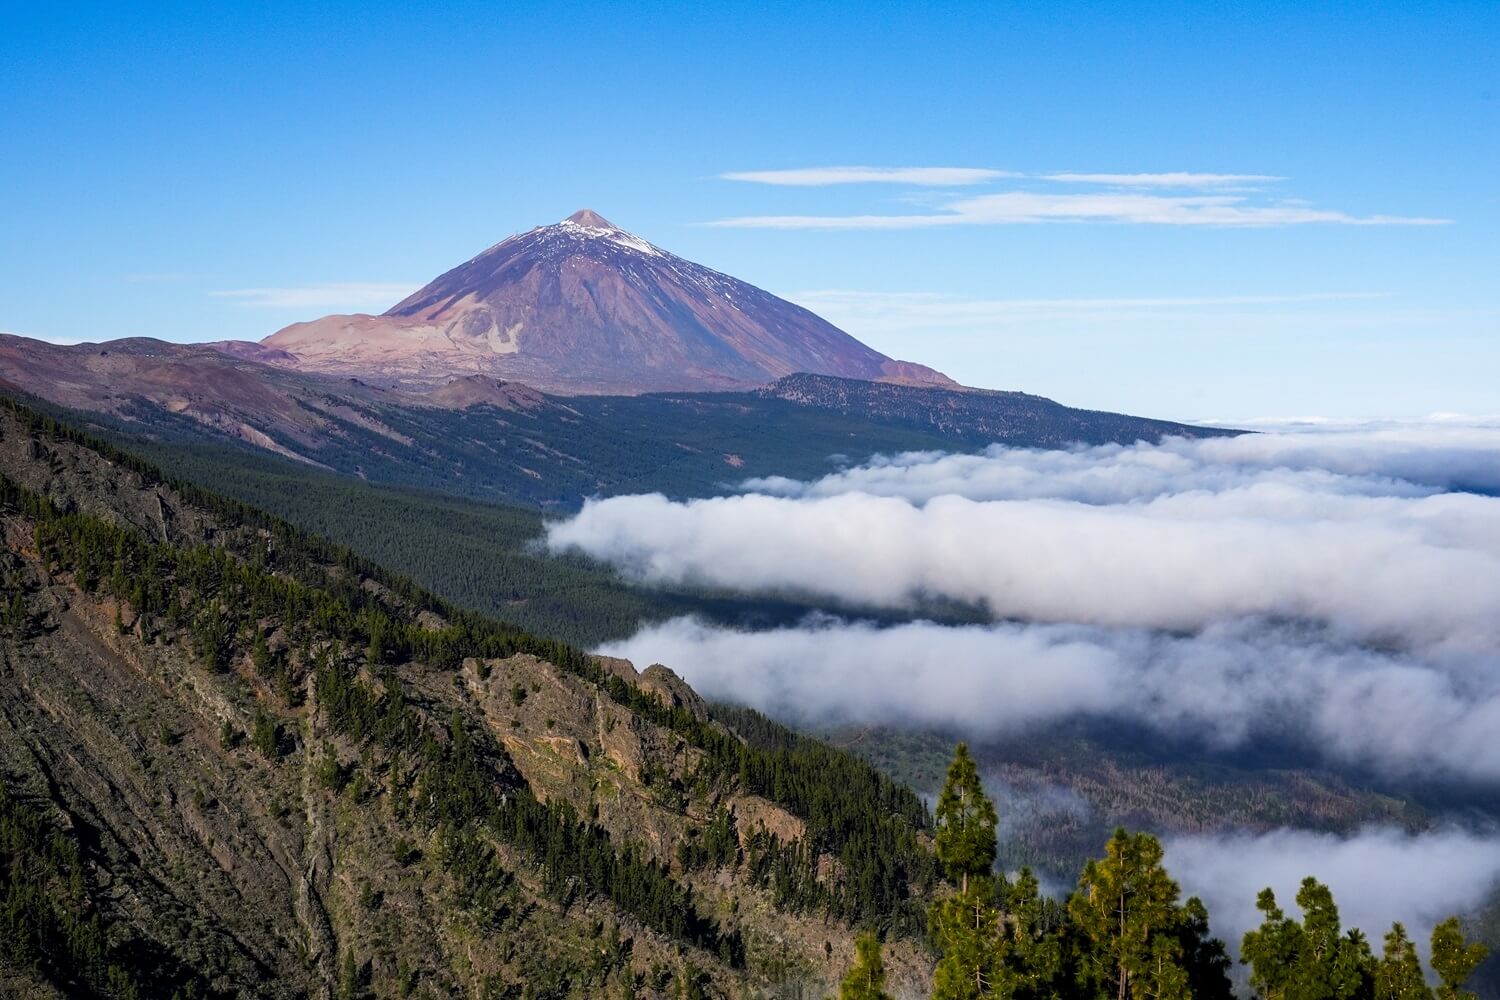
Teide National Park: Best Hikes and Things to Do Around Teide Volcano in Tenerife

Home to the majestic Teide Volcano, Teide National Park is a must-visit place when you’re in Tenerife. Seeing the volcano and hiking through the otherworldly landscape of lava fields and rock formations was one of the main reasons we wanted to visit this Canary Island. Whether you’re an avid hiker and wish to summit the highest point in Spain, or you just want to enjoy the panoramic views from the cable car, there’s no doubt that you’ll have an unforgettable time in Teide National Park.
In this guide, we’ve collected all the necessary information you’ll need to know before you visit the national park. This includes what hiking trails there are and the necessary permits you’ll need, beautiful viewpoints to check out and other useful tips, such as how to get to Teide, the best time to visit, what to wear and what to bring with you for a full day adventure.
If you’d like to see our experience visiting Teide National Park, make sure to watch our dedicated Teide video which we’ve shared on our YouTube channel Kitti and Jon.
Disclosure: This post may contain affiliate links, which means we may receive a small commission if you click a link and purchase something. Clicking these links won’t cost you anything, but it will help us to keep this site up and running! Learn more about our affiliate policy.
About Teide National Park in Tenerife
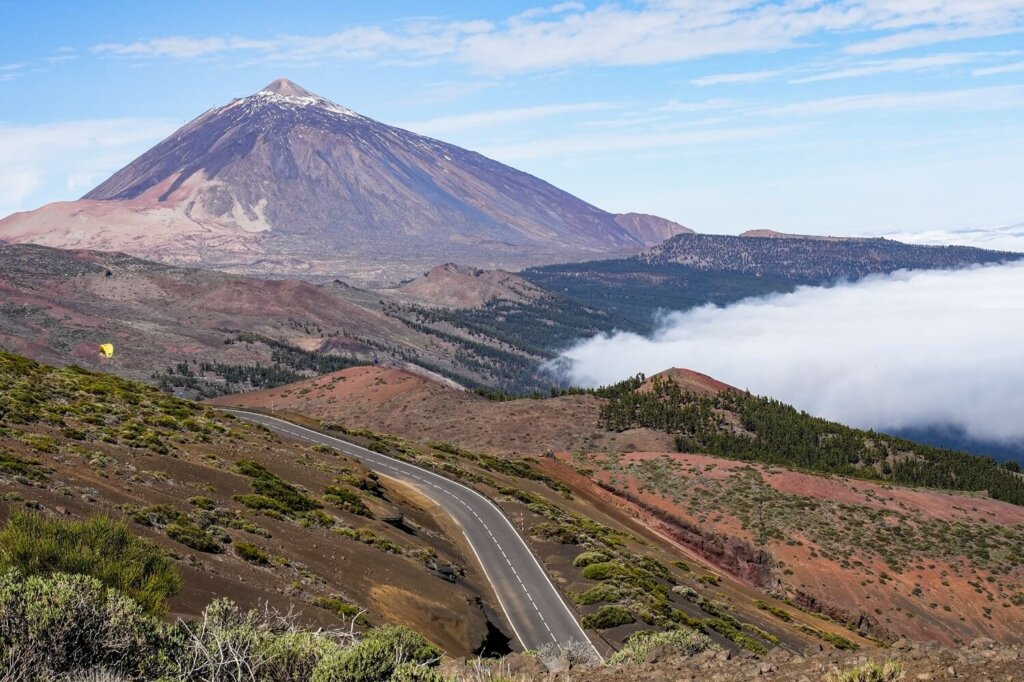
Teide National Park is located in Tenerife, the largest island in the Canary Islands archipelago. The national park is dominated by Teide Volcano, rising up right in the center of the island. At 3,718 m above sea level, this stratovolcano is the highest point in Spain. In addition, from its base on the ocean floor it rises to 7,500 m, which makes it the world’s third-tallest volcanic structure. The volcano has experienced many eruptions over the centuries, with the last one occurring in 1909, that have shaped the landscape you’ll see today. It is still an active volcano, so its activity is closely monitored.
Teide was declared a National Park in 1954, becoming one of the first protected areas in Spain. In 2007, UNESCO declared Tenerife a Biosphere Reserve and the national park was also listed as a World Heritage Site.
No Time to Read?
🚗 Getting there: rent a car via Cicar at Tenerife South Airport, or take a public bus for an independent visit. Otherwise, join this day tour that includes transport & the highlights of Teide.
🎫 Entry fees / permits: Teide National Park is free to enter, but you need permits to hike trails PNT 10, PNT 7, PNT 9 and PNT 23.
🥾Top Experiences: Ride the Teide Cable Car for amazing views and hike to the summit of Teide Volcano. Stay in the park after sunset for an unforgettable stargazing experience.
Things to Know Before Visiting Teide National Park in Tenerife
Entry Fees and Permits. Teide National Park is free to enter and most hikes are also free and don’t require permits. However, you’ll need to pay if you want to ride the cable car and will need a paid permit to hike to the summit of Teide. Other, more challenging trails also require permits.
For a map of hiking trails, necessary permits and other up-to-date warnings, visit the Tenerife ON website.
Opening times. The park is open 24/7. However, on certain days many popular trails close fully or partially for mouflon control operations.
Weather conditions. Don’t forget to check the forecast before your visit. Usually the mornings and evenings are clear, even if it doesn’t look like that from lower down. In high winds and poor conditions the cable car won’t operate. In addition, many hiking trails can also be closed due to snow and ice. The summit hike can only be done with a guide and appropriate gear. You can always check the live webcams from Teide for up-to-date weather conditions.
Altitude. Most of the national park is at 2,000m above sea level, with Teide Volcano itself rising to 3,718 m. You may feel signs of altitude sickness, including headaches, after riding the cable car from the base station (2,356 m) to the top station at 3,555m. Make sure to stay hydrated and head back down if you’re not feeling well.
Phone reception is limited in the park. Therefore, we suggest downloading offline Google Maps before you set off.
How to Get to Teide National Park
Hire Car
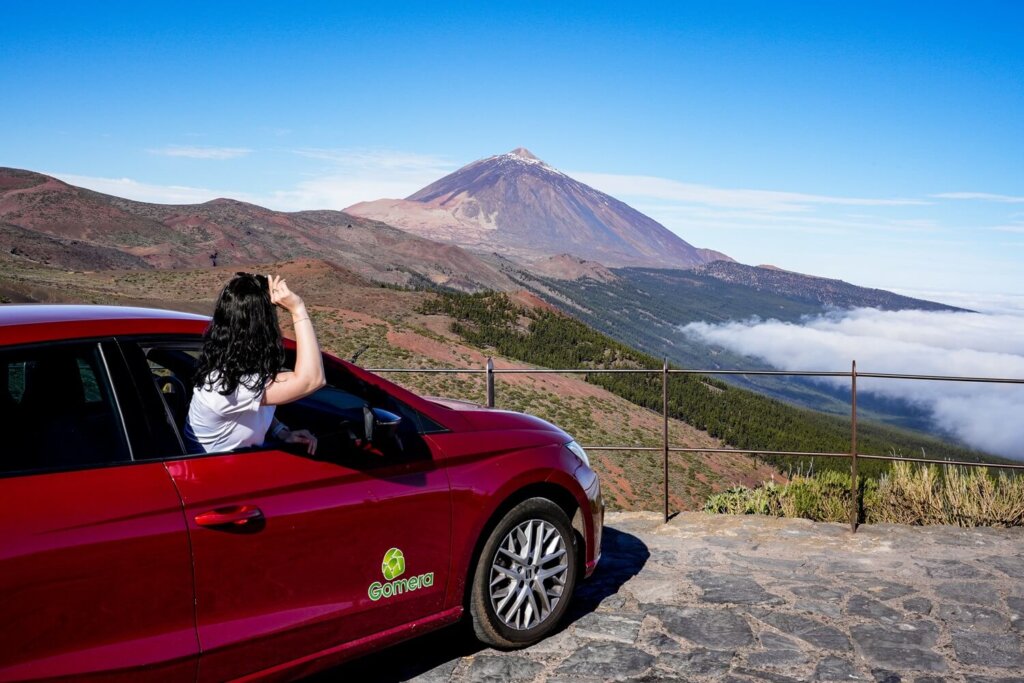
The best way to visit Teide National Park is with a hire car. Having our own vehicle gave us the chance to set off as early as we wanted to and stay in the park for as long as we liked. We could also time our hikes to avoid the peak tour group hours, which meant that we only met a few other people even on the popular trails.
Read next: Tips on driving in Tenerife
There are many car parks across the park, although bear in mind that many of them have limited spots.
We rented a car for the entire week we were in Tenerife and it was the best way to get around the island independently. If you want to do the same, we suggest hiring a car from Tenerife Airport using the Cicar car rental company. Their prices are great and we had a very positive experience with them.
Rent a Car in Tenerife
Hire your car using Discover Cars where you can find the best rates as they compare local, national and international companies.
Public Bus
If you wish to visit Teide National Park independently, but don’t want to drive, then the best option is to get there by bus. Tenerife’s public bus company is called Transportes Interurbanos de Tenerife (TITSA). Their buses provide services to Teide National Park from Puerto de la Cruz (line 348) and from Costa Adeje (line 342). See all timetables, routes and maps here.
It’s worth noting that there’s only one bus departing in the morning to Teide and then one returning in the afternoon from both places. Therefore, it’s only viable to visit the national park by bus if you’re staying in one of these places. Make sure you plan your day accordingly to avoid missing the return service. The ride is also quite long, with the bus stopping regularly along the way.
Top Teide National Park Experiences
Organised Tour
Teide is one of the most visited places in Tenerife, so naturally there are a huge variety of organised tours available to book. Joining a tour won’t only get you to the national park but the guides will also give you plenty of information about the majestic Teide Volcano.
🎫Below we’ve listed our top Teide National Park tour choices:
- Half-Day Teide National Park Tour. This is a great small-group tour option if you wish to see the highlights of Teide. It’s ideal if you’re staying in the south of Tenerife.
- Sunset and Stargazing Tour. One of the best activities in Teide is stargazing, thanks to its low light pollution. This tour will take you to a fantastic sunset viewpoint first before it gets dark enough for the stargazing experience.
- Mount Teide, Masca, Icod and Garachico Day Trip. This day trip is great if you wish to condense some of the main attractions of Tenerife into just one day and then spend the rest of your time relaxing. The tour takes you to Teide National Park first, then visits Icod de los Vinos to see the old Dragon Tree before stopping in Garachico and finishing in Masca village.
Best Time to Visit Teide National Park
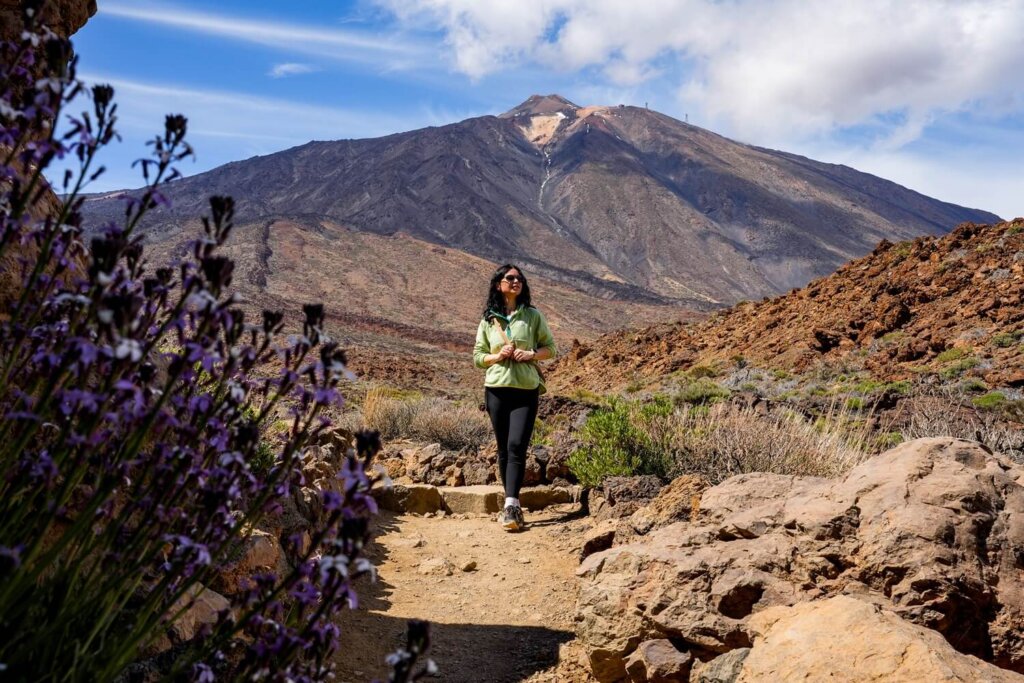
You can visit Teide National Park all year around, however if you wish to do a lot of hiking, we suggest visiting between late spring and early autumn. During this time the temperatures will be pleasant enough for hiking and there’ll be less chance of snow on the trails. When we visited at the end of April, the trails around the summit were only accessible with a guide due to snow and ice on the paths. However, the temperatures were lovely further down and it was perfect for hiking.
It’s worth noting that at the top of the cable car or at the summit the temperatures will always be much cooler than further down.
In terms of crowds, the summer holidays will increase the crowds in Teide. Even in April, many of the car parks were full around the middle of the day. Therefore, visit in the shoulder season if you wish to avoid the peak tourist crowds.
What to Wear to Teide National Park
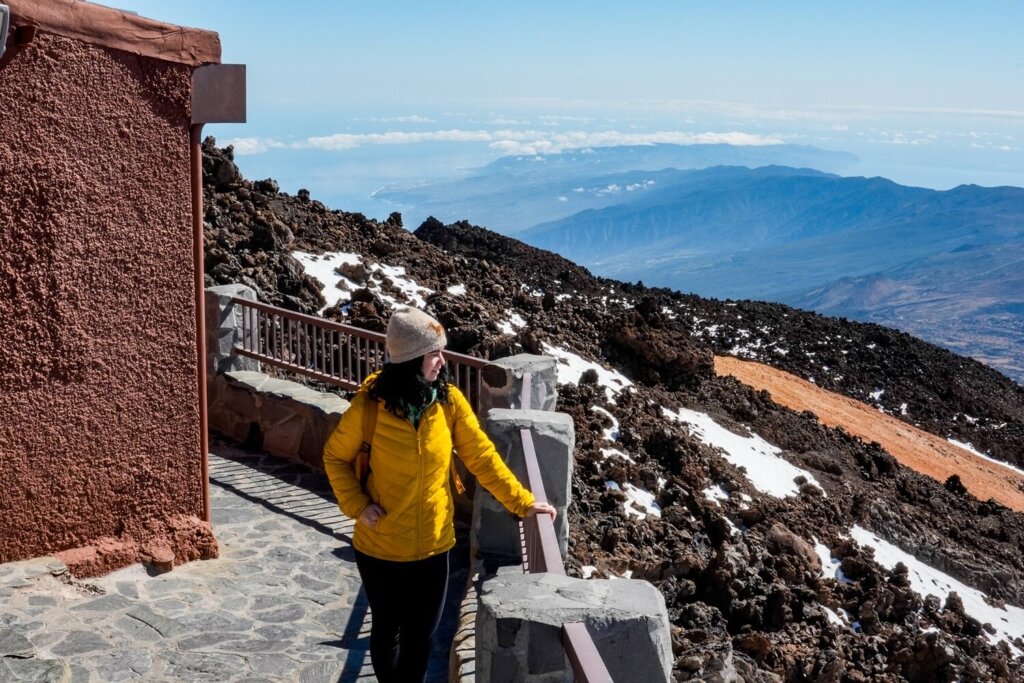
If you wish to do some hiking, then we recommend wearing appropriate hiking gear. The staff will check what you’re wearing at the top of the cable car and won’t let you do any of the trails around the summit if you’re not wearing the right clothing and footwear for the terrain.
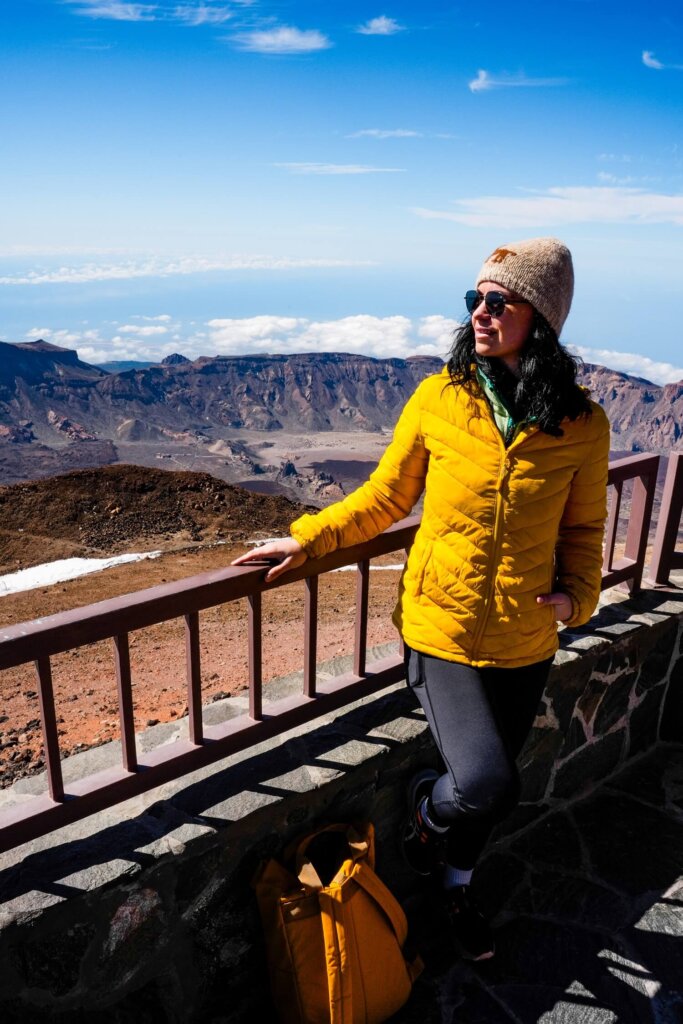
We also suggest having layers which will come in handy when reaching the cable car viewpoint. The temperature can be significantly cooler near the summit and in the evenings / at night. Definitely wear something warm if you’re planning on doing a stargazing tour. You’ll also need appropriate sun protection because the solar radiation in Teide is intense. You want to avoid sunburn by wearing sun cream, a cap and sunglasses.
Whilst there are a few cafes in the park, if you’re planning a long day of hiking and exploring, we recommend bringing enough food, snacks and drinks with you for the day. Teide National Park is at high altitude, so it’s important that you stay hydrated.
Things to Do in Teide National Park in Tenerife
Ride the El Teide Cable Car
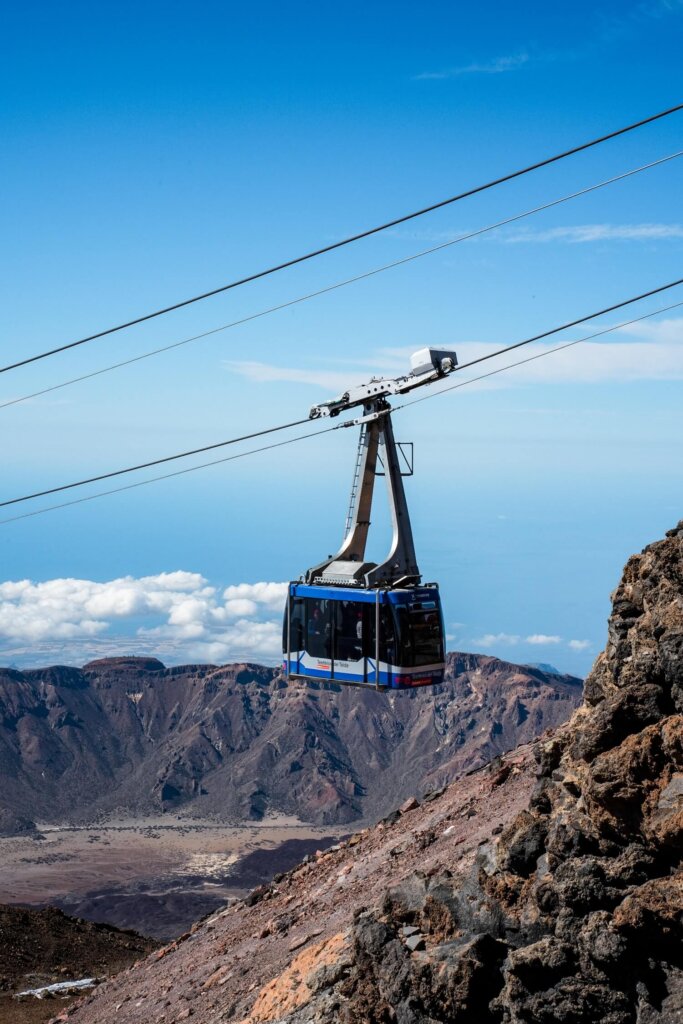
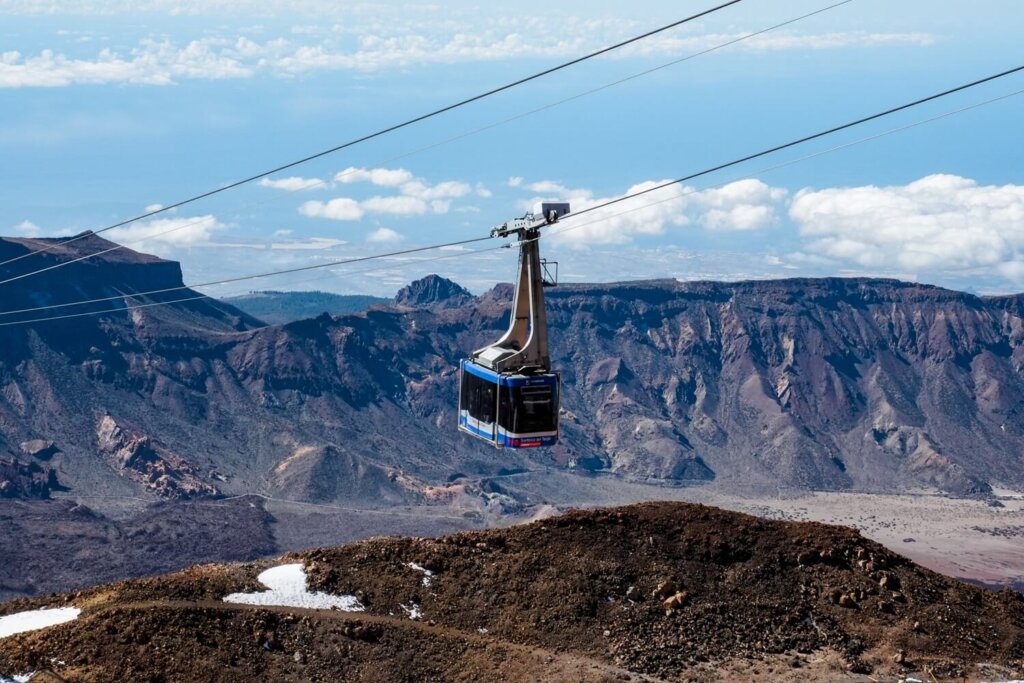
A must-do activity in Teide National Park is riding the El Teide Cable Car. This cable car has been operating since 1971. In 2024, it became the first cable car service in the world to operate entirely on solar energy.
Book a tour of Mount Teide that includes transportation and cable car tickets.
The scenic ride starts from the base station at 2,356 m above sea level. It took us to the top station (La Rambleta) at 3,555 m in just 8 minutes. The ride was really smooth and the views were spectacular as we climbed higher and higher.
Once we reached La Rambleta we were less than 200 meters short of the summit of Mount Teide (3,718 m). Here, you normally have a few options. You can just just relax and enjoy the breath-taking views or go on one of the short hikes, including Pico del Teide (PNT 10) – permit required, Fortaleza Viewpoint (PNT 11) or Pico Viejo Viewpoint (PNT 12). On the day we visited there was still some snow and ice on the trails so we couldn’t do any of the hikes without a guide and mountaineering equipment.
Regardless, the views were totally worth riding the cable car for, as we could see for miles, including some of the neighbouring islands.
Things to Know Before Riding the Teide Cable Car
Booking a cable car ride. You need to book a dedicated time slot for the cable car and you have to turn up 20 minutes before that time slot. Spots sell out fast, so once you know the dates of your visit we suggest booking it. There’s the option to change your booking date and time if there’s availability.
Cost of Teide Cable Car: 42 EUR return for adults and 21 EUR for children.
Opening Times: the cable car operates between 9AM and 6:40PM during the summer months. It only operates up until 5-5:30PM during the rest of the year.
Parking at Teide Cable Car station: there’s plenty of parking spaces at the dedicated car park, although if you have a booking in the middle of the day / early afternoon then it can be quite busy. Therefore, make sure to arrive on time in case you need to park further along the road in one of the other car parks. There are walking trails to use to reach the station from those. If you don’t want to drive, we suggest booking this cable car tour that includes roundtrip transport.
Facilities: There are toilets at the base station that you can access with your cable car ticket. There’s also a café and souvenir shops. At La Rambleta there are only toilets.
Altitude and weather conditions: Note that at 3,555 m the view won’t be the only thing that takes your breath away. For this reason, you should only spend a maximum of 1 hour at the top. In addition, expect it to be much cooler up there, so bring an extra layer.
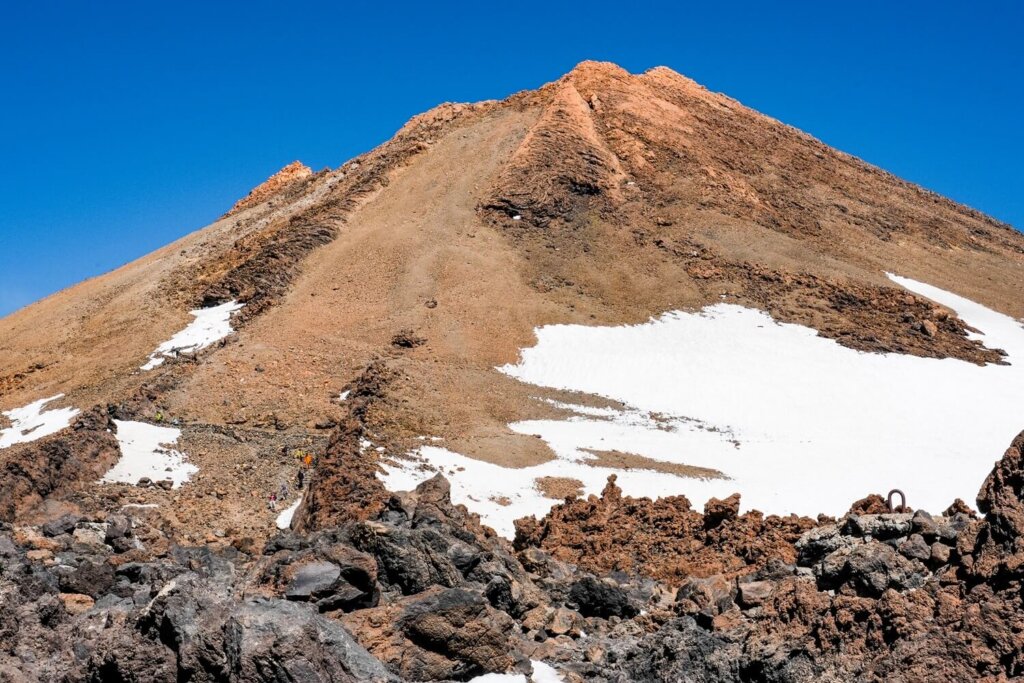
Summit Teide Volcano (Pico del Teide)
If you love hiking, summiting Teide Volcano should be high on your list of things to do in Teide National Park. Standing at the highest point in Spain is definitely a rewarding experience. There are a few different routes you can take depending on your level of fitness.
PNT 10 Telesforo Bravo. This is the shortest and most popular hiking route up Mount Teide. The trail is 1.1km out-and-back with an elevation gain of 182 m. It starts from La Rambleta cable car station, which means that you need to book a cable car ride to reach the trailhead. Note that in certain weather conditions, you can only climb it when accompanied by a certified guide using appropriate mountaineering equipment.
Hiking the PNT 10 route all the way to the summit of Mount Teide requires a permit. You can secure one on the Tenerife ON website. Bookings open every Monday at 7AM Canary time for the following 56 days. The permit costs 15 EUR per person.
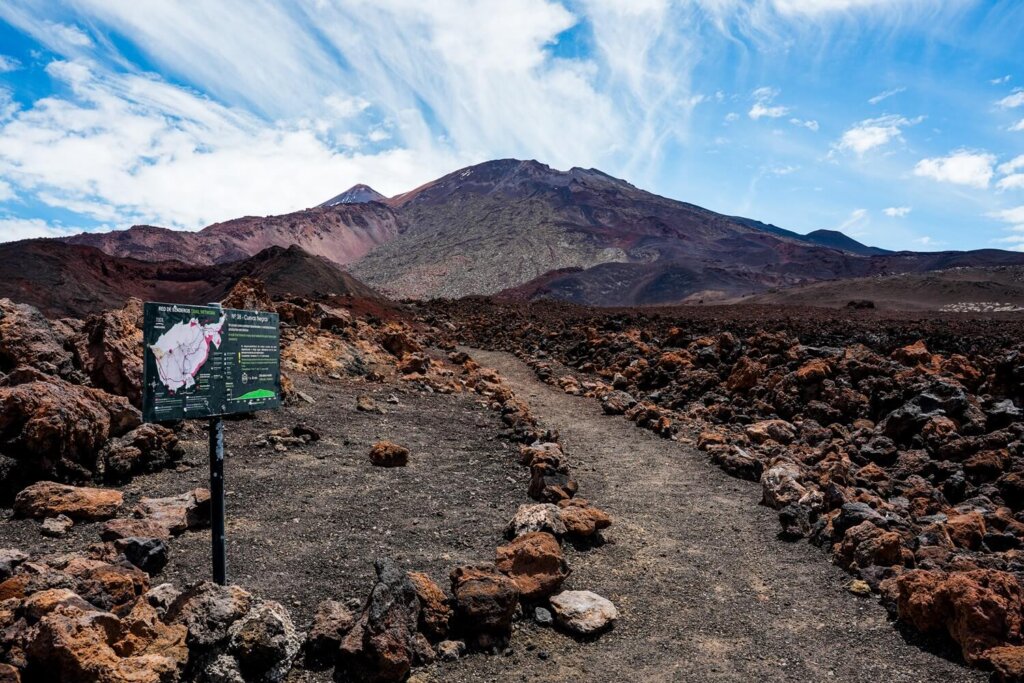
Alternative Hiking Trails to the Summit of Teide Volcano
PNT 7 Montaña Blanca. Another option for reaching the summit of Teide is via PNT 07 & PNT10. This path is 8.3km one way with an elevation gain of 1,310m. If you set off early enough and are an avid hiker, then doing the hike there and back is possible. However, if you wish to take it easy, you can always take the cable car up and then hike down or vice versa.
PNT 9 Las Narices del Teide. This hiking route takes you from Las Narices del Teide to the Pico Viejo viewpoint. From there, it joins the PNT 12 route that takes you to La Rambleta, where you have to join PNT 10 to reach the summit. It’s an 11km route one-way with over 1,700m of elevation gain. Again, you can take the cable car up and then hike down.
PNT 3 Roques de Garcia. This route starts from the popular Roques de Garcia. The trail then joins with PNT 23 to Pico Viejo before following PNT 9 to Mirador de Pico Viejo. From there, take PNT 12 to La Rambleta and PNT 10 to the summit. It’s 10km one-way with an elevation gain of 1,600m. Taking the cable car up and then hiking down is a good option for seeing the most iconic spots in Teide.
Hiking the PNT 7, PNT 9 and PNT 23 routes requires an extra permit in addition to the PNT 10 route permit. You can secure these on the Tenerife ON website as well. Bookings open every Monday at 7AM Canary time for the following 56 days.
Mount Teide Guided Hikes

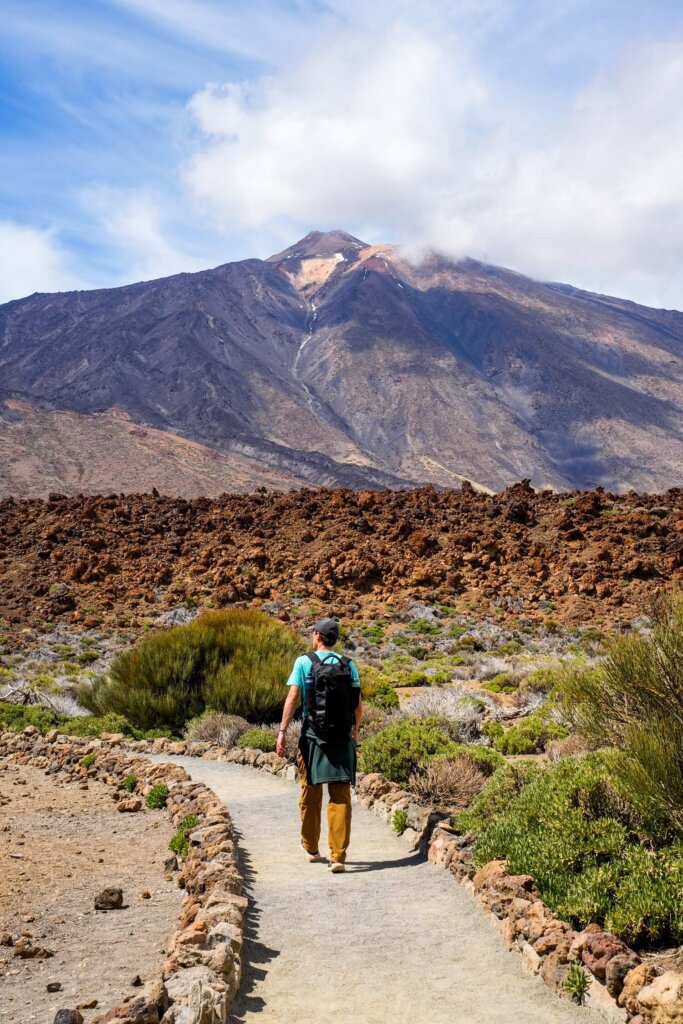
Hike Roques de Garcia Loop (PNT 3)
If summiting Teide sounds too challenging, or the weather conditions won’t allow you to hike it like in our case, then there are many other beautiful hiking trails in Teide National Park. Possibly the most popular one is the Roques de Garcia Loop (PNT 3). It’s a 3.8km circular route around some of the most stunning rock formations.
The first half of the route was relatively flat, initially following the accessible section of the trail. Here we passed the most famous formations: Torrotito and Cinchado, located right at the start of the hike. This part is usually pretty busy, but the crowds thin out by the time you reach the plain known as Llano de Ucanca. On this first part of the hike we also had undisturbed views of Teide Volcano in the distance. As we circled around the back of the formations, we passed a fork where the trail joins with PNT 23 up to Pico Viejo and Mount Teide.
Stay on PNT 3 and circle around the impressive formations. During this next section, we started to descend with views of La Cascada, a lava flow formed by highly fluid magma. The last 750m of the trail passed the impressive La Catedral formation before we had to zig-zag back up to the trailhead.
We really enjoyed this hiking trail and can see why it’s so popular. The rock formations reminded us of the Garden of the Gods in Colorado, minus the greenery.
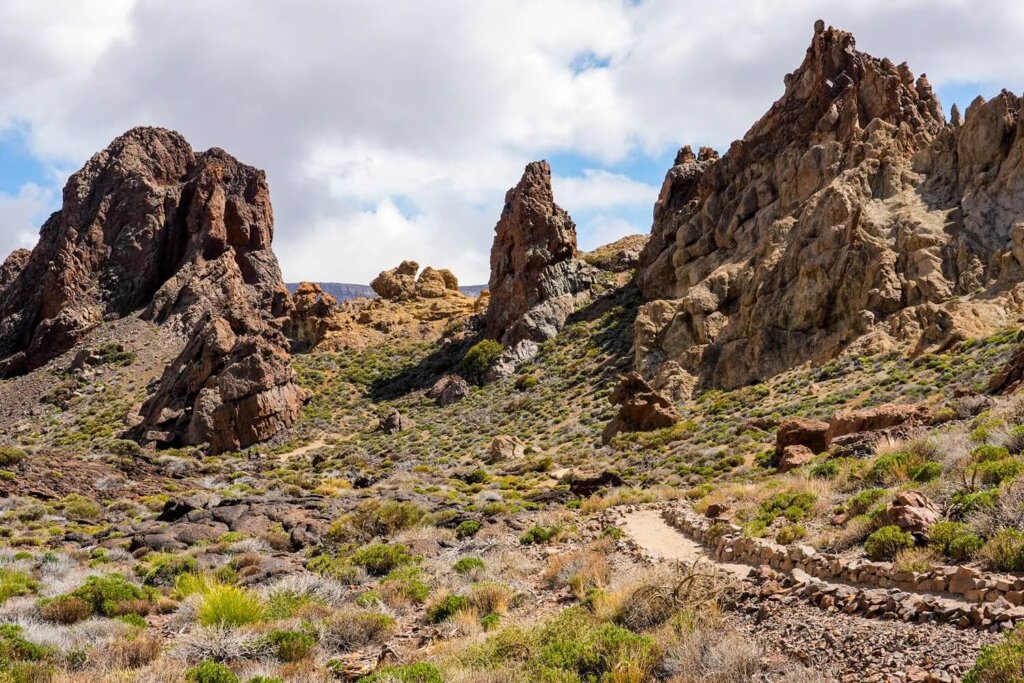
Things to Know Before Hiking the Roques de Garcia Loop (PNT 3)
Permit. No permit needed to hike the Roques de Garcia Loop (PNT 3).
Trail Opening Times. Every Monday, Tuesday and Friday parts of the trail are closed for mouflon control operations. The rangers had just opened up the rest of the path in the afternoon when we arrived, which was incredibly lucky; so we were able to complete the whole loop.
Parking. There’s plenty of parking along the access road or at the Cañada Blanca Visitor Center. However, they both get incredibly busy from mid-morning until late afternoon with tour buses and other visitors.
Best time of the day to hike the Roques de Garcia Loop (PNT 3). Either hike it early in the morning or later in the afternoon. If you time it to finish around sunset, then you can stay a bit longer and enjoy the night sky.
Facilities. Cañada Blanca Visitor Center has a restaurant with toilets for 1 EUR.


Hike the Samara Loop Trail (PNT 13)
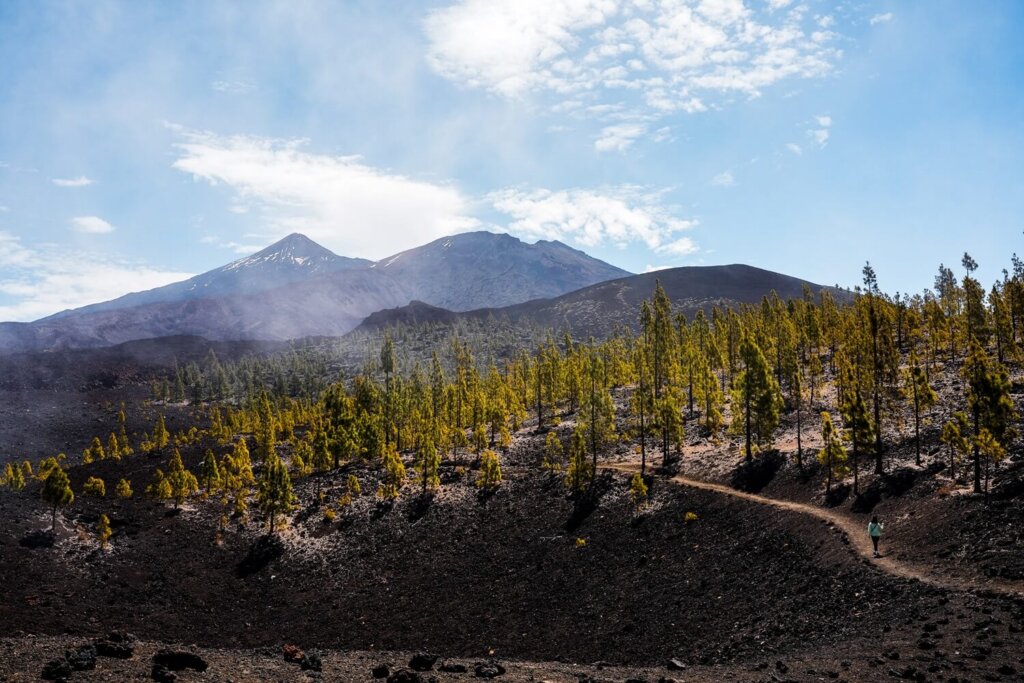
Another hike that’s totally worth doing in Teide National Park is the Samara loop. This is a 4.6km long circular trail with about 260m of elevation gain.
The path starts and ends at the foothill of Samara Volcano, and there is a short trail you can do to the summit. However, the full Samara loop takes you over dark-coloured layers of volcanic material called tephra. The first 1km was pretty flat, before the path started to get steeper until we reached a stunning viewpoint of Mount Teide and Pico Viejo. We spent some time here admiring the views and eating lunch.
Once we were ready, we just followed the path that circles around Montaña de la Botija. We reached a fork with the Cuevas Negras (PNT 38) trail that actually joins together with PNT 9, then carries on up to Pico Viejo and Mount Teide. Here, just carry on following the Samara Loop. This next part was quite steep and slippery, so take it easy. Hiking poles always come in handy if you generally struggle with descents. The trail eventually led us back to where we started. It was such a lovely hike and it was much quieter than the Roques de Garcia Loop.
Things to Know Before Hiking the Mirador de Samara Loop (PNT 13)
Permit. No permit needed to hike the Mirador de Samara Loop (PNT 13).
Trail Opening Times. Every Monday, Tuesday and Friday the trail is closed for mouflon control operations. The closure seemed to be between 9AM and 5PM, so aim to do it early or later in the day. Otherwise, you may have to return on another day like we did.
Parking. The parking lot for this trail is tiny, so you need to time your visit well. Otherwise, you may not be able to park right at the trailhead. You may be able to park further away if that’s the case.
Facilities. There are no facilities in the immediate vicinity.
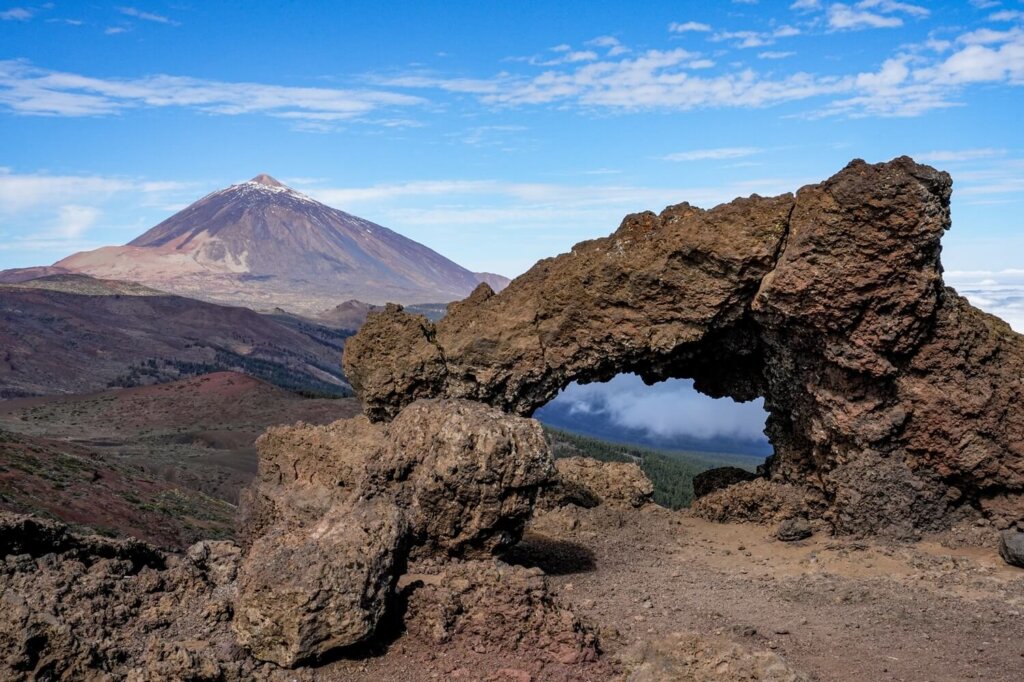
Hiking to Igueque Arch / La Ventana de Igueque (PNT 17)
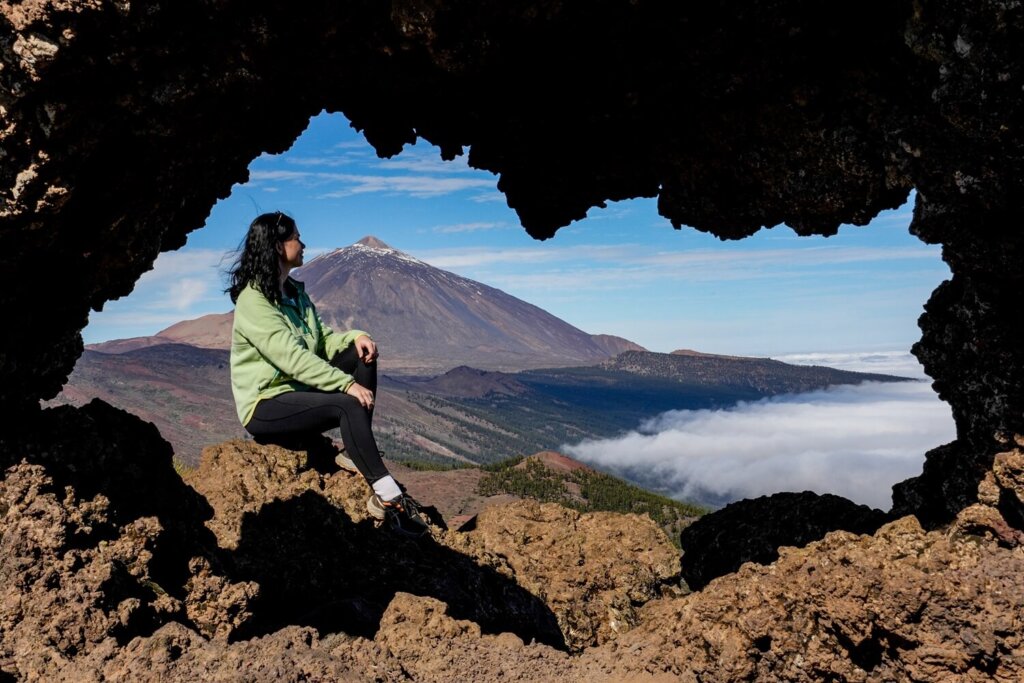
We saw some beautiful photos of Igueque Arch with Teide Volcano in the background, so naturally we had to add a stop there. To get to this natural arch you need to follow the PNT 17 trail. It’s a 5.5 km long path (out-and-back) between Montaña de Igueque and Mirador de La Crucita.
The arch is located next to Montaña de Igueque, about 1km from the trailhead. Along the way, we got some incredible views of Teide Volcano and the curvy roads we’d just driven up. We didn’t have time to do the whole route thanks to our packed schedule, but it’s a pretty easy hike if you have the time.
Stop At the Viewpoints in Teide National Park
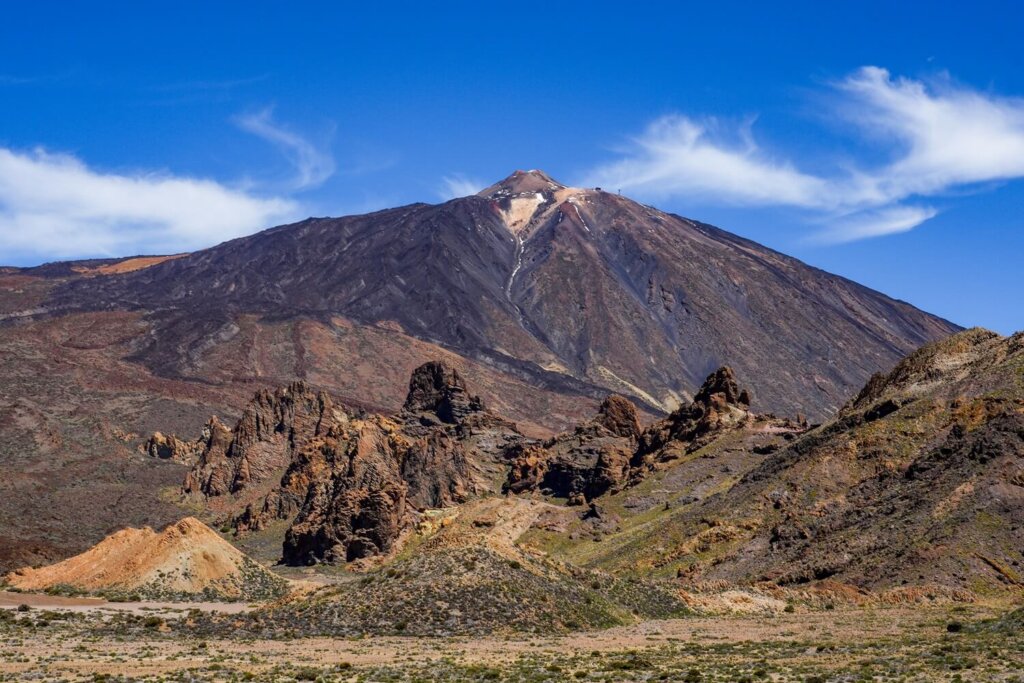
If you want to give your legs a little rest, you can also just do some viewpoint hopping within Teide National Park. There were many beautiful spots from where we could enjoy spectacular views, usually with Teide Volcano in the background. Below we’ve given you a list of our favourites:
Mirador del Llano de Ucanca
Llano de Ucanca is one of the main plateaux’s found in the park. From this vantage point, we could see the flat terrain surrounded by the Roques de Garcia and Teide Volcano.
The viewpoint is located just around the corner from the Roques de Garcia. There’s a small car park to stop in that fits a few cars. Location on Google Maps.
Zapato de La Reina
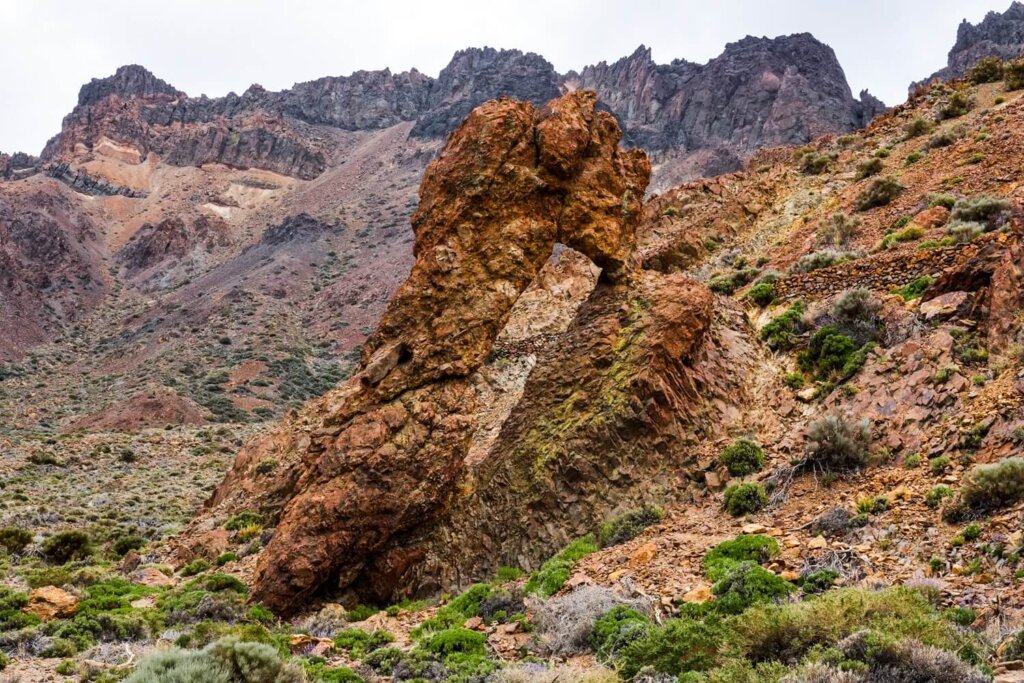
Translating to “Queen’s Shoe”, this is a cool rock formation that resembles a high-heeled shoe. You can take a very short walk to get a better angle of the formation. It’s definitely worth stopping here for a few minutes.
It’s located a little further up the road from the Mirador del Llano de Ucanca. There’s a decent sized car park in front of it. Location on Google Maps.
Mirador de las Narices del Teide
Translating to Teide’s Nostrils, Narices del Teide is a volcano formed during the 1798 eruption and features two volcanic craters. It is also the trailhead of the PNT 9 path that leads up to Mount Teide.
There’s a small car park at the side of the road where you can stop for a while to check it out. Just note that this car park can get pretty busy with tour buses. Location on Google Maps.
Mirador de Chipeque
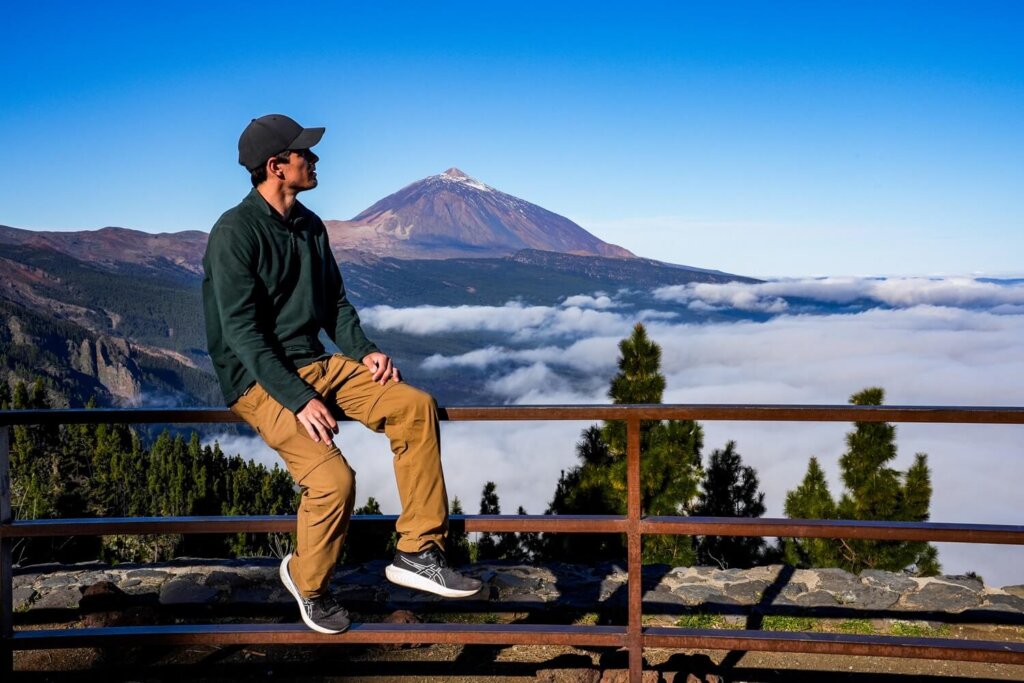
This is a popular lookout that overlooks the west side of the island and provides a fantastic view of Teide Volcano. We got lucky on the day we visited the national park because we just got up above the clouds as we arrived at the viewpoint, so we had an insane cloud inversion.
To reach the viewpoint, take the small access road off TF-24. There’s a decent sized car park at the end of the road. Location on Google Maps.
Mirador La Tarta
This one is further up the road but gives you another stunning view of Teide Volcano. We still had the cloud inversion and we also spotted some paragliders setting off from nearby. Booking a paragliding experience would be a unique way to experience Teide National Park.
Go Stargazing in Teide National Park
Teide National Park is without doubt the best place to stargaze in Tenerife. This is thanks to the low light pollution and clear skies, coupled with the high altitude. In fact, the Starlight Foundation recognised the sky of the national park as a “Starlight Destination” in the “Tourist Destination” category.
We didn’t know this before our visit, but 83 of the 88 officially recognised constellations can be seen from Tenerife. From Teide, you can see all the ones in the northern hemisphere and most of the ones in the southern hemisphere. In addition, you can see the Milky Way, the rings of Saturn, galaxies, the craters of the Moon and even witness meteor showers.
There are many places you can enjoy the night sky from if you’re staying in the park past sunset. However, if you want to be taken to the best spot and also want to learn more about our sky, then we suggest visiting with a dedicated tour.
This Sunset and Stargazing Tour will take you to a fantastic sunset viewpoint first, before it gets dark enough for the stargazing experience.
Final Thoughts on Teide National Park in Tenerife
Teide National Park was without doubt one of the highlights of our Tenerife trip. Mount Teide is indeed an impressive volcano, but the rest of the national park wasn’t any less beautiful. Our only disappointment was not being able to summit Teide, or even do the other free hikes near the top due to snow and ice. This, of course, was one of the risks of visiting Tenerife in April. However, having a rental car was indeed the best decision, as we had so much more freedom to see the national park and return on multiple days.
We hope this guide has given you a good overview on how best to visit Teide National Park and answered all your questions. If you found this blog post useful and want to show your support, you can buy us a coffee here.
Now, let your adventure begin,

Remember…It all starts with a Pin…



Such a great guide! Saving it for when I finally visit Tenerife later this year!
Kitti, love the images with you in them. Appreciated your summary of tours. National parks and hiking. I’m in!
I visited the park, rode the cable car and treked here last January. It was a highlight of our Tenerife trip. Great post.