
A Guide to the Mirador Las Torres Base Hike in Torres del Paine, Chile

The Mirador Las Torres Base hike is probably the most popular trail in Torres Del Paine National Park in Chile. Many outdoor enthusiasts complete this trail either as a day hike or as part of the popular multi-day W-trek. Although more and more people attempt this hike every year (partially thanks to social media), it’s important that you don’t underestimate it. If you’re an experienced hiker, you won’t find this trail too challenging. However, if you’re a novice hiker, it’s vital that you know what you’re signing up for.
So, in this guide we’ll detail everything you should know before you hike the trail including its length, difficulty and other practical information, such as the best time to hike, what to wear, entry fees, where to stay and what to expect from the trail.
If you’d like to see us do the hike, make sure to watch our Torres del Paine National Park video, which we shared on our YouTube channel Kitti and Jon. For more videos from the country, check out our Chile playlist.
Disclosure: This post may contain affiliate links, which means we may receive a small commission if you click a link and purchase something. Clicking these links won’t cost you anything, but it will help us to keep this site up and running! Learn more about our affiliate policy.

About Mirador las Torres in Chilean Patagonia
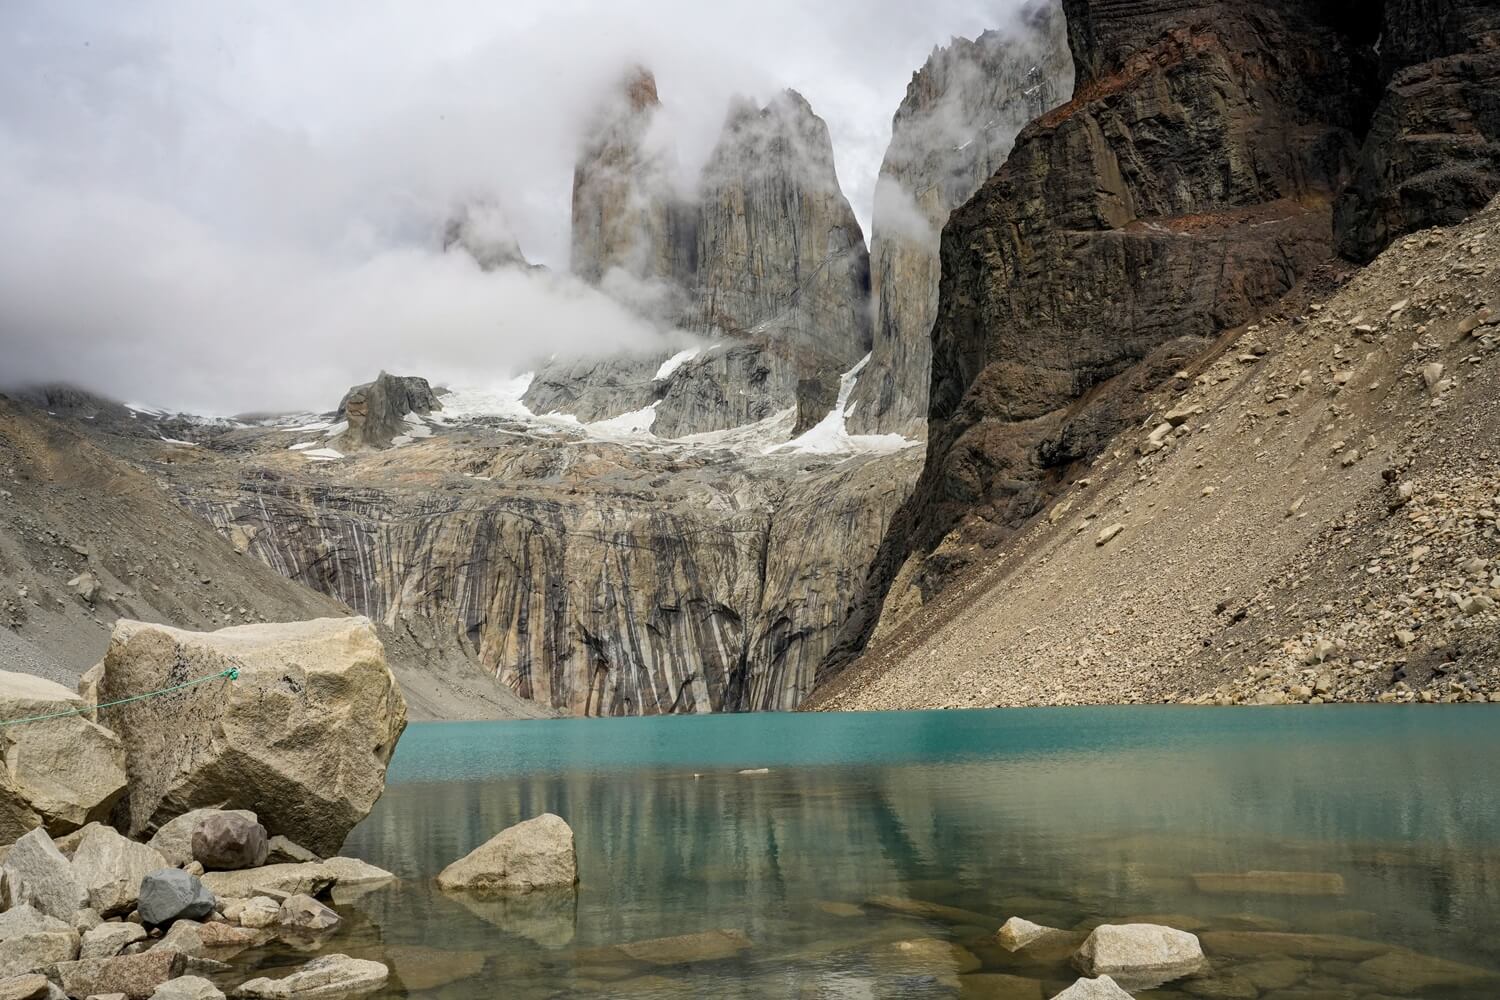
Mirador las Torres, also known as Mirador Las Torres Base, is a viewpoint on the shore of Lake Torre in Torres del Paine National Park in Chilean Patagonia. The lake sits at the base of the three iconic granite towers, or torres (Central, Monzino, Dagostini), in the Paine Mountain range. Torres del Paine translates to ‘blue towers’ and the national park was actually re-named after the three peaks in 1970.
Map of the Mirador Las Torres Base Hiking Trail
Quick Hiking Trail Statistics:
- Trailhead: Welcome Centre car park or just across from Hotel las Torres
- Trail Length: 21 km / 13 miles (Out-and-back)
- Elevation Gain: 1,041 m / 3,415 ft
- Highest Point: Mirador Las Torres Base (890 m / 2,920 ft)
- Level of Difficulty: Moderate to Hard (fitness level dependent)
Mirador Las Torres Base Hike Statistics
Length of the Mirador Las Torres Base Trail
We started the Mirador las Torres Base hike from the Welcome Centre car park. From here, the trail is about 21 km (13 miles) long (out-and-back). There are quite a few campsites and other types of accommodations in this area that we had to walk through first before getting to the official trailhead just across from Hotel las Torres.
In terms of timings, we started the hike around 7:30AM and got up to Mirador las Torres Base in about 3.5 hours. We spent a good hour or so at the lake waiting for the peaks to clear. When it became clear that wasn’t going to happen, we decided to start heading back down. The way down was much faster and we got back to the car park in about 2.5 hours. So in total, it took us about 6 hours to complete the trail with breaks.


Level of Difficulty of the Mirador Las Torres Base Trail
On AllTrails this route is marked as hard and we agree that this trail isn’t a walk in the park. Although, if you have a good level of fitness and have experience hiking for long periods whilst being exposed to the elements, then you may find this trail more moderate than difficult. Let’s quickly run through the key challenges you could face along the Mirador Las Torres Base Trail.
Elevation Gain
Overall, the Mirador Las Torres Base hike comes with a total elevation gain of 1,041 m (3,415 ft). Between the trailhead and the Windy Pass (4.7 km) you’ll gain about 370 m (1,243 ft) of elevation. It’s a pretty steep ascent.
The section between the Windy Pass and Guarderia Torres Ranger Station (4 km) is more like “Patagonian Flat”, with about 215 m (705 ft) of elevation gain. Then the last 1.5 km is pretty demanding, as you’ll gain about 300 m (984 ft) of elevation in this short distance. This is definitely the hardest part of the hike, especially after walking for 8 km already. At least you’re not doing it at high altitude, like many other hikes in the Andes.
Trail Length and Conditions
A 21 km out-and-back hike is a long distance to walk in just one day and can be quite tiring if you’re not used to trekking. The first steep section definitely increased our heart rates but we could recover in the middle section before the final push. Then we could relax and recover at the lake before hiking back down. The descent can also be hard on the knees. If you have knee problems, definitely take some walking poles with you.
The path is generally good, although it can be uneven and dotted with tree-roots. After heavy rainfall, it can be quite muddy and slippery. The last section is pretty rocky and slippery, which is why we always recommend wearing sturdy shoes with good grip.
Temperatures and Weather Conditions
Lastly, you’ll also have to be mindful of the weather conditions when hiking. You’ll most likely be hiking in the summer season when the sun can be pretty intense. You’ll be exposed during the majority of the trail, so it’s important to wear a hat, sunglasses and sun-cream.
In the summer months the Patagonian wind can be quite notorious, so you need to be extra cautious when walking in the forest or when exposed higher up. Let’s just say the Windy Pass is a pretty appropriate name. Even on a less windy day, you can still feel its power. Never forget that you’re in the mountains, so conditions can change quickly.

Mirador Las Torres Base Hike: Route Description
Section 1: Welcome Centre to Windy Pass
Starting from the Welcome Centre, we followed the signs to “Base Torres” through the maze of campsites and hotels. The last accommodation was Hotel Las Torres Patagonia, after which the official trail to Lake Torres started.
After passing the hotel, the path started to go uphill and got considerably steeper the further we went. There weren’t any flat sections, so we just had to push through this steep ascent. Since we gained elevation quickly, the views looking back to the national park were really lovely. Just before reaching the Windy Pass, we saw the Cuernos trail joining up with the Base Torres trail. This is essentially where the W-trek would take you on either the first or last day.

Section 2: Windy Pass to Refugio El Chileno
This next section between the Windy Pass and Refugio El Chileno was short, but definitely the most beautiful part of the entire trail. Not counting the views at Lake Torres itself of course. Here, we walked along a narrow path against the side of the mountain through the valley.
They named this section Windy Pass for good reason, as it can get incredibly windy. Luckily, we didn’t feel any wind at all, which was very welcome. The trail here is a bit up and down, a welcome break between the two steep sections of the hike. We got to the Refugio El Chileno campsite very quickly, although we took our time to enjoy the scenery. On a particularly windy day, you have to be careful along this stretch, as there’s a sheer drop on your right side.
When you reach the campsite, you can have a rest, use the bathroom and refill your water bottle before carrying on.


Section 3: Refugio El Chileno to Mirador Torres
This is the last section of the hike and is mainly uphill. Although, until you reach the last 1.5km, it’s a fairly gradual incline. After Refugio El Chileno, we walked through the forest for a short time. Emerging from the forest, we came out in the open near the Guarderia Torres Ranger Station. After passing the information board up there, we started the last uphill section.
At the start of this last section, you may need to use your hands as you scramble up through larger boulders. This part reminded us of many scrambles we’ve done in the UK. Higher up, the path turned into short but steep switchbacks. If the three towers are clear, then you’ll start to get your first look at them at this point. The very last part of the trail circled around huge piles of rocks before arriving at Lake Torres, with the three granite peaks dominating the background.

Section 4: Mirador las Torres to Welcome Centre
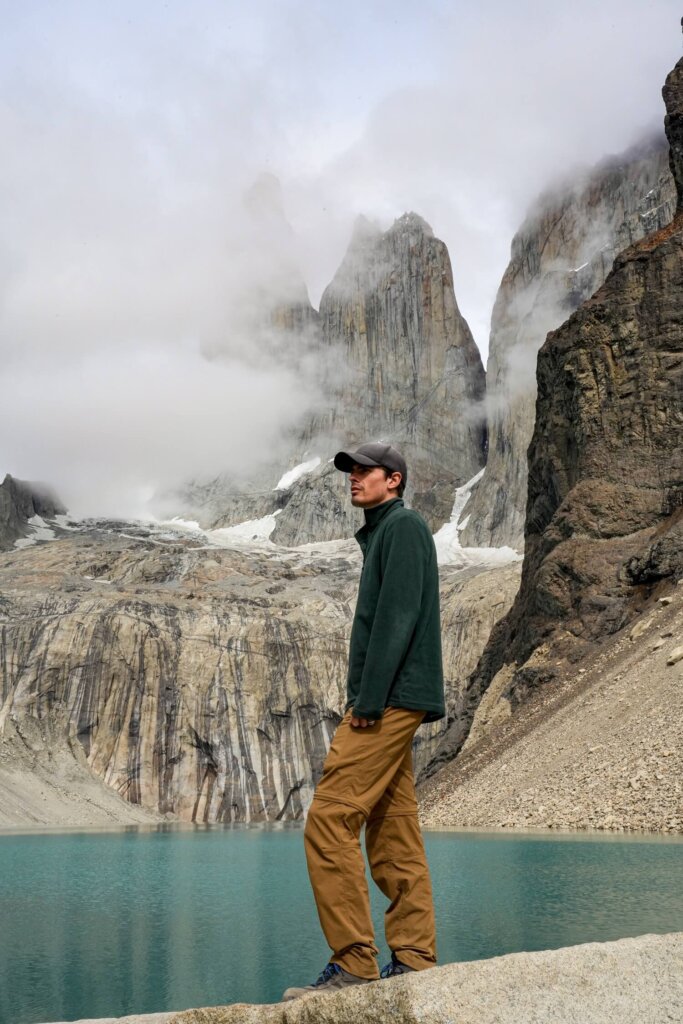
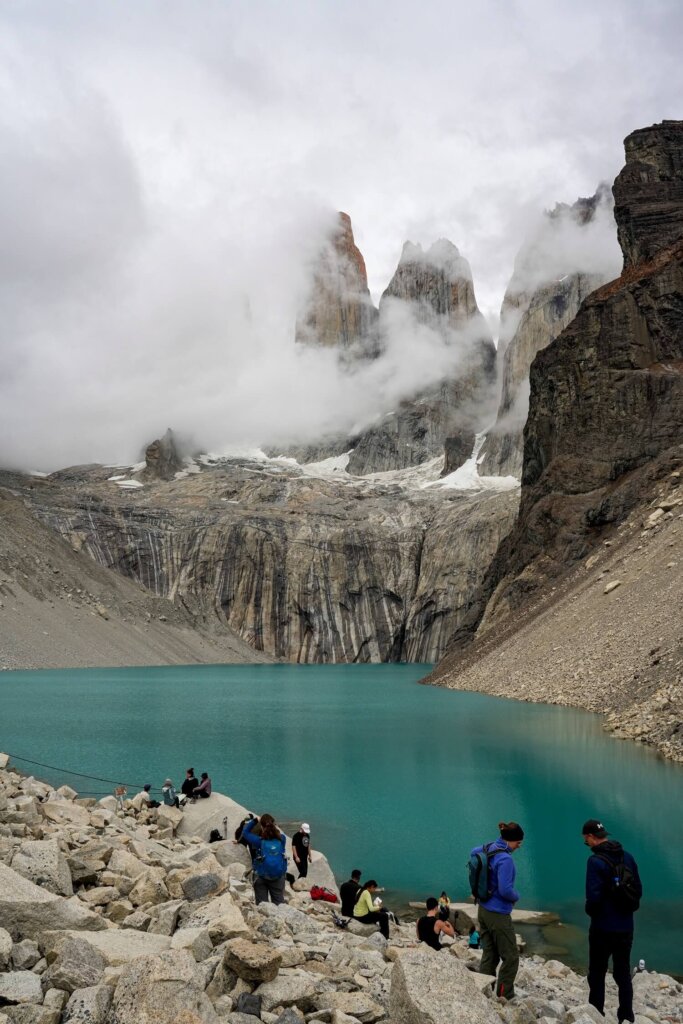
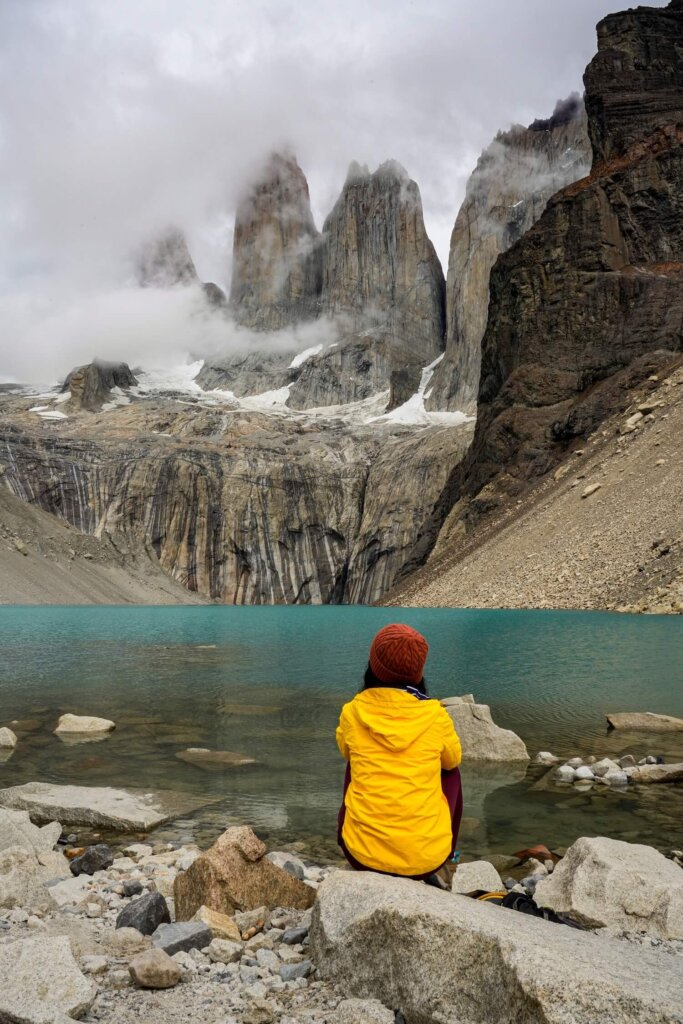
At the lake, we could spread out a bit and walk down to the shore. A large section was roped off, so please respect that and don’t go beyond it. We picked a rock to sit on, enjoyed the views and had our lunch. It can be pretty windy here, so having layers will be important.
On the day we did the hike the towers were partly covered by clouds. We sat at the lake for a good hour waiting for it to fully clear. Unfortunately, the Torres were never fully visible, although we could still partially see them as the clouds moved around. After a while, we noticed that more and more people were arriving, so we decided it was time for us to head back down. The descent to Guarderia Torres Ranger Station was pretty busy and therefore slow, as we passed quite a few tour groups on their way up.

Practical Information About the Mirador las Torres Base Hike
Best Time to Hike the Mirador las Torres Base Trail
The best time of the year to hike up to Mirador las Torres Base is between November and March. This is essentially late spring, summer and early autumn in Chile. During this timeframe, you’ll get more chances of dry, clear and warmer days, with plenty of daylight hours. Whilst there will be less precipitation, strong winds and gusts are pretty common. In addition, the summer is also the high tourist season in Patagonia, so expect the trail to be more crowded.
In terms of time of day, we suggest setting off earlier if you want to do the hike in one day. There’s also a time after which you cannot enter the trail, which is around 10AM in the summer months. Some people try to make it up to the lake for sunrise. Unless you’re staying near the Welcome Centre or at one of the campsites along the trail the night before, you would need to set off pretty early from Puerto Natales for that.
Always check the weather forecast before you set off and be prepared for conditions to change quickly. We suggest checking Wind Guru for the viewpoint itself. You can always get up-to-date information on the trails at the ranger stations, including trail closure times.
Should You Hike Mirador las Torres Independently or with a Guide?
You can totally hike the Mirador las Torres trail on your own, especially as a day hike. Many people also hike the full W-trek independently. The path is well signposted and very easy to follow. There are always people on the trail, so you’ll never feel alone if you need any assistance.
That being said, if you’re not a confident hiker, or just want to enjoy the trail with like-minded others, then consider joining a guided group hike. Guides can help you along the way and also point out some interesting flora and fauna.
This full day guided hike starts from Puerto Natales, so there’s no need to book accommodation within the national park. You’ll also be hiking in a small group, which is much more enjoyable.
Should You Hike Mirador las Torres Base in One Day or Over 2 Days?
There are a few ways to hike the Mirador las Torres Base trail. Most people either do it as part of the W-trek, (or O-trek), or just as a day hike. However, you could hike up to Refugio El Chileno the day before, meaning you’d have a shorter distance to complete the next day.
There are definitely pros and cons to camping. One pro is that staying within Torres del Paine would cut out the travel time to the trailhead. You won’t need to set a crazy early alarm or worry about not making it back before the trail closing time (more on that later).
On the other hand, to stay at one of the campsites the night before, you would need to book a spot quite early. (We’ll give you more information on accommodation options further down). Unless you book a fully-equipped camping option, you’ll also have to carry your camping gear up to the campsite. If you’re not used to hiking with a heavy load, we suggest practicing before your trip. At least you can hike up to the lake without it!
If you’re just doing a dedicated Patagonia trip, we suggest bringing your own equipment. Otherwise, you can rent a tent and other necessities from Puerto Natales.
Entry Fee to Torres del Paine National Park
Whilst the hike itself is free, you need to purchase an entry pass to Torres del Paine National Park. Currently there are two ticket options:
- “Up to 3 Days” Pass – $34,000 CLP per person for foreign visitors.
- “More than 3 Days” Pass – $48,500 CLP per person for foreign visitors.
You can purchase your entry pass on the CONAF website, as well as see up-to-date prices and potential discounts. Don’t forget to download your ticket before getting to the park, as you may not have good enough service to do so when you’re there.

Mirador las Torres Base Trail Opening Times
What you also need to consider when hiking Mirador las Torres is that it has operating hours. This means that you cannot start your hike after a certain time and you also cannot go up to the lake past a certain time. These times vary throughout the year and are usually displayed at the ranger stations when you check-in.
At the time of our visit in January, you couldn’t start your hike up to Mirador las Torres Base after 10AM. The trail past Guarderia Torres Ranger Station was also closed in the afternoon after 3PM. This is to prevent people from climbing downhill in the dark.


What to Wear and Bring with You When Hiking the Mirador las Torres Base Trail
Clothing and Footwear. Wear season-appropriate clothing and footwear. When we did this hike in January, it was on an overcast day, although it wasn’t cold. However, even on a warm day it can get cooler and windier at the top. Therefore, make sure to wear layers so you can adjust to the conditions. You can wear either shorts or long trousers depending on what you feel more comfortable in. We still suggest taking a fleece and / or a rain jacket. In terms of footwear, try to wear hiking boots or shoes with good grip. We personally like wearing boots for their extra ankle support.
Food and Drinks. Have plenty of drinking water because you’ll be drinking a lot on the way up. You can refill your bottle at Refugio El Chileno. Don’t forget to pack some snacks and a packed lunch to help re-fuel your body. We also like to drink some electrolytes or rehydration drinks before and after such a demanding hike.
Additional Items. Also, make sure to have enough SPF on you, as the sun can be pretty strong. Take a hat and sunglasses for extra protection as well. The descent can be pretty hard on the knees, so you might want to use poles on the way down.
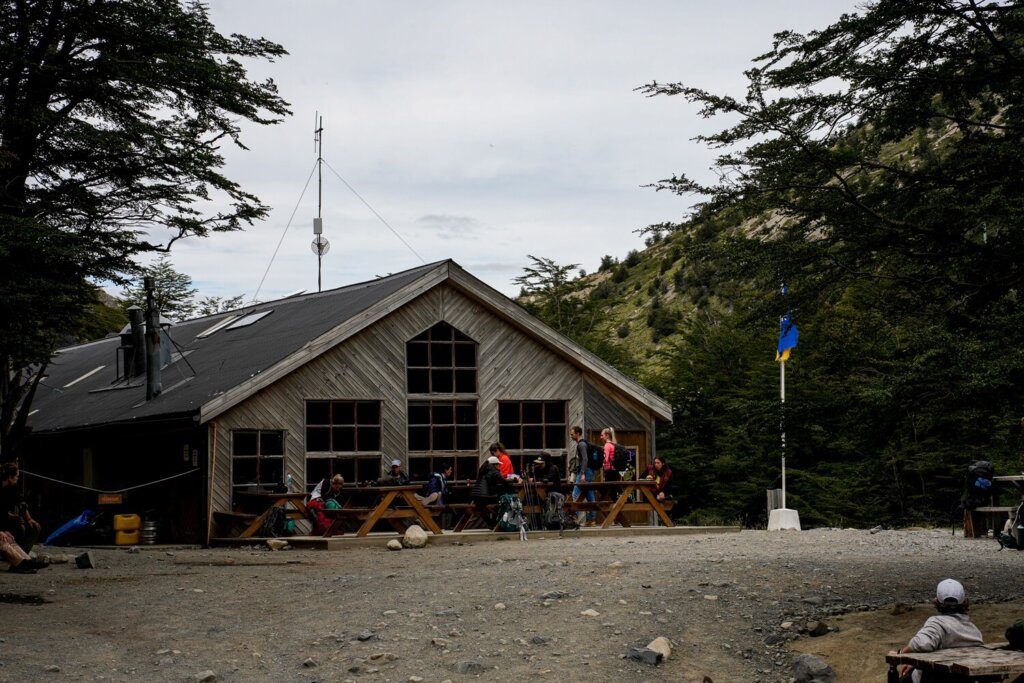
Facilities Along the Mirador las Torres Hiking Trail
Toilets. Around the trailhead there are toilets at the Welcome Centre (only open from 8AM) and at the Central Camp (it was open early in the morning). The next toilet facilities are at Refugio El Chileno, although we had to pay to use them.
Restaurants, cafes and drinking water. If you’re camping or staying in Torres del Paine, then most places will have an option where food is included in your stay. However, you can also buy food and drinks at the Welcome Centre and Refugio El Chileno, although expect higher prices. If you’re only doing Mirador las Torres Base as a day hike, we recommend bringing your own packed lunch, snacks and drinks. We saw free drinking water available at Refugio El Chileno and you can probably also refill your bottles around the trailhead.
Parking. We could park our rental car at the car park in front of the Welcome Centre.
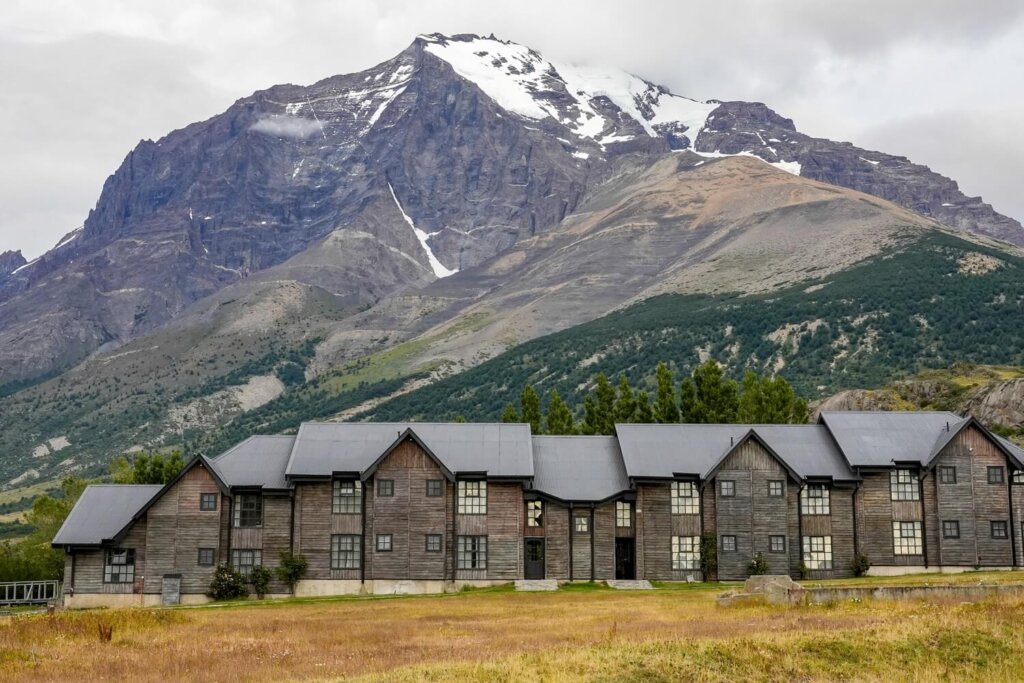
Accommodations Along the Mirador las Torres Hiking Trail
If you wish to stay close to the trailhead before your hike, then check below for your accommodation options. These will get booked up fast, so once you know your travel dates, we wouldn’t wait too long before reserving your stay.
Campsites. If you want to camp, then you can reserve your spot on the Las Torres website. The price will depend on the type of camping you pick (fully equipped, semi-equipped or just a simple camping spot).
- Refugio El Chileno – This is the closest campsite to Mirador las Torres.
- Torre Central Shelter and Las Torres Campground – This campsite and shelter are located around the Welcome Centre.
Hotels. There are a few hotel options near the trailhead. Again, rooms will be in high demand, so expect to pay a premium for them.
- EcoCamp Patagonia ($$$) – It offers a unique stay in geodesic domes right next to the Welcome Centre. You can pick between shared or private bathroom options. Breakfast and dinner is also included in the price.
- Hotel Las Torres Patagonia ($$$) – This is one of the fanciest hotels in the park, offering accommodation at regular and all-inclusive rates. It’s located right at the trailhead. They have spacious rooms with views of the valley and the mountains. Breakfast and dinner are also included.
How to Get to the Mirador las Torres Base Trailhead from Puerto Natales
Regardless of whether you’re staying in Torres del Paine or not the day before your hike, you do have to get to the national park from Puerto Natales. Unless you’re visiting with an organised tour, you have two options to reach the park independently.
1. Hire Car
If you’re based in the city and want to start your hike as early as possible, we suggest renting a car. From Puerto Natales, drive all the way to the Amarga ranger station first. Here you’ll have to park and show your entry pass to the rangers. Then just continue to drive on the road towards the Welcome Centre car park. You can leave your vehicle there for the duration of your hike. The total driving distance is around 120 km and should take you around 1 hour and 45 minutes.
Hire your car in Puerto Natales with Discover Cars.
2. Public Bus
If you’re staying within Torres del Paine, then you may want to get there by bus to save on a hire car. There are bus companies, like Bus Sur, that run services between Puerto Natales and various points within the national park. Buses depart from Rodoviario Puerto Natales. The closest bus stop to the trailhead is the Terminal Laguna Amarga, so make sure to buy your bus ticket to this one. We suggest securing an early-departure ticket online in the high season. The bus journey time is around 2 hours.
Now, you’ll still be quite far from the trailhead when the bus drops you off. After checking-in at the visitor centre / ranger station, take the Hotel Las Torres shuttle to the trailhead. This shuttle is paid for in cash, so make sure to have enough on you.

Final Thoughts on the Mirador las Torres Base Hike
Overall, we enjoyed the Mirador las Torres Base hike, even though the weather conditions weren’t as perfect as they were when we did the Mount Fitz Roy hike in Argentine Patagonia. Of course, not seeing the three iconic peaks clearly was a bit disappointing, but we’re grateful that we had hardly any wind throughout the day. Our timing in terms of avoiding the crowds was also pretty good, as we managed to miss the tour groups by getting to the trail early with our hire car.
Have you ever done this hike before? If so, let us know what your experience was like. If you found this blog post useful and want to show your support, you can buy us a coffee here.
Now, let your adventure begin,

Remember…It all starts with a Pin…


The scenery here looks spectacular, would love to hike in Patagonia! Thank you for such a detailed post.
Patagonia is definitely worth a visit!
Thank you for this comprehensive post on the hike! It made me want to be already in Patagonia. Beautiful photos also.
Thank you so much!
Thank you for this comprehensive post on the hike! We have been thinking of going to Patagonia and your information is very helpful for preparing.
Thank you!
very detailed and i loved it. wish my knees were better and I would hike it too.
Thank you!
Wonderful photos and great tips – very thorough!
Thank you!
Thank you for the tips for these incredible hikes!
Thank you!