

Hiking the Sky Pond Trail in Rocky Mountain National Park, Colorado

If you’re up for a challenging but rewarding hike filled with alpine lakes and scenic mountain views, then put on your hiking boots and hit the Sky Pond Trail in Rocky Mountain National Park in Colorado.
After driving up the incredibly scenic Trail Ridge Road and completing the moderate Emerald Lake Trail, we were more than ready for a more strenuous hike. Whilst browsing for the best trail to satisfy our cravings, we laid eyes on the Sky Pond Trail via Glacier Gorge. The altitude and elevation gain promised us a tougher hike with a mix of waterfalls, lakes and valley views along the way.
In this guide we’ve summarised our experience, including the route we took, details on national park passes and permits, ways to get to the trailhead, which season is best to visit in and what to expect from the hike itself.
Disclosure: This post may contain affiliate links, which means we may receive a small commission if you click a link and purchase something. Clicking these links won’t cost you anything, but it will help us to keep this site up and running! Learn more about our affiliate policy.

Sky Pond via Glacier Gorge Trail Route Description
We started the Sky Pond Trail from Bear Lake Car Park. Bear Lake is the starting point for many popular hikes in Rocky Mountain National Park. However, you can also start the hike from the Glacier Gorge Junction Car Park, a little bit further back along Bear Lake Road. This car park is smaller though, and the walking distance isn’t much shorter than from Bear Lake.
Whilst we did an out-and-back route, you can also do a circular hike by returning via the Lake Haiyaha and Emerald Lake Trails.
1. Alberta Falls
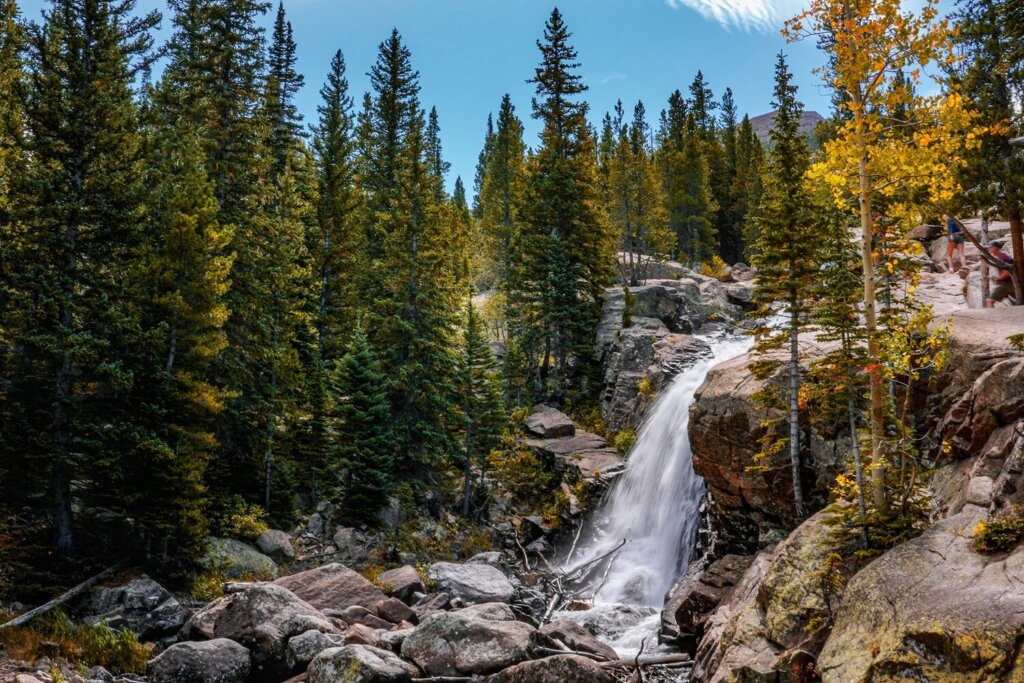
The first section of the Glacier Gorge Trail took us to the beautiful Alberta Falls.
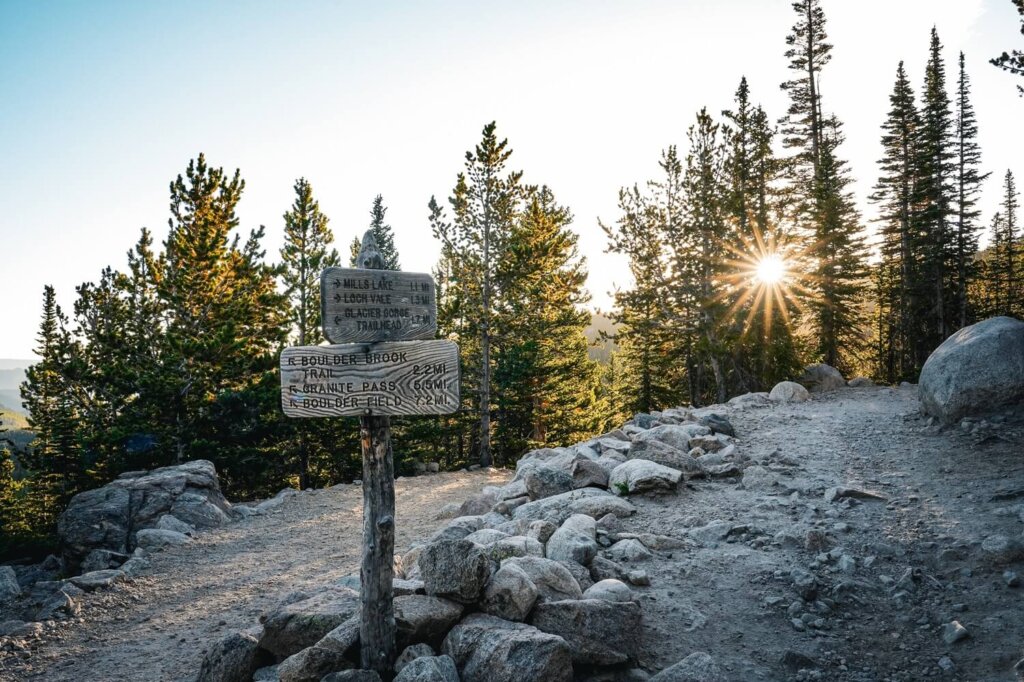
From Bear Lake Car Park, we walked past the Ranger Station until the first fork. Here we took the left path towards Alberta Falls. The other path would’ve taken us around Bear Lake, which is a 0.7 mile (1.1 km) loop. If you haven’t seen Bear Lake yet, just walk down the path to the first viewpoint. Otherwise, follow the signs towards Alberta Falls / Glacier Gorge Junction at the next fork as well.
From the Bear Lake trailhead, Alberta Falls is about 1 mile (1.5 km) away. We climbed steadily along the trail, gaining around 150 ft (45 m) of elevation. The impressive 30-foot (9 m) waterfall at the end definitely deserved a few minutes of our time to admire. It got quite busy later in the day, so it was great to set off early enough to be able to enjoy it without the crowds. Our other highlight along this stretch of the trail was seeing two mule deer right next to the path. We had a similar sighting at Nymph Lake, so perhaps they were the same ones we saw that day.
2. The Loch
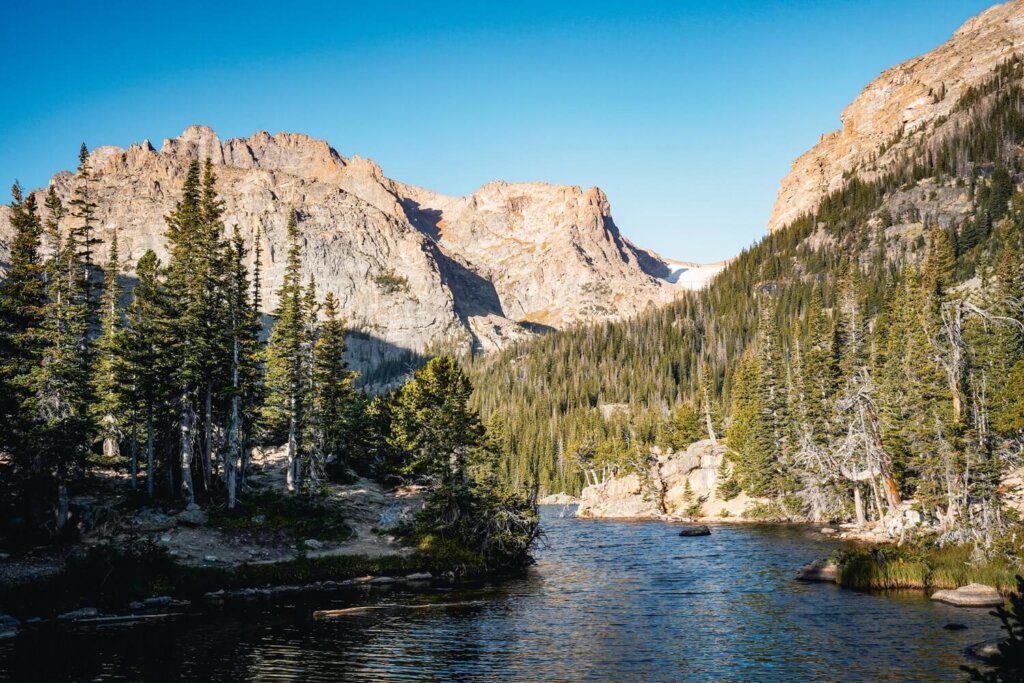
After leaving the waterfall behind, we carried on climbing higher following the Glacier Gorge Trail. This next section to The Loch was about 2 miles (3.2 km) but with 820 ft (250 m) of elevation gain. A little further up from Alberta Falls, we stopped briefly at a lovely viewpoint of Glacier Creek. Then we passed the fork with the North Longs Peak Trail before reaching the junction with the Lake Haiyaha and Sky Pond Trails.
Here we joined the Sky Pond Trail, which would eventually lead us all the way up to the stunning alpine lake of the same name. Soon we reached The Loch, from where we could see Taylor Peak and Taylor Glacier in the distance.

3. Timberline Falls
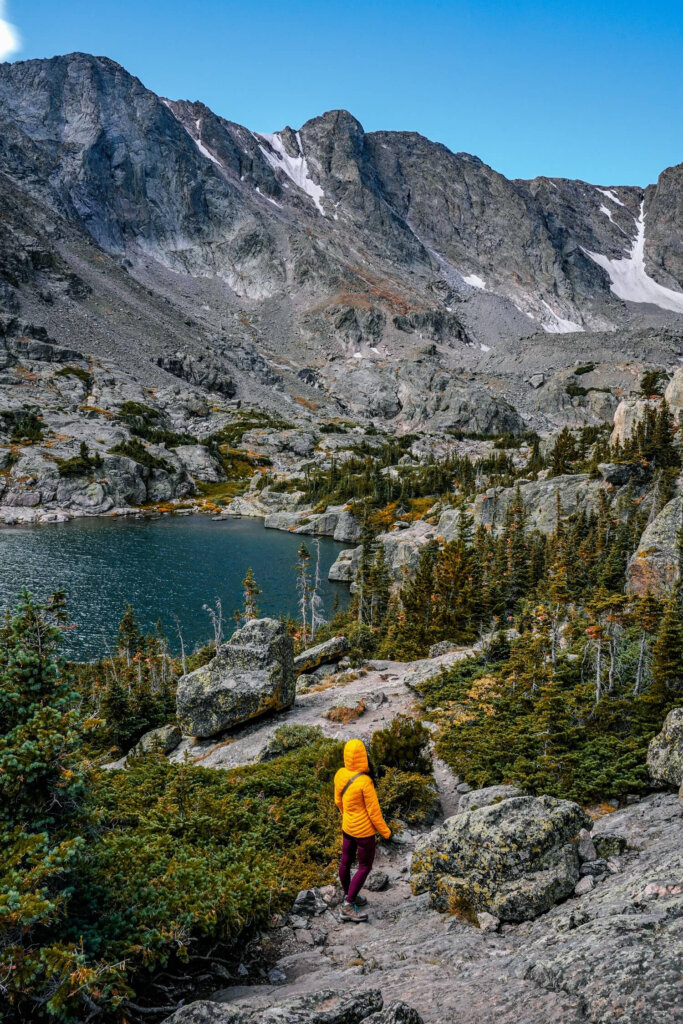
The next 1.2 mile (2 km) stretch of the hike was the toughest. The path continued on along the shores of The Loch towards Timberline Falls and the Lake of Glass. It was a lovely stretch with great views, although the trail became steeper pretty quickly.
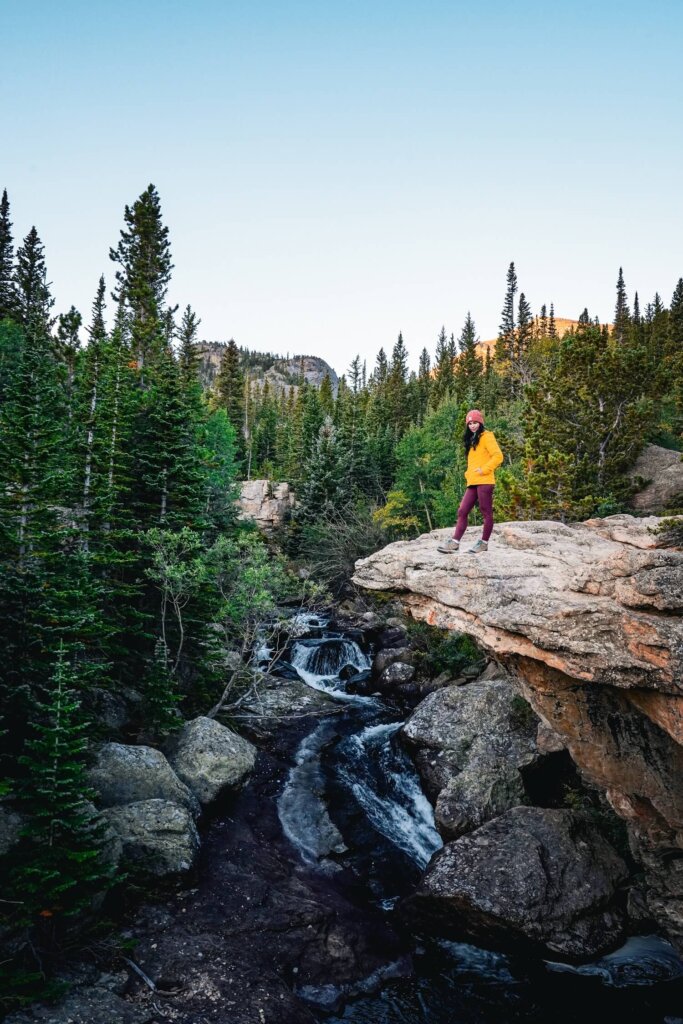
From a distance, we got our first view of Timberline Falls. As we were wondering where the trail was heading next, we realised that in order to reach the Lake of Glass, we’d have to scramble up next to the waterfall. Since we enjoy a bit of a challenge, we were excited to navigate the steep slope, using our hands to complete the final push to the top.
The combination of wet and slippery rock, and people hiking in both directions, made this last section quite time consuming. It somewhat reminded us of our scramble up Crib Goch in North Wales, where large trains of people try to make it along the ridge at the same time.
However, once we got to the top and turned around, the stunning view of the valley and The Loch below us took our breath away. Just before the wind froze the smiles onto our faces!

4. The Lake of Glass
Yes, spoiler alert, it’s pretty windy up at the Lake of Glass! And it doesn’t get any better the further you go. However, the views from around the Lake of Glass were enough encouragement to make us carry on along the trail.
Due to the wind, we didn’t hang around for too long, especially knowing that Sky Pond was just a little further ahead. The path continued around the shore of the lake and we had to pay more attention to the trail because it wasn’t always super obvious where it went.


5. Sky Pond
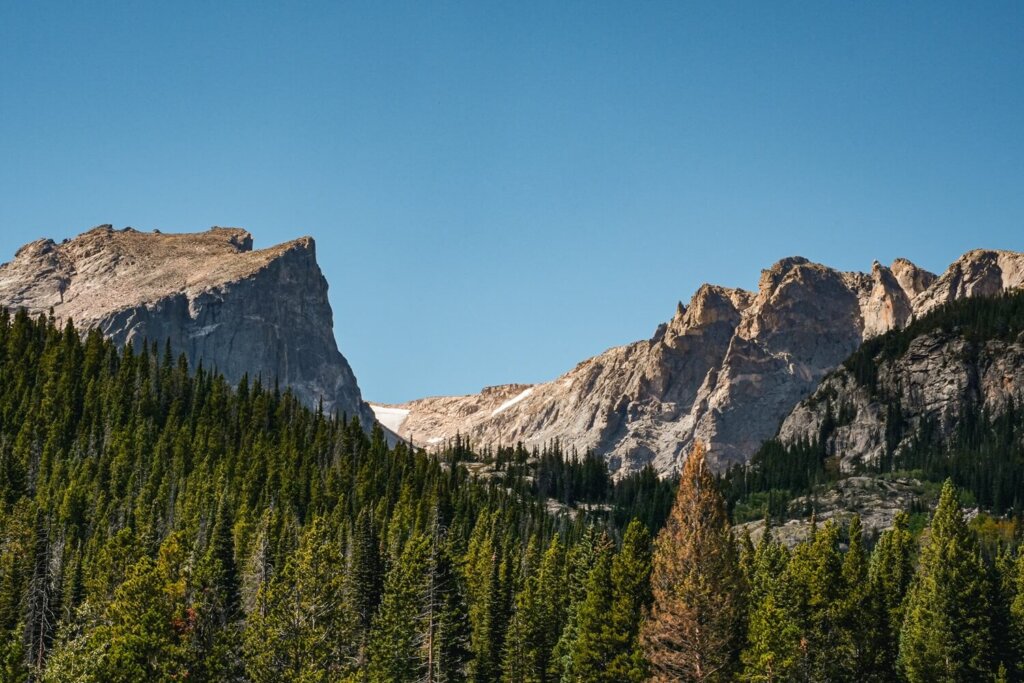
Just 0.3 miles (0.5 km) later we reached our final destination: Sky Pond. This stunning alpine lake is surrounded by some incredibly jagged mountain peaks. The most iconic peak is actually called The Sharkstooth, located on the right side of Sky Pond. Although Taylor Peak behind the lake and Powell Peak to the left weren’t too bad to look at either.
Our initial plan was to have lunch at Sky Pond, but the wind was just too strong, so after spending some time taking photos, we decided to eat our picnic at The Loch.
From The Loch you can essentially just go back the exact same way you came, or take the Lake Haiyaha Trail at the junction with the Glacier Gorge Trail, and follow that back to Bear Lake.
Map of the Sky Pond & Glacier Gorge Trail, RMNP, CO
Sky Pond & Glacier Gorge Trail Quick Statistics:
- Trailhead: Bear Lake Road Car Park (9,450 ft / 2,880 m)
- Trail Length: 9 miles / 14.4 km (Out-and-back)
- Elevation Gain: 1,870 ft / 570 m
- Highest Point: Sky Pond (10,890 ft / 3,320 m)
- Level of Difficulty: Moderate to Hard (Fitness level dependent)
Sky Pond via Glacier Gorge Trail Statistics
Length of the Sky Pond and Glacier Gorge Trail
The Sky Pond Trail via Glacier Gorge is around 9 miles (14.4 km) out-and-back. We set off from Bear Lake Car Park just before 6:30AM and reached Sky Pond around 9:30AM. Of course, we stopped multiple times for photos, snacks and to catch our breaths.
If you want to add a little extra to your hike, then complete the 0.7 mile (1.1 km) Bear Lake Loop at sunrise. This trail is pretty flat, so consider it as a warm up for the steeper hike to come.
In addition, you can also hike via the Emerald Lake Trail then follow the Lake Haiyaha Trail before joining the Sky Pond Trail. However, it’s about 3.1 miles (5 km) to get to the fork of the Lake Haiyaha / Sky Pond / Glacier Gorge Trails – including the slight detour to Lake Haiyaha itself – with an elevation gain of 853 ft (260 m). Whereas it’s only 3.5 km to the same junction, with an elevation gain of 170 m, along the Glacier Gorge Trail. If you want to see Haiyaha Lake, then perhaps do it on your way back.
Sky Pond and Glacier Gorge Trail Level of Difficulty
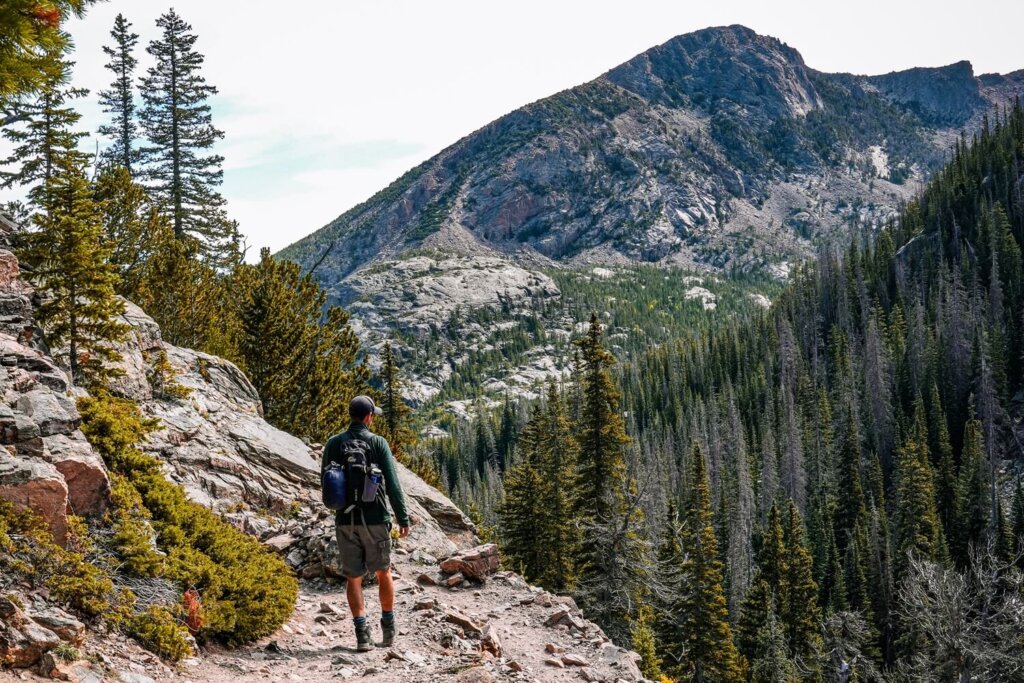
Although on AllTrails this route is marked as hard, we would rate it as moderate to hard. If you have a good level of fitness, are an avid hiker, and also have experience hiking at high altitude, then you’ll find this trail probably more moderate than difficult. Of course, the level of difficulty can also change depending on which season you’re hiking in. Let’s quickly run through the key challenges you could face along the Sky Pond Trail.
Elevation and Altitude
One challenging aspect of the Sky Pond Trail is the altitude and elevation gain. You’ll start at 9,450 ft (2,880 m) above sea level at Bear Lake and will be climbing up to 10,890 ft (3,320 m). This means that you can get altitude sick if you haven’t acclimatised properly before attempting this hike.
There are many symptoms of altitude sickness, including dehydration, dizziness, headaches, shortness of breath, heavy breathing, loss of appetite, nausea and vomiting. It’s good to remember that anyone can develop altitude sickness and its symptoms can be less or more severe depending on the person. If you’re coming from sea level, then spend your first day around Estes Park. Then we recommend completing the Emerald Lake Trail first, which is a shorter, moderate hike with less elevation gain.
Trail Length and Conditions
9 miles (14.4 km) is a decent distance to walk, and can be quite tiring if you’re not used to trekking. If you also want to walk around Bear Lake and hike via Lake Haiyaha, then your overall trail length will be longer. In addition, the descent can also be hard on the knees. If you have knee problems, definitely take some walking poles with you.
The trail itself has many steps and is uneven. Beyond the Lake of Glass it’s also quite rocky and the trail will be slightly harder to follow. On top of that, you’re also required to scramble up Timberline Falls. This roughly 100-ft (30m) climb can be challenging for novice hikers. It’s important to wear hiking appropriate shoes or boots with good grip. Luckily, we both enjoy getting hands on and have done many Grade 1 scrambles in the UK.
Temperatures and Weather Conditions
Lastly, you’ll also have to be mindful of the temperatures when hiking. Depending on the season you’re visiting in, the sun can be pretty intense. Luckily, there are trees that offer shade, but it’s still important to wear a hat, sunglasses and sun-cream. During spring and autumn, you might be faced with muddier trails, and the potential for thunderstorms in the afternoon. This is why it’s important to start your hike earlier in the day. In winter, you have to prepare for icy and snowy conditions and you’ll most likely need to use microspikes.
After Timberline Falls, it’ll be very windy too, so bring layers even in the summer.
Practical Information about the Sky Pond Trail
Rocky Mountain National Park Entry Fee
Having an entry pass to Rocky Mountain National Park is required for your visit. You can buy it in person at the access point, however we recommend purchasing it online in advance, especially if you start your hike early.
Entry fee to Rocky Mountain National Park:
- 1-day private vehicle – $30
- 7-day private vehicle – $35
- 1-day per person – $15
- 7-day per person – $20
- Annual RMNP pass – $70
You only have to buy the ‘Per Person’ entry if you’re arriving on foot or by bicycle. If you’re driving in, then you’ll just pay for one vehicle. We suggest purchasing the 7-day pass, which is much better value for money if you’re spending a few days in the park.
If you’re visiting other national parks in the US during your trip, then consider getting the America the Beautiful Pass. This is only $80 and lets you access all the national parks in the country for 12 months.
Get up-to-date information on prices and discount options on RMNP’s official website.

Timed Entry Permit
Sky Pond is located within the Bear Lake Road Corridor of RMNP. This corridor requires a timed entry permit in addition to the RMNP day/annual pass between May and October. On the website you’ll see a “timed entry option” and a “timed entry + Bear Lake Road Access” option. Make sure to purchase the latter in order to park in the Bear Lake Car Park right at the trailhead. This permit allows you to enter this corridor in 2 hour intervals between 5 AM and 6 PM.
The permit is only an extra $2 on top of your RMNP entry pass. Permits are released on the 1st of the month at 8AM MST, one month prior to the dates of entry. They usually add additional permits each night at 7PM MST for the following day though. The early entries get booked up pretty fast, so keep that in mind when planning your hike. It’s also important that you enter RMNP within the 2-hour window of your chosen time slot.
You can book tickets and find more up-to-date information on the RMNP Timed Entry Permit page.
How to Get to the Sky Pond Trailhead
Hire Car
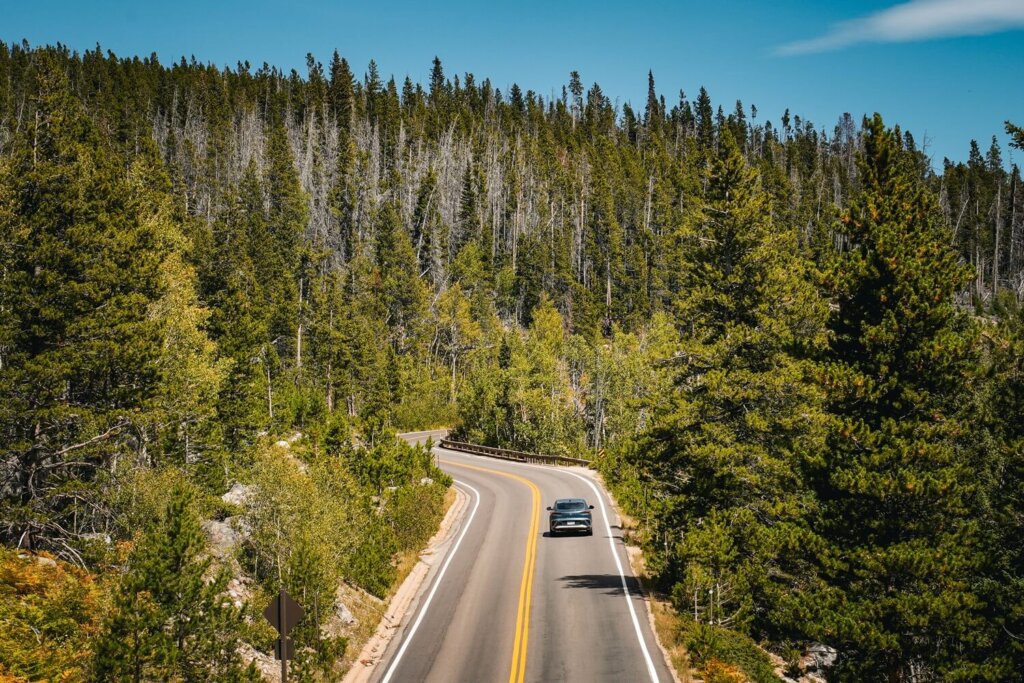
The best way to get to the trailhead is with a car. Having a rental car allowed us to set off as early as we wanted to and gave us a lot of freedom to see other parts of Rocky Mountain National Park as well.
There are actually four entrances to RMNP. For Sky Pond, enter at the Beaver Meadows Entrance which is only about 10 miles west of Estes Park. From Beaver Meadows, it’s an additional 20 minutes to reach Bear Lake Car Park. The huge car park fills up very quickly in the high season, so don’t be late!
Hire your car using Discover Cars where you can find the best rates as they compare local, national, and international companies.
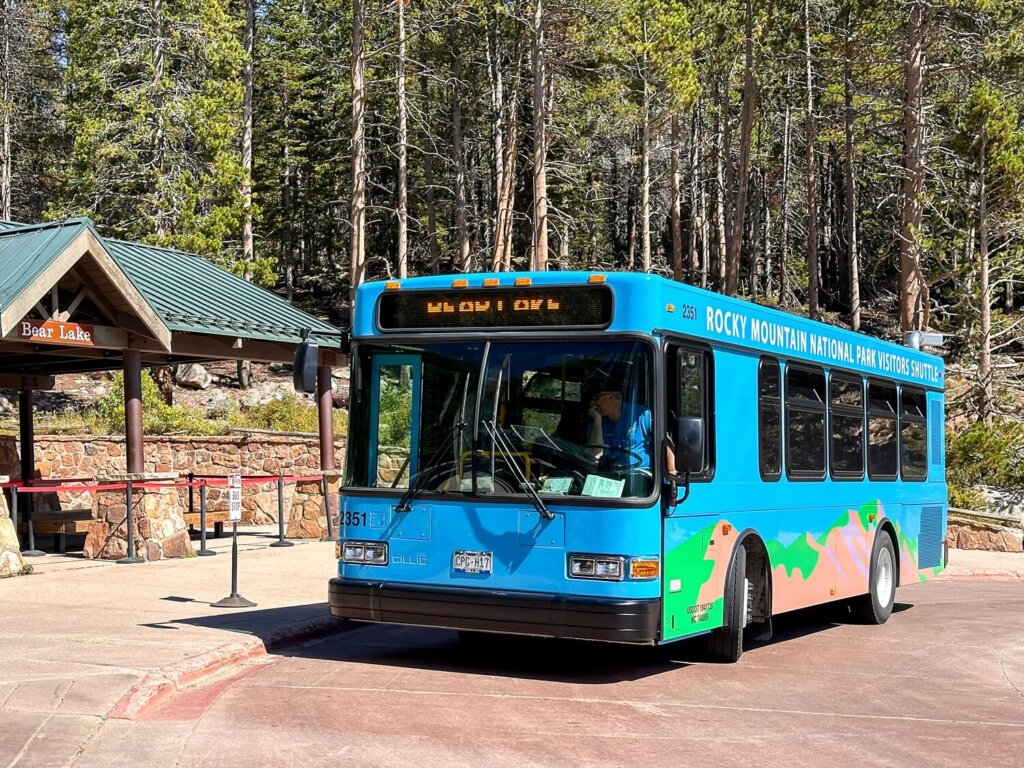
The Hiker Shuttle
If renting a car isn’t an option then you can get to the trailhead with the Hiker Shuttle. The shuttle provides a round trip service departing from the Estes Park Visitor Center. It’ll drop you off at the RMNP Park & Ride. From there, transfer onto the Bear Lake Route and get off at Bear Lake Car Park. Do the same in reverse to get the bus back to Estes Park. Check out the different routes and times on this map.
Also, don’t forget to reserve your Hiker Shuttle ticket online. There’s a $2 reservation fee per transaction. The reservation system is the same as the timed entry permit system and opens on the 1st of the month, one month prior to the dates of entry. Of course, a valid entry pass to the national park will also be needed in addition to the shuttle ticket.
The first shuttle leaves at 8:30AM, which means the trail will be busier in the high season by the time you arrive. Another con for the shuttle is its frequency, which means you’ll have to time your hike well to avoid waiting around for too long at the end. However, it’s still a good option for getting to the park independently.

Best Time to Hike the Sky Pond Trail
You can visit Sky Pond all year-round. However, every season has slightly different pros and cons. Summer is a great month, as the weather will most likely be nice and sunny. Although there are regular thunderstorms in the afternoon, so you’ll want to set off early. Of course, it’s also when the national park will be the most crowded, so be prepared to purchase your timed entry as soon as you know your travel dates and tickets become available.
In the fall months, you’ll get the chance to see the colourful foliage. We visited in mid-September and the leaves were just starting to change. It’s also less busy, although the weather can be cooler and a bit more unpredictable. Spring will be similar to autumn, although you can get snow on the trail up until June, so bear this in mind. During the winter months, you can see the lakes frozen with snow capped mountains as a backdrop. It’ll be much colder though and you’ll need to prepare for icy/snowy trail conditions.
Facilities Around Sky Pond
The only toilets are at Bear Lake Car Park, next to the Ranger Station. There isn’t any place that sells food and drink at the trailhead, so bring enough food and water with you. There are some benches along the route, as well as many rocks to sit on to enjoy the scenery.
Whatever you bring with you, make sure you either take it home with you or dispose of it responsibly. Enjoy your time in nature but Leave No Trace!

Best Places to Stay in Estes Park
If you want to get to Bear Lake early, we highly recommend staying in Estes Park. The town itself is beautiful and has its very own resident elk, who roam the streets freely. There are also plenty of food and shopping options in Estes Park, so it’s a fantastic place to base yourself if you want to do multiple hikes in Rocky Mountain National Park.
Hotels in Estes Park
- Expedition Lodge Estes Park
- Alpine Trail Ridge Inn
- Murphy’s River Lodge
- Hotel Estes
- The Estes Park Resort
- YMCA of The Rockies Estes Park

Additional Things to Do in Rocky Mountain National Park
There’s definitely no shortage of things to do in Rocky Mountain National Park. It’s a hiker’s paradise. We could easily have spent a few months there and still found new hiking trails to complete. However, if you only have a couple of days, then below are a few things that you should consider adding to your itinerary.
Hiking Trails in RMNP
- Bear Lake Loop Trail (easy hike)
- Sprague Lake Loop Trail (easy hike)
- Emerald Lake Trail (moderate hike)
- Short and Easy Hikes in RMNP
Scenic Roads in RMNP
Final Thoughts on Hiking the Sky Pond Trail in RMNP, Colorado
We really enjoyed hiking the Sky Pond Trail in Rocky Mountain National Park. The route was just about challenging enough for a day-hike. We also enjoyed the little scramble up Timberline Falls, which adds a different element to the hike. It was just a bit of a shame that the wind became super strong after the Lake of Glass, as we would’ve probably spent even longer enjoying the jagged mountain views at Sky Pond.
Let us know if you’ve ever hiked up to Sky Pond and what your experience was like.
Now, let your adventure begin,

Remember…It all starts with a Pin…





What a beautiful weather you had for your Sky Pond hike—your photos are absolutely stunning! I love how clearly you laid out each stop along the trail, such helpful tips for planning. I hiked this trail too but wasn’t as lucky with the weather, so seeing your pictures makes me want to try it again. Great inspiration for my next Colorado adventure!
Thank you so much Agnes. Yes, we were very lucky with the weather. Having clear blue skies definitely made the hike much more pleasant even though it was still pretty cold and windy at Sky Pond. But at least the views weren’t obstructed by low clouds! Hope you’ll have better luck with the weather next time.
Thanks for sharing, I have not been to do this trail, I have done a couple of long distance trails including part of the Thames National Trail, so this would be different from that!
There are so many fantastic hikes in RMNP. We definitely would’ve loved to do more. It would also be great to do more long distance trails, we did part of the South West Coast Path, which is such a scenic one!
It looks gorgeous, especially when the leaves start to change. 🙂 Thanks for sharing.
Thank you Karan. It was nice to see the foliage 🙂
what a beautiful hike! I love RMNP and am going there ag
next year. I will be trying to get the timed entry early
RMNP is fantastic isn’t it? Hope you’ll enjoy your visit!
I’m glad there is a hiker bus cause I wouldn’t want my car left outside for a long time! Cars aside hiking looks fabulous here.
Yes, the hiker shuttle is a great option to visit the park indeed!
GREAT advice! We “only” did Emerald Lake, because I was nervous about the altitude, and you just confirmed that I made the right choice.. hoping to build up the courage to do this hike… beautiful photos
Thank you for the feedback Jenn. Yes, scrambling up next to the waterfall definitely put some people off from continuing along the trail to Sky Pond. Hiking at altitude is always risky but hopefully you can get up to Sky Pond in the near future.
With those views, I love the recommendation of a 7 day pass. I feel like you’d need a few days to really enjoy it.
Thank you Taylor. Yes even if you’re only there for two days it’s worth getting the 7 day pass.
Gorgeous photos!!! Need to do this someday. I bet it’s amazing in the fall time.
Thank you so much. Yes, fall is a fantastic time to hike in RMNP and see all the foliage.
Such a comprehensive guide! The views from the hike looks amazing, I’ve love to visit one day!
Thank you so much. It’s definitely a challenging but very rewarding hike in RMNP.