

Hiking the First and Second Flatirons Trail in Boulder, Colorado

Our very first hiking adventure in Colorado was the First and Second Flatirons Loop trail near Boulder. We wanted to get used to the altitude before heading to Rocky Mountain National Park, especially after being at sea level for a long time beforehand. We were after a reasonably challenging trail that would offer us some great views without us having to exert too much effort. So, we decided to hike around the Flatirons, the most iconic backdrop around Boulder.
In this guide we’ll detail everything you need to know about the hiking trail including where to park, the route description, level of difficulty and the best time to complete the trail.
Disclosure: This post may contain affiliate links, which means we may receive a small commission if you click a link and purchase something. Clicking these links won’t cost you anything, but it will help us to keep this site up and running! Learn more about our affiliate policy.
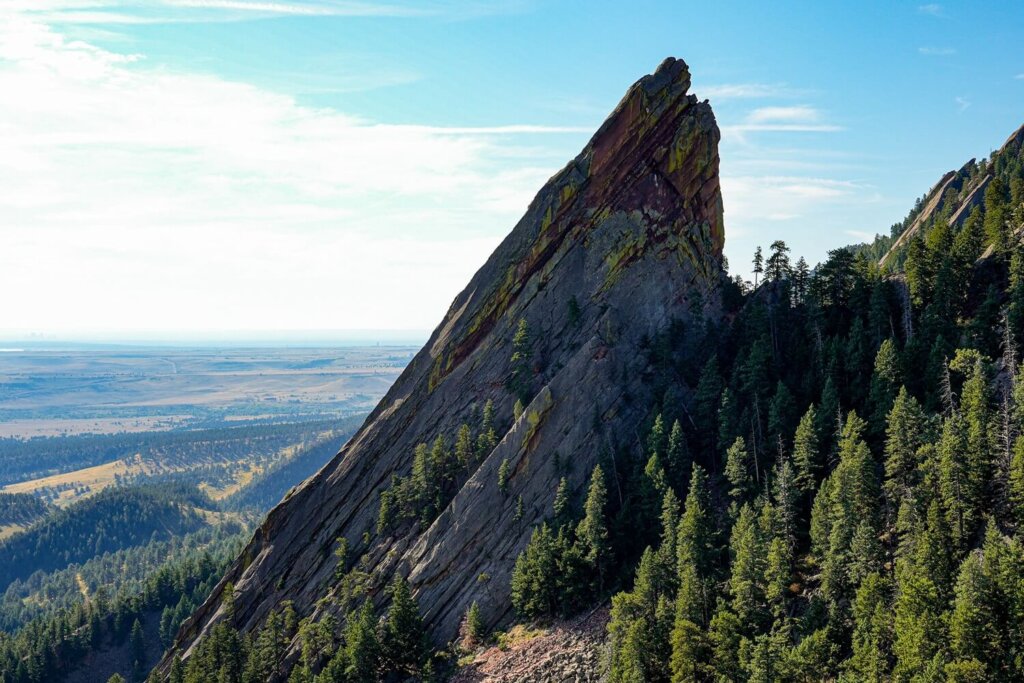
What are the Flatirons?
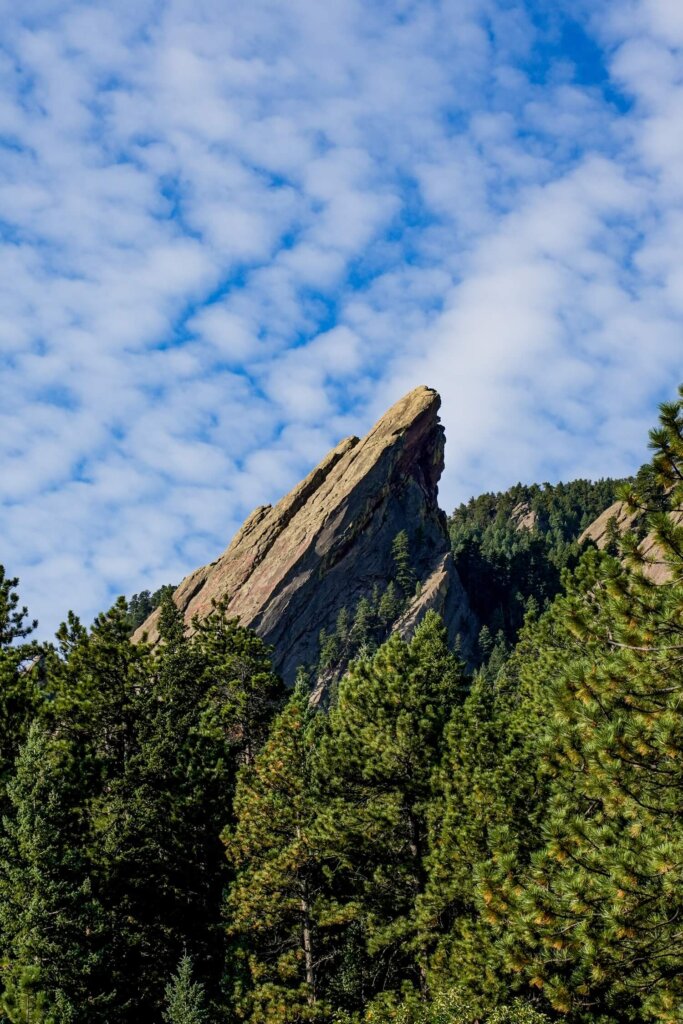
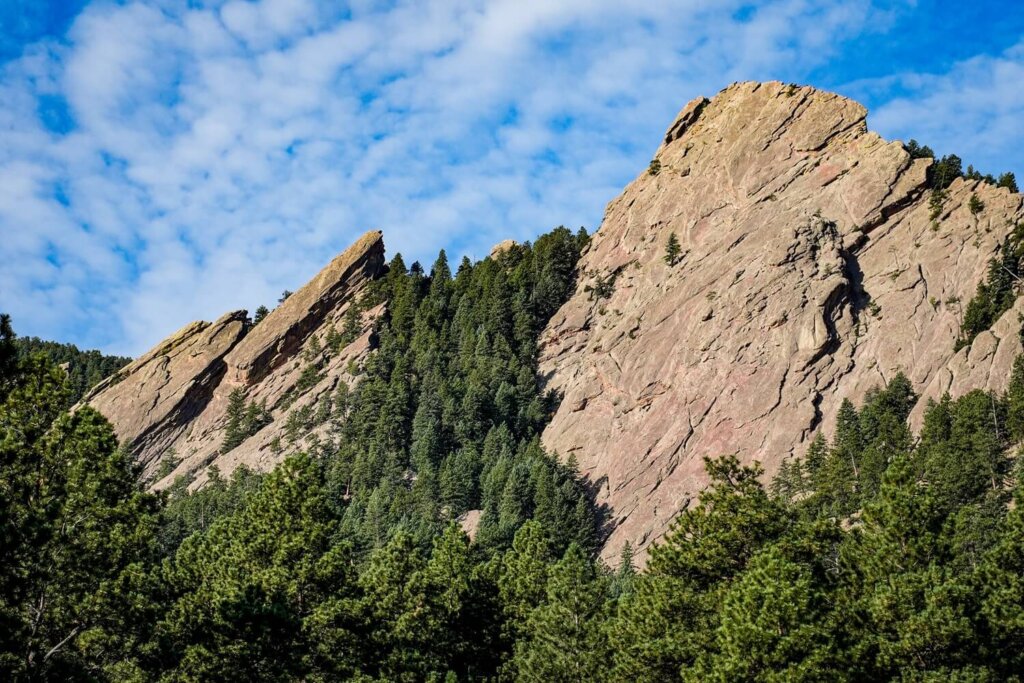
The Flatirons are five prominent formations just outside of Boulder in Colorado. They formed about 290 million years ago, although they got tilted as you see them today between 70 to 64 million years ago. The name “Flatirons” comes from their resemblance to the old-fashioned clothes irons.
Today, these slanted, flat-faced sandstone cliffs are Boulder’s most iconic natural landmark.
Our Top Travel Resources to Visit Boulder in Colorado
- ?️ Find your accommodations with Booking.com
- ?Hire a car using Discover Cars
- ? Stay connected with Holafly eSIM. (Get 5% off with code ‘KITTIAROUNDTHEWORLD’)
- ?️ Don’t forget to buy travel insurance via SafetyWing
1st / 2nd Flatirons Hiking Trail Description
1. Chautauqua Trailhead to 1st / 2nd Flatirons Trailhead
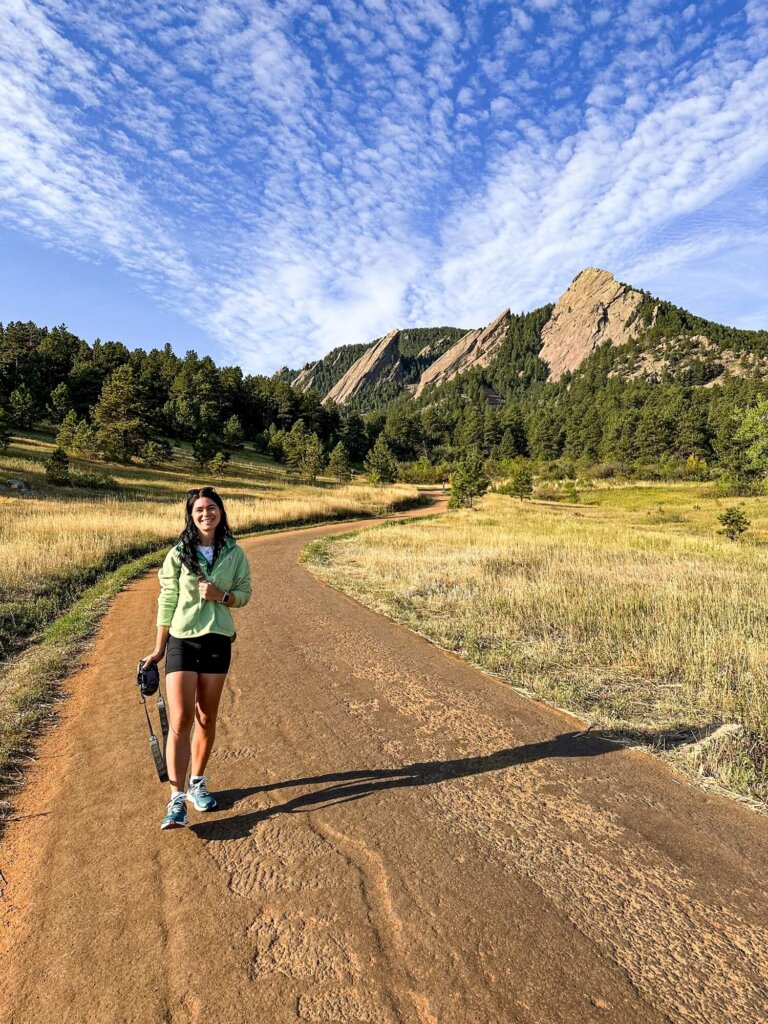
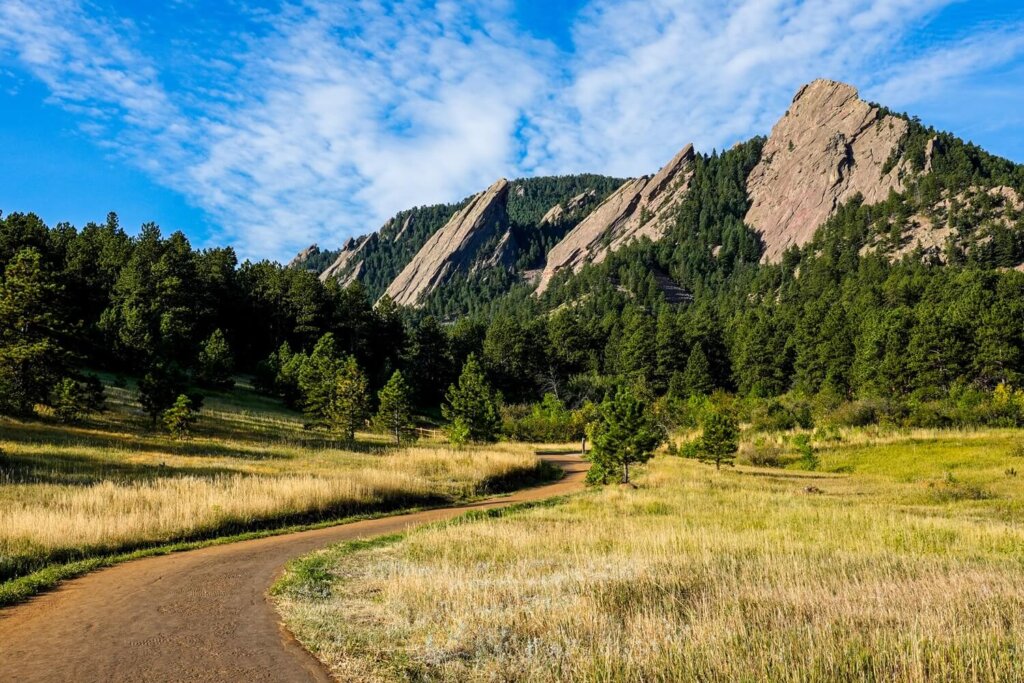
After leaving the car park and getting all the updated information from the Ranger Cottage, we followed the signs towards the trailhead. This first section took us along the Chautauqua Trail, which was a wide and well-maintained path. Since we were at the foot of the Flatirons, we got a really amazing overview of these unique rock formations.
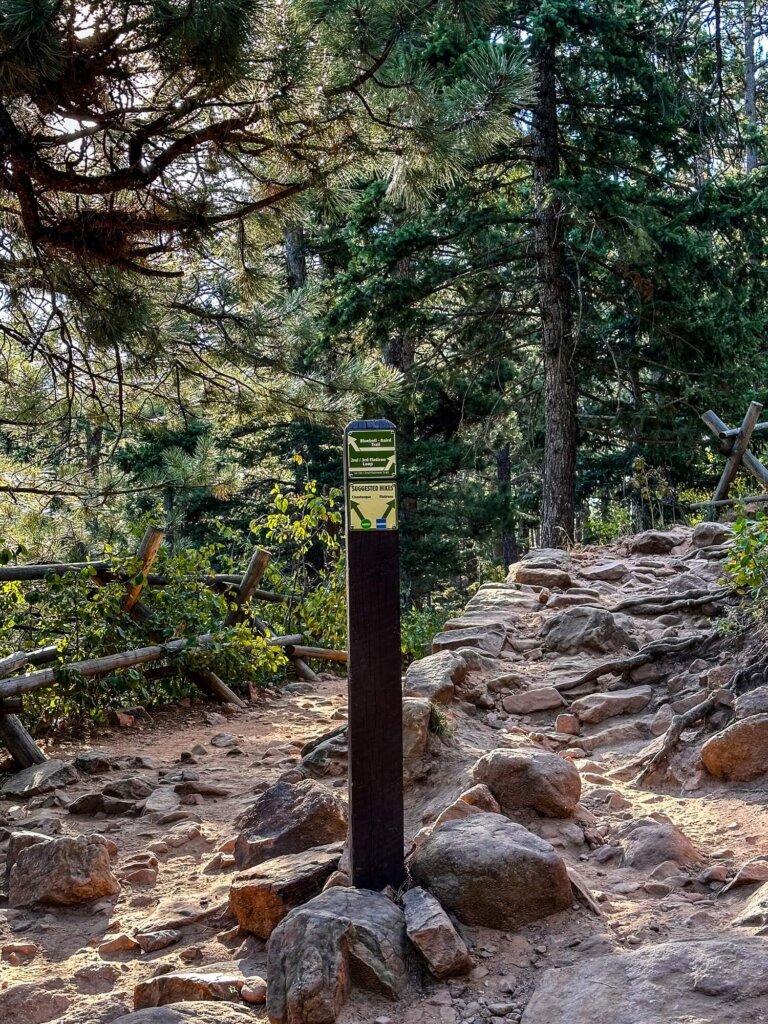
There are many different trails zig-zagging through this area, so make sure to stay on the Chautauqua Trail. Soon, we got to the fork with the Bluebell – Baird Trail. Immediately after that the path splits again. Here we took the trail towards the 2nd / 3rd Flatiron Loop, which is essentially the one that heads uphill. It may be slightly confusing but this path is the Flatiron Loop that leads you to the 1st / 2nd Flatirons Trail, going underneath the 2nd Flatiron towards another popular hike, the Royal Arch Trail.
Up until this point the trail was quite flat. Enjoy that because it won’t be long before the trail gets really steep.


2. 1st / 2nd Flatirons Trail (Out-and-Back)
We continued along the Flatiron Loop for a few minutes before the trail split again. Here we followed the signs to the 1st / 2nd Flatirons Trail. This route essentially took us up between the 1st and the 2nd Flatiron. From the fork the trail got considerably steeper and the terrain rockier and more uneven. Just to compare, we gained only about 525 ft (160 m) of elevation in 0.8 miles (1.25 km) up until this fork. Along the 1st / 2nd Flatiron Trail we gained 804 ft (245 m) in just 0.5 miles (0.8 km).
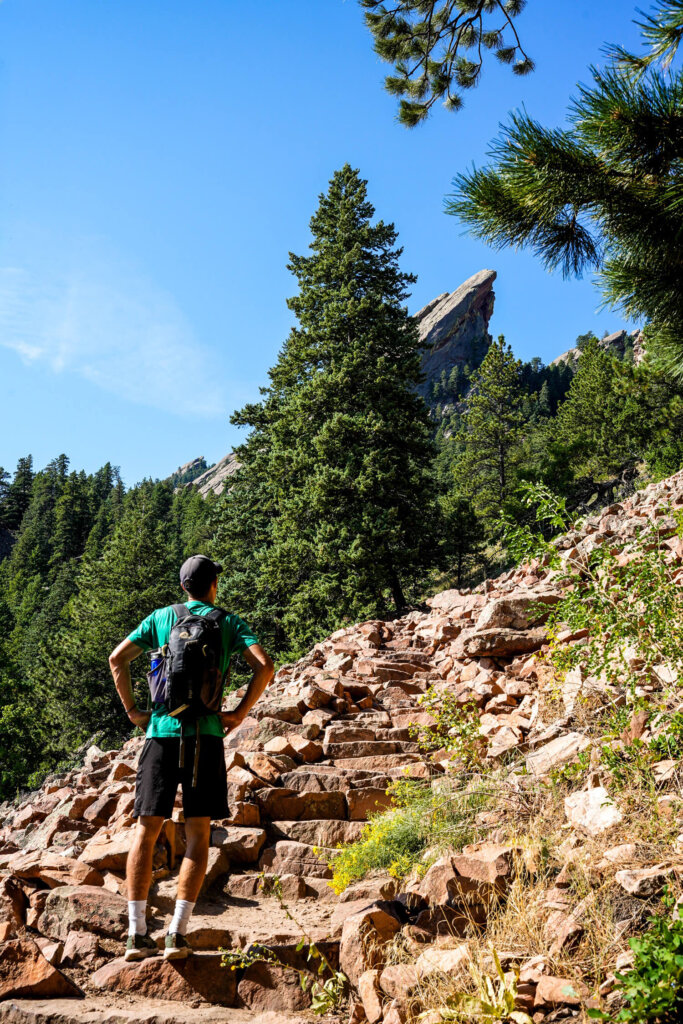
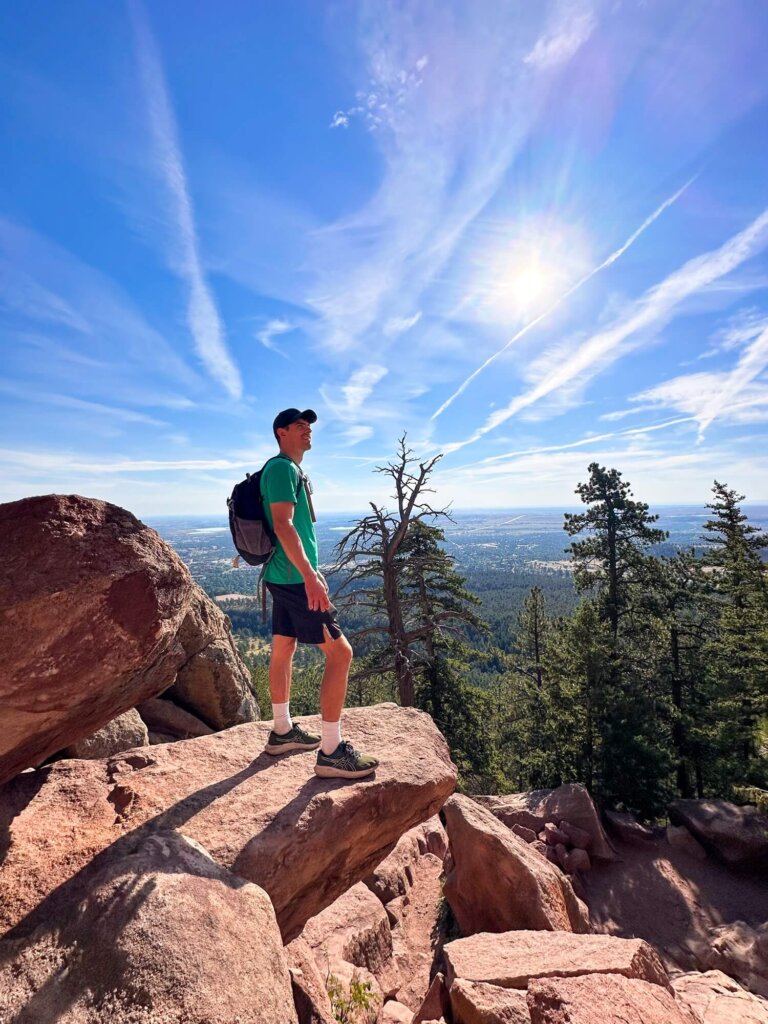
As we made our way up towards the Flatirons via endless switchbacks, we had to climb over some bigger boulders. Then, after gaining a little more elevation, we crossed an open boulder field where we could see for miles. From here, the trail got more technical the higher we got. Luckily, we’ve completed many Grade 1 scrambles where we’ve had to use our hands to follow the trail. Probably the most difficult section was the climb up a smooth rock, especially with my shorter legs. It was all fine though, as there were plenty of worn down hand and foot holds, but you definitely have to focus on where you’re stepping and avoid being distracted by the views.
From that point the trail took us higher up, where we got incredible views as far as we could see. After another 15 minutes or so we reached a viewpoint between the 1st and 2nd Flatirons that looked out towards the 3rd Flatiron in the distance.
3. Flatirons Loop to Bluebell Trail
Here we took a well-deserved break and one too many photos, before hiking back down along the 1st / 2nd Flatiron Trail. Going down was way quicker, if harder on the knees. Walking poles can come in handy to reduce the impact.
Once we were back at the fork with the Flatirons Loop we had a choice to make. We could’ve either retraced our steps back to the junction with the Bluebell-Baird Trail or carried on along the Flatirons Loop trail for a slightly longer walk. We opted for the latter and headed right towards the Royal Arch Trail.
The trail started off steep, taking us right underneath the 2nd Flatiron. From there the path flattened out, before starting to go downhill after passing the junction with the Royal Arch Trail.
4. Bluebell Trail to Chautauqua Trailhead
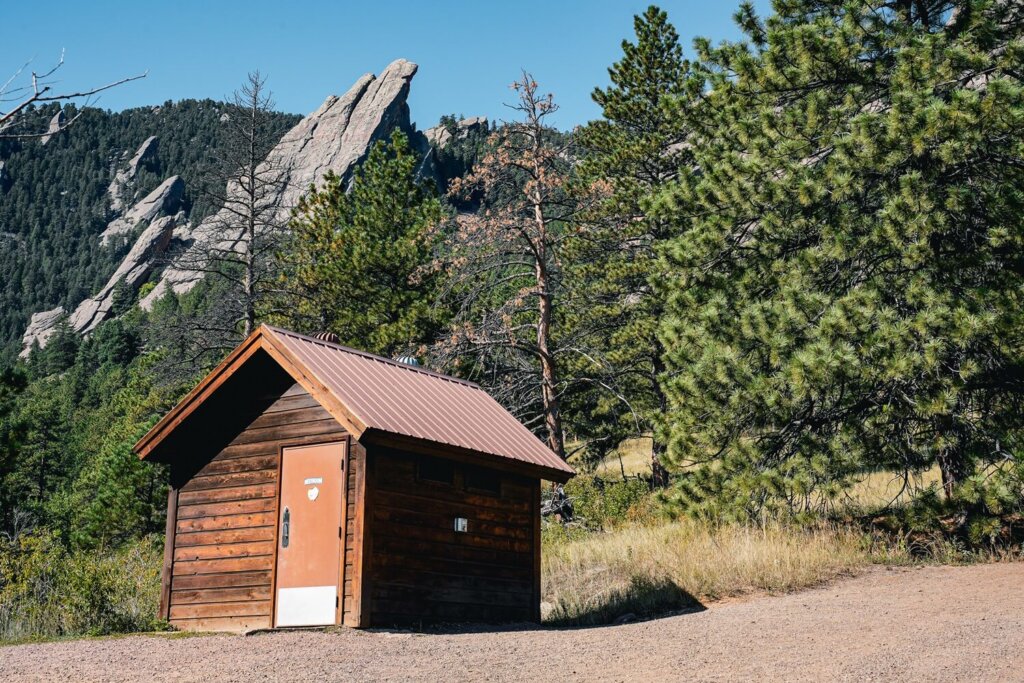
Soon we arrived at the junction with the Bluebell-Baird and Bluebell Road Trails. From the Bluebell Shelter, don’t forget to look back to see the crazy rock formations towering over you once again. At the fork you can follow the Bluebell-Baird Trail, then the Bluebell Mesa Trail, back to the Chautauqua Trailhead.
However, we wanted a circular route so we followed the Bluebell Road Trail instead. This took us back to the car park where we started the hike. Luckily, this path was similar to the first half of the walk, so it was the perfect way to unwind after the adventurous trail.
Map of the 1st / 2nd Flatirons Hiking Trail, Boulder, CO
1st/2nd Flatirons Trail Quick Statistics:
- Trailhead: Chautauqua Park Car Park (5,700 ft / 1,740 m)
- Trail Length: 3 miles / 5 km (loop trail)
- Elevation Gain: 1,545 ft / 471 m
- Highest Point: 7,120 ft / 2,170 m
- Level of Difficulty: Moderate to Hard
Things to Know Before Hiking the 1st / 2nd Flatirons Trail
Length of the 1st / 2nd Flatirons Hiking Trail
The 1st / 2nd Flatirons trail we did was around 3 miles (5 km) long. We set off from the car park around 8:15 AM and started the 1st / 2nd Flatirons section around 8:45 AM. We tackled this steep section in just over 30 minutes, which included a few short breaks for photos and some hydration. After spending some time at the viewpoint we got back to the car park around 10:30 AM.
Depending on your level of fitness, you may want to take your time on the uphill section, or perhaps descend more slowly.


1st / 2nd Flatirons Hiking Trail Level of Difficulty
We would rate the 1st / 2nd Flatirons hiking trail in Boulder as moderate to hard. If you have a good level of fitness, are an avid hiker, and also have experience hiking at higher altitudes and scrambling, then you’ll find this trail probably more moderate than difficult.
Your starting elevation is around 5,700 ft (1,740 m) above sea level and the highest point will be at around 7,120 ft (2,170 m). Gaining over 1,500 ft (460 m) of elevation is a significant amount on a 3 mile (5 km) long trail, which can be challenging for some. You’ll be below 8,200 ft (2,500 m), so you probably won’t get altitude sickness, but if you’re arriving from sea level there’s a chance that you could get a headache. Make sure to watch your symptoms and stay hydrated.
The most strenuous part of the entire trail is the 1st / 2nd Flatirons Trail itself. Here, you’ll have to tackle a combination of steep ascents, uneven and rocky path, climbs over bigger boulders and scrambling up a smooth rock face. In the meantime, you’ll be more exposed the higher up you go, so be mindful of the weather conditions and take it slow if you have a fear of heights.
Of course, the level of difficulty can also change depending on which season you attempt this trail in.
Best Time to Hike the Flatirons Trail
The trails are open all-year-round, apart from potential closures due to weather conditions. Every season will have its own advantages and challenges, and will offer different experiences.
In spring, you can enjoy the wildflower-filled fields but the temperatures can still be a bit on the cooler side. The trail can also be muddy and still have some snow on it. During the summer months you can enjoy much warmer temperatures lower down, although you’ll still be pretty exposed higher up. It’s also the peak season, so expect to see more people on the trails.
In the fall months, you’ll get the chance to see the colourful foliage. We visited in mid-September and the leaves were just starting to change. The weather is still nice, although it can be cooler and a bit more unpredictable.
In winter, we only recommend completing the Flatiron Trail if you’re an experienced hiker / mountaineer. There will be snow and ice on the trail, with much colder temperatures, so you’ll need to use microspikes or crampons.
Practical Information for Hiking the Flatirons Trail in Boulder
Flatirons Operating Hours and Entry Fees
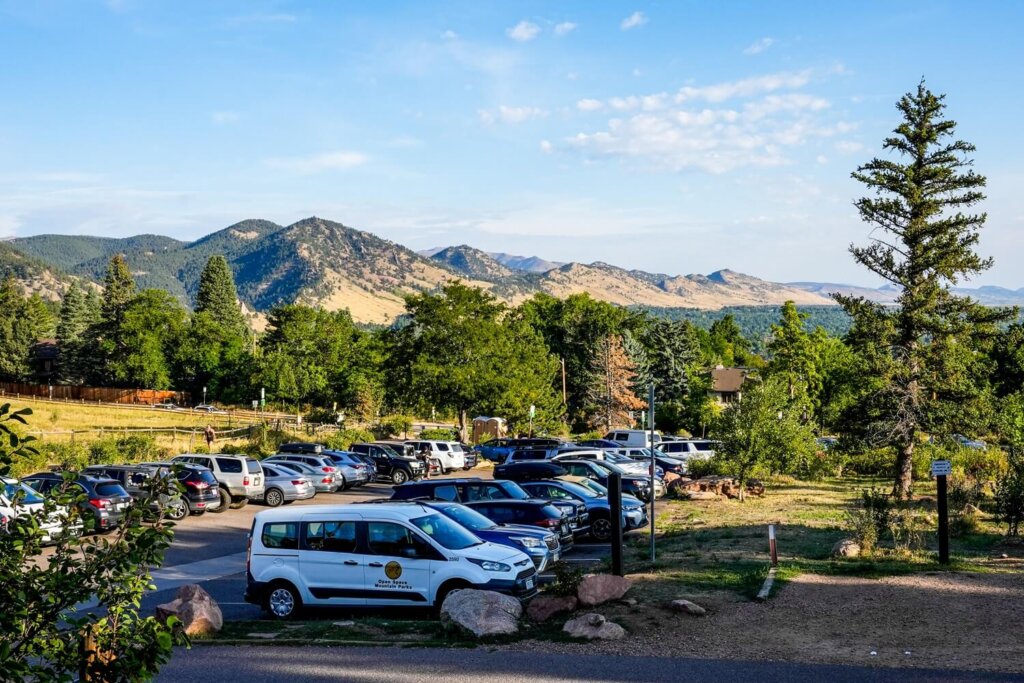
The Flatirons and Chautauqua Park are open every day from sunrise to sunset. However, some areas could have seasonal closures due to weather conditions. We suggest stopping by the Ranger Cottage to get up-to-date information on available trails, wildlife and weather conditions for the day.
There is also no entry fee to visit the Flatirons. Parking is available at Chautauqua Park Car Park right at the trailhead. You’ll only need to pay for parking if you arrive on weekends, holidays and during the summer months.
Amenities Around the Flatirons Trail
At Chautauqua Park there’s a visitor center, toilets and kiosks which provide up-to-date information and maps about the surrounding trails.
We recommend bringing enough food and drinks to sustain you for the hike. There are picnic areas and benches where you can take a rest and have a picnic. As always, whatever you bring with you, make sure you either take it home with you or dispose of it responsibly. Enjoy your time in nature but Leave No Trace!
If you’re after a proper meal, there are many places to eat in Boulder.
Where to Stay in Boulder
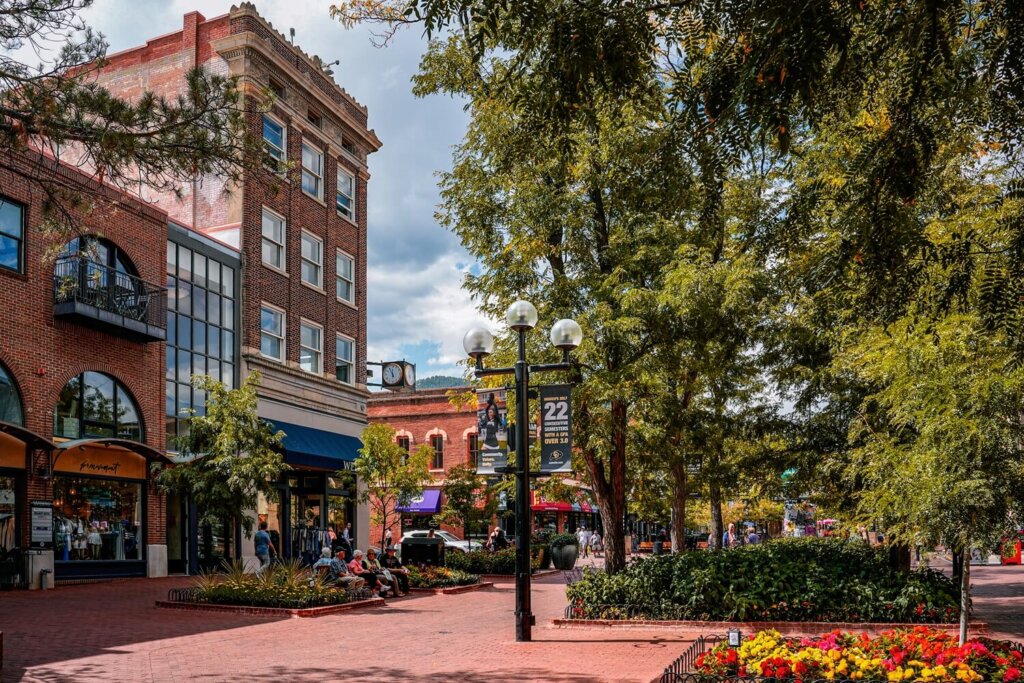
Boulder is a great place to stay if you want to complete the Flatirons hiking trail. There are many great hotels and hostels that cater for everyone’s budget and needs. Plus, there are plenty of amenities including cafes, bars and restaurants.
Hotels in Boulder:
- A-Lodge Boulder
- Hampton Inn & Suites Boulder North
- Hotel Boulderado
- Boulder Marriott
- Embassy Suites By Hilton Boulder
- Basecamp Boulder
Final Thoughts on Hiking the 1st / 2nd Flatirons Trail in Boulder
The 1st / 2nd Flatirons Trail is perfect if you want to complete a short but exciting trail, acclimatise to higher altitude hikes in the area and enjoy the varied scenery. Arriving from New York City, hiking the Flatirons was a great first hike in Colorado. It definitely helped us to prepare for the much higher elevations we encountered on the following days in Rocky Mountain National Park.
Let us know if you’ve ever hiked this route and what your experience was like. If you haven’t, would you add this trail to your Colorado itinerary?
Now, let your adventure begin,

Remember…It all starts with a Pin…






This is so helpful. Definitely saving this for later.
Thank you!
Thanks for sharing these gorgeous images! My hiking days are behind me though I enjoyed Colorado hiking in the past.
Colorado is fantastic for hiking!
We often hike Royal Arch in favor of the 1st/2nd Flatirons, but you’re inspiring me to fit in a Flatiron hike sometime this fall, thanks!
We also wanted to hike Royal Arch, but unfortunately the trail was closed on the day of our visit. Hope you’ll enjoy the 1st/2nd Flatirons, it’s also a fun hike.
Sounds like an amazing hike and thank you for sharing all the details! Colorado is high on my bucket list – will definitely be doing this hike when I visit!
Colorado is so amazing for hiking! I hope that we can come back in the near future to see more of the state.
This is so helpful! I’ve only hiked once and have been wanting to go to some other places! Will add this to my list!
There’s no shortage of hiking trails in Colorado that’s for sure.