Acatenango Overnight Hike – A Day by Day Itinerary
So you’ve just booked the Acatenango overnight hike, one of the most popular multi-day treks in Guatemala. You may be wondering what those two days will look like? If that’s the case, then you’re in the right place. We recently completed the 2-day Acatenango hike and it has become one of our favourite trekking adventures ever.
In this guide we’ll break the hike down into its different sections for you, so you’ll be able to see where and when you’ll start, what the trail is like, when you’ll eat and how you’ll spend the evening at base camp. We’ll also give you some information on the Fuego hike, as well as what it’s like to summit Acatenango on day two.
If you’d like to see our hike up this volcano, then make sure to watch our dedicated Acatenango video on our YouTube channel. For more Guatemala videos, you can also check out our Guatemala series.
Disclosure: This post may contain affiliate links, which means we may receive a small commission if you click a link and purchase something. Clicking these links won’t cost you anything, but it will help us to keep this site up and running! Learn more about our affiliate policy.
Quick Facts About Volcan Acatenango and Volcan de Fuego
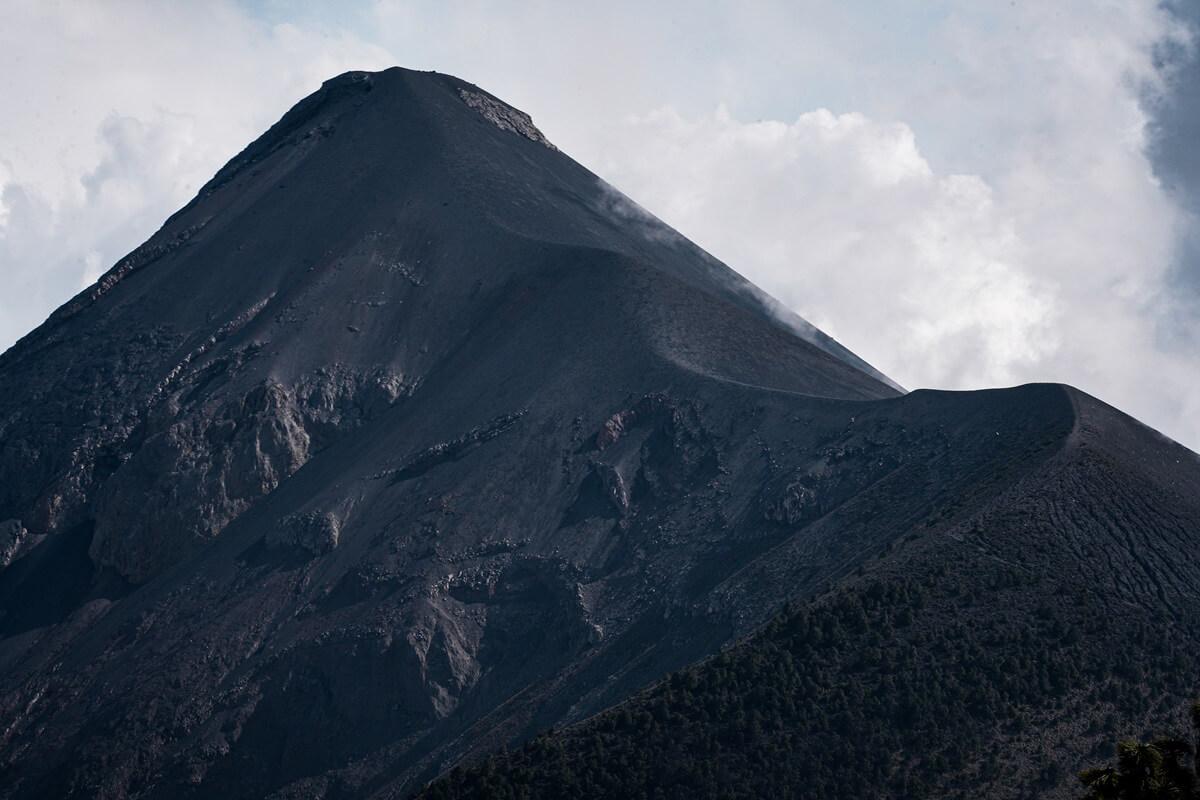
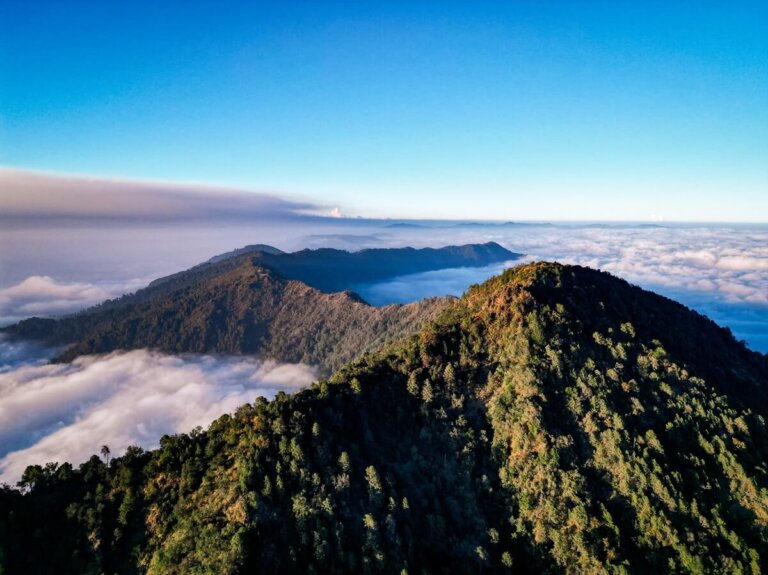
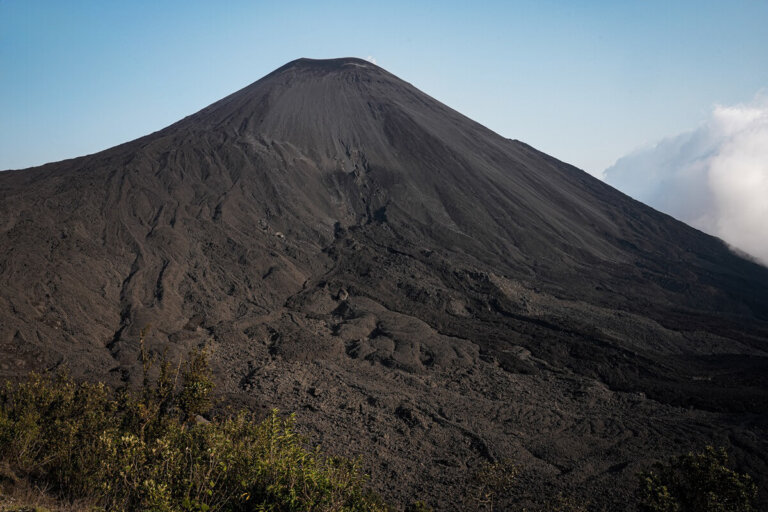
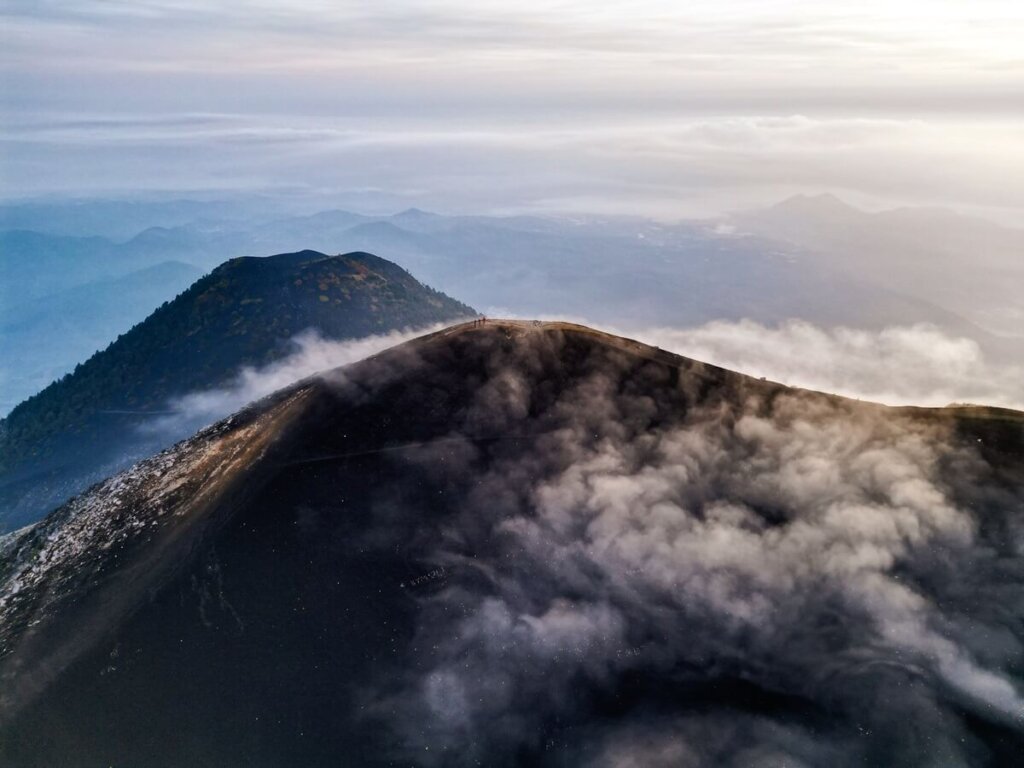
Acatenango is one of 37 official volcanoes in Guatemala. This stratovolcano is located to the southwest of the city of Antigua. With a height of 3,976 m (13,044 ft) it’s one of the highest stratovolcanoes in Central America.
Acatenango has two peaks: the northern summit is called Yepocapa (3,800 m / 12,467 ft) and the southern summit is called Pico Central (3,976 m / 13,044 ft). Known historical eruptions of Acatenango occurred between 1924 and 1927.
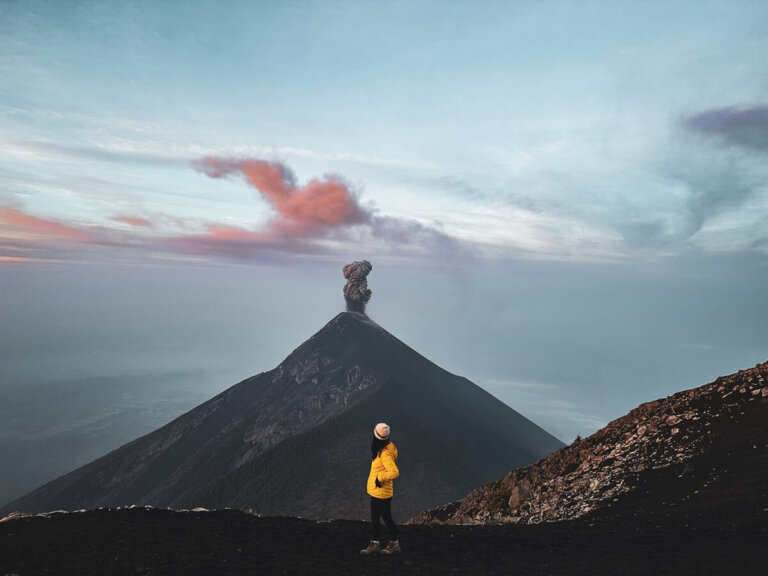
Acatenango’s twin is Volcan de Fuego (Volcano of Fire) which is currently one of the 3 active volcanoes in Guatemala. Since 1524, Fuego has erupted seriously at least 60 times. Small eruptions occur very regularly, producing plumes of fine ash up to 10 km high, lava and hot pyroclastic flows.
The last major eruption of Fuego was in 2018. This was actually the deadliest eruption in Guatemala since Santa Maria Volcano erupted back in 1902.
Acatenango Overnight Hike Route Map
2-Day Acatenango Hike Stats:
- Trailhead: La Soledad (2,400 m / 7,874 ft)
- Basecamp: 3,700 m / 12,139 ft
- Summit of Acatenango: 3,976 m / 13,044 ft
- Volcan de Fuego Viewpoint: 3,570 m / 11,712 ft
- Level of Difficulty: Hard

Acatenango Overnight Hike – A Day by Day Itinerary
Day 1: Hiking to Acatenango Basecamp
Tour Office in Antigua: Preparing for the Acatenango Overnight Hike
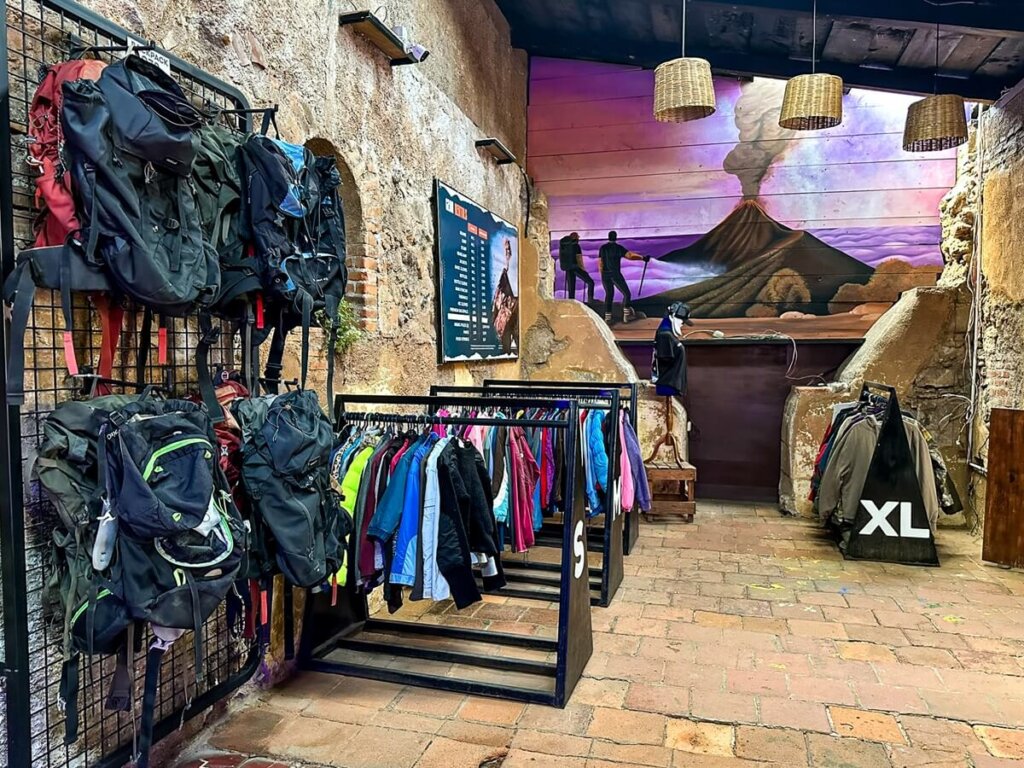
We had to arrive at the tour office in Antigua at 7AM. Even though we could pick out all the extra gear we needed the day before, we couldn’t actually take it home. This meant that we had to pack all of our bags at the office in the morning. We were also provided with breakfast, which was greatly appreciated. It was also nice to start chatting to our fellow hikers.
By the time everybody had had some food, packed their bags, filled up their water bottles and stocked up on snacks, it was 9AM. At this point, we hopped in the minivan and drove another hour from Antigua to the trailhead in La Soledad.
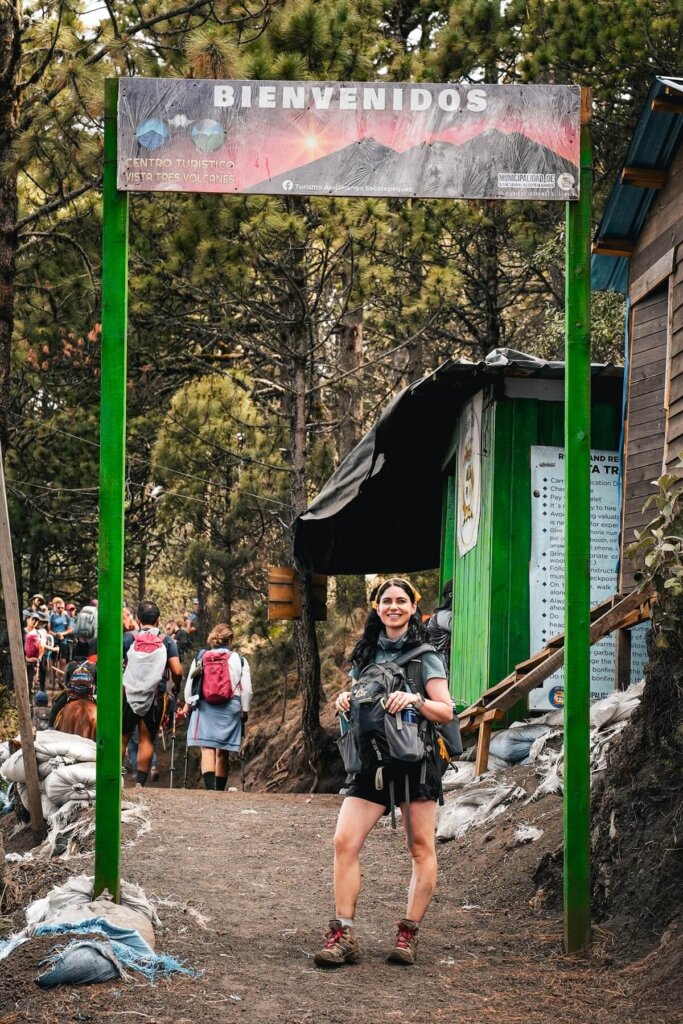
Once we arrived, we sat down once again to meet our guides, who talked us through what to expect from the upcoming hike. We could also use the toilet facilities here. It was around 10:30AM by the time we started hiking.
First Section: Trailhead in La Soledad (2,400 m) to the Cloud Forest Snack Spot (2,700 m)
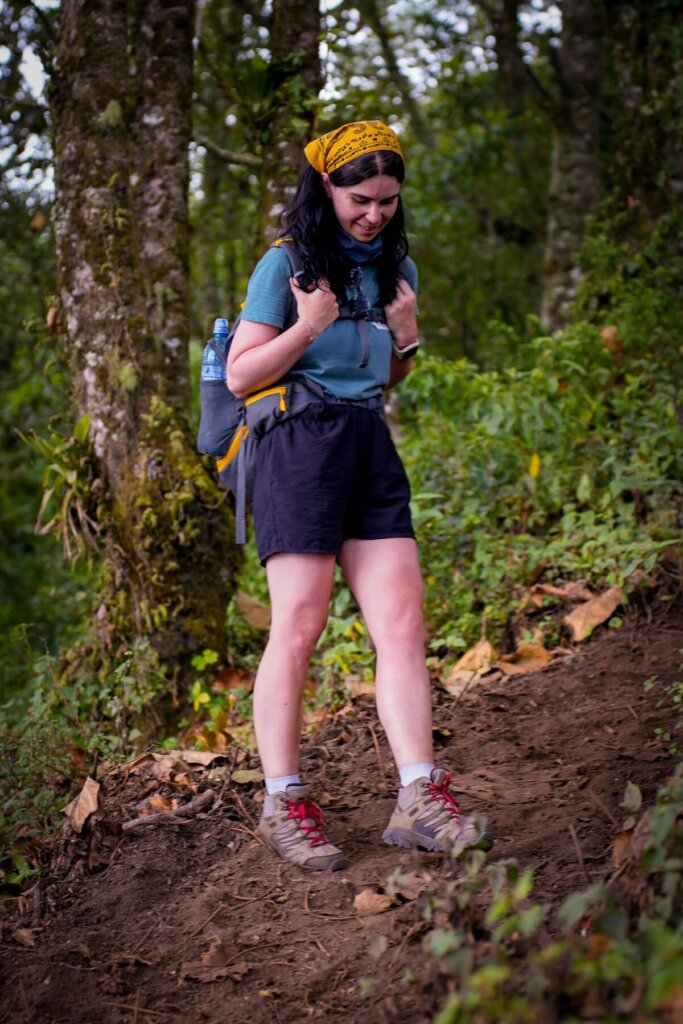
The start of the trail is immediately quite steep. This can be a bit of a shock to the system after spending a few hours just sitting around the office and in the minivan.
The trail started off pretty dusty. We passed some groups coming down who’d just finished their overnight Acatenango hike, which made it even more dusty. Luckily, we took a few breaks and could pretty much go at our own pace.
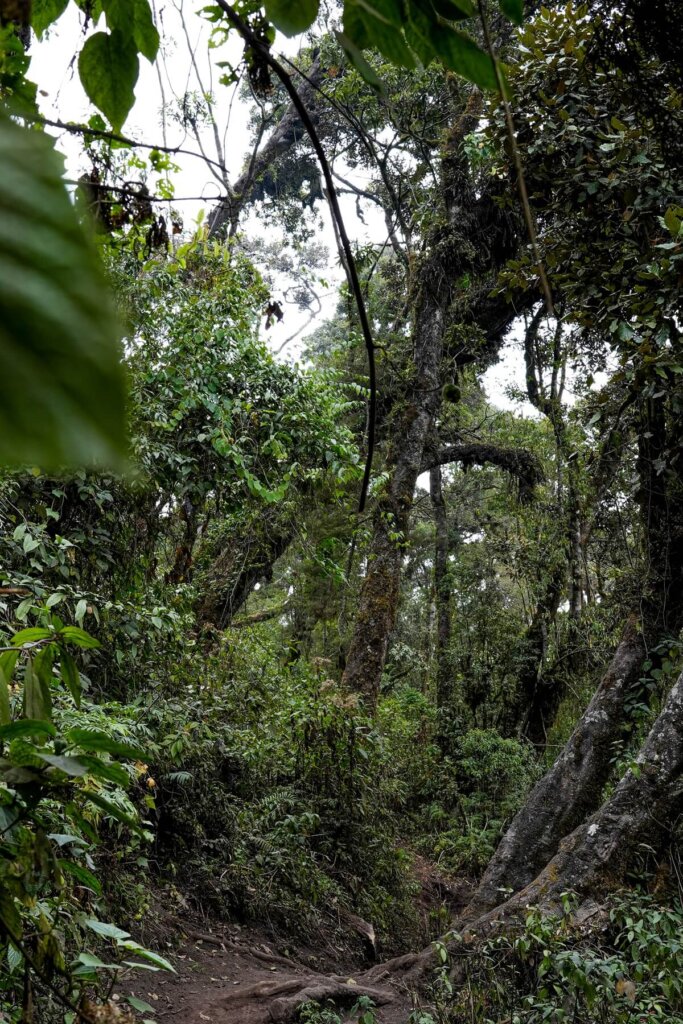
After winding our way up through some local farmland with beautiful views of the surrounding area, we soon reached the start of the cloud forest. This is where the narrow and steeper switchback section starts. Thankfully, we found this section nowhere near as steep as Volcan Santa Maria. However, many people in our group found this part quite difficult. Before reaching the next snack spot at 2,700 m above sea level, we’d already gained about 300 m of elevation.
Second Section: From 2,700 m to the Lunch Spot (3,200 m)
During this next section we gained about 500 m of elevation. It wasn’t crazy steep, but of course it wasn’t flat either. We were still walking through the cloud forest, which was beautiful and had the added benefit of providing us with well-needed shade and cooler temperatures.
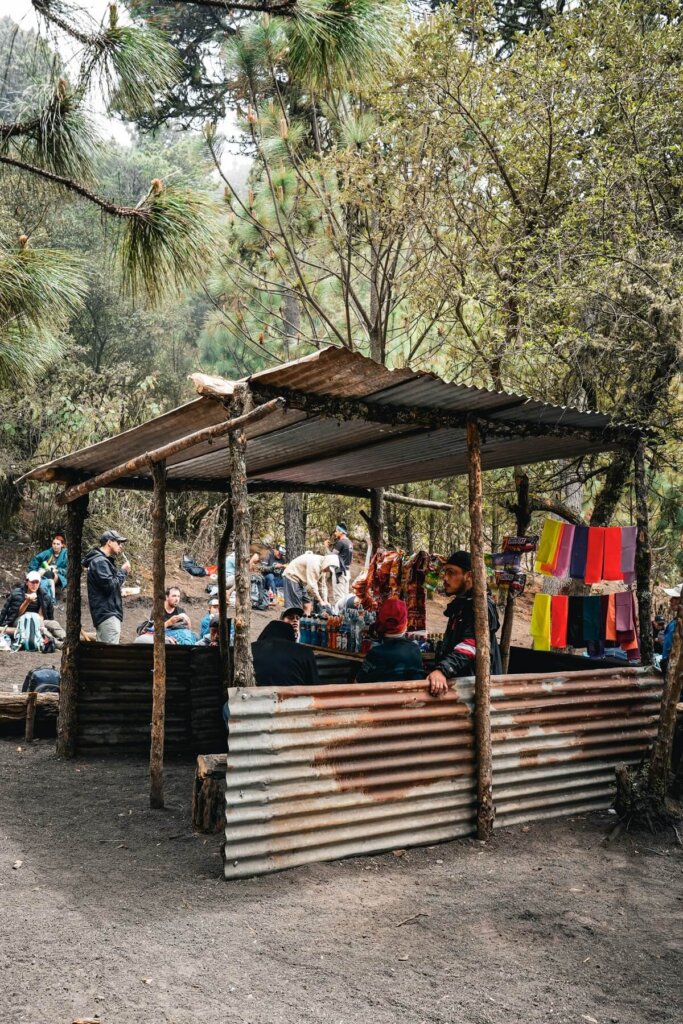
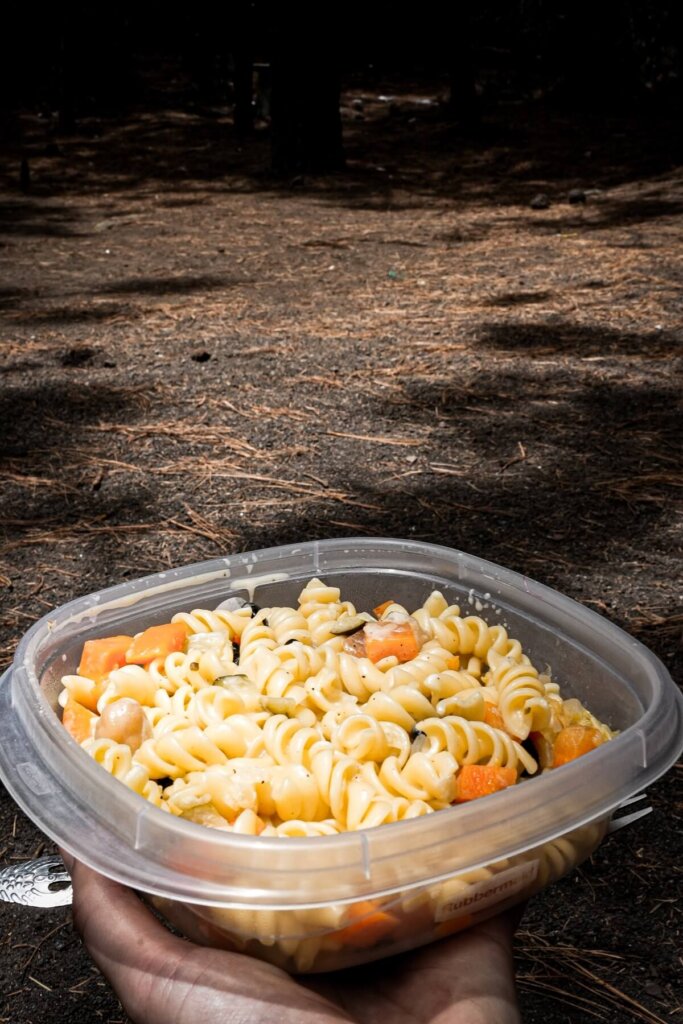
Soon we reached the lunch spot, which is located about 3,200 m above sea level. Since all tour groups stop here for lunch, it was quite busy. This is when we really realised just how many people do the overnight Acatenango hike each day. It was a similar feeling to when we reached the Salkantay Pass on our 5-day Salkantay Trek to Machu Picchu in Peru.
To our surprise, there was a little tin shed there being used as a shop, or tienda. They were selling rehydration drinks, soft drinks and a few snacks. For reference, a bottle of Gatorade cost about Q25.
They’ll be a toilet here but we suggest finding a quiet spot further away, as the toilet didn’t look or smell particularly inviting.
Third Section: Lunch Spot (3,200 m ) to Base Camp (3,700 m)
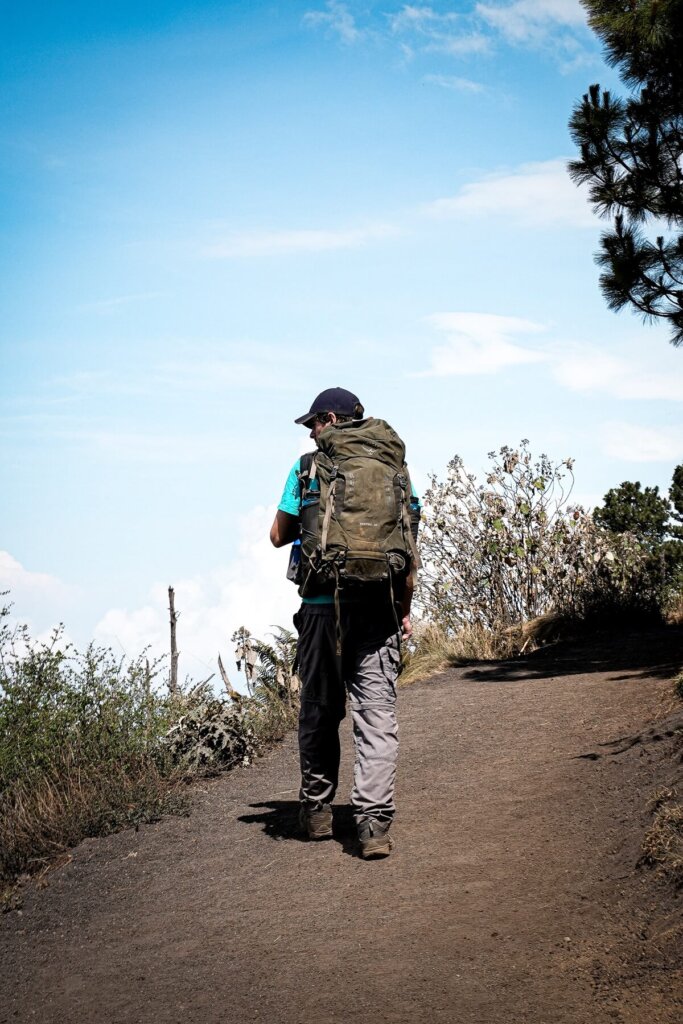
The last section before base camp took us through the temperate coniferous forest and tropical dry forest biomes. It was quite a short section, only about 2 hours of hiking, during which we gained another 500 m of elevation. The first hour was quite steep until we reached the point where the trucks drop the big backpacks off.
From this point, we could’ve paid another Q100 for a local porter to carry our big bags up to base camp. We decided to carry them ourselves. We were around 3,500 m above sea level here and had another hour of hiking to go before we reached base camp. About 45 minutes of that was ‘Guatemalan flat’. It was certainly a nice change of pace, and we were able to see Volcan Agua in the distance most of the time.
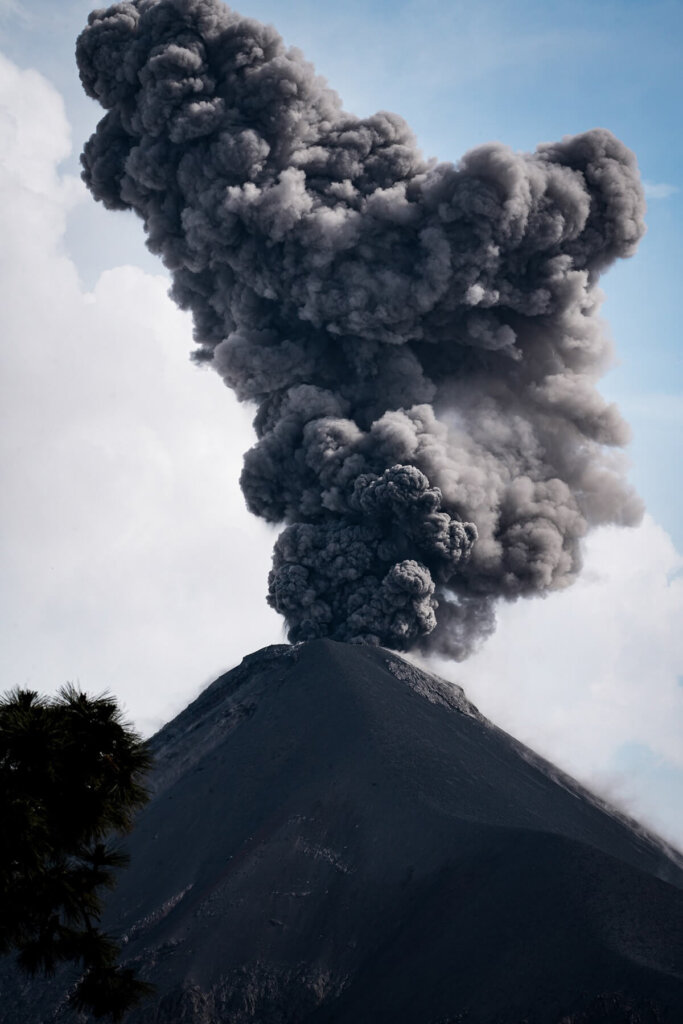
Depending on where your camp is located, you may have to go through another short, steep section before you reach it. You won’t actually see Fuego until you arrive to your camp. However, the reward of reaching your campsite and seeing Fuego for the first time makes all the sweat and dirt worthwhile. It actually erupted just as we arrived, which was the best reward for our efforts.
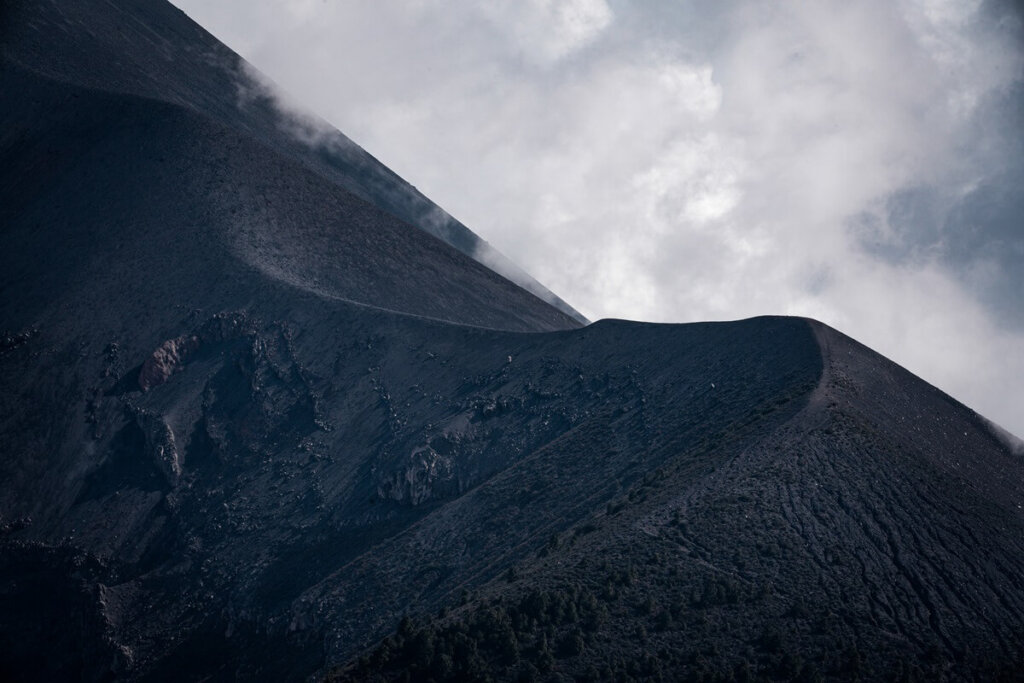
Day 1: Hiking from Acatenango Base Camp to Fuego Viewpoint (Option 1)
Now, once you’ve arrived at basecamp and have dropped off your backpack, you’ll get the chance to pick between going on the additional Fuego hike or staying at the campsite. Here are a few things to know before you sign yourself up to the Fuego viewpoint hike:
- It’s an extra 4 hours of hiking there and back. You’ll leave basecamp around 4PM and won’t get back until 8 – 8:30PM.
- It costs an additional Q200-250 per person. You need to pay this in cash to your guide.
- It’s a pretty hard hike because you have to hike all the way down into the valley between the volcanoes and then back up to the ridge on Fuego. Then of course you have to it all again in reverse.
- The whole return journey is done in the dark. According to the people who did it, it’s very steep with a lot of loose rocks.
- You’ll be exhausted by the time you get back to basecamp and probably won’t have the energy to summit Acatenango the next morning.
- Factor in that you have lunch around 1PM and won’t get to eat another meal until you get back at around 8-8:30PM.
- It’s also worth noting that you’ll be very close to the explosions, so there’s definitely an element of danger to this hike which you take at your own risk.
We decided not to do it because we were sure that we wanted to go up to the summit of Acatenango. About half of our group decided to do the extra Fuego hike. However, only one or two of them actually got up in the morning to do the sunrise hike. Everyone else was way too tired and some definitely regretted not staying at basecamp to enjoy the views from there.
Day 1: Spending the Evening at Acatenango Base Camp (Option 2)
If you struggled to hike up to basecamp, then we highly recommend staying there for the rest of the evening.
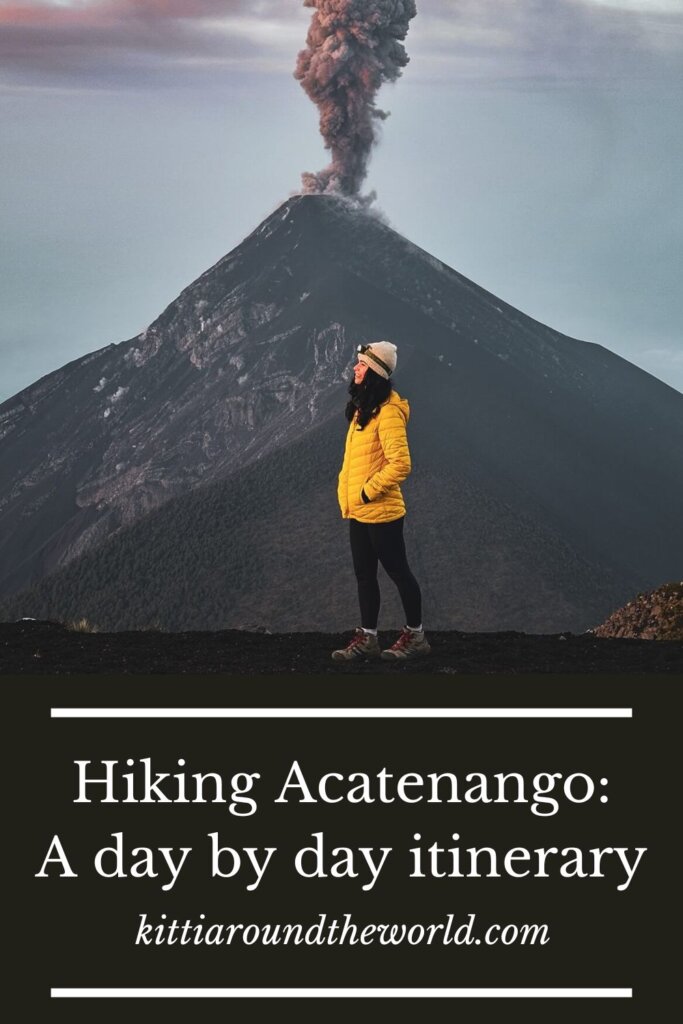
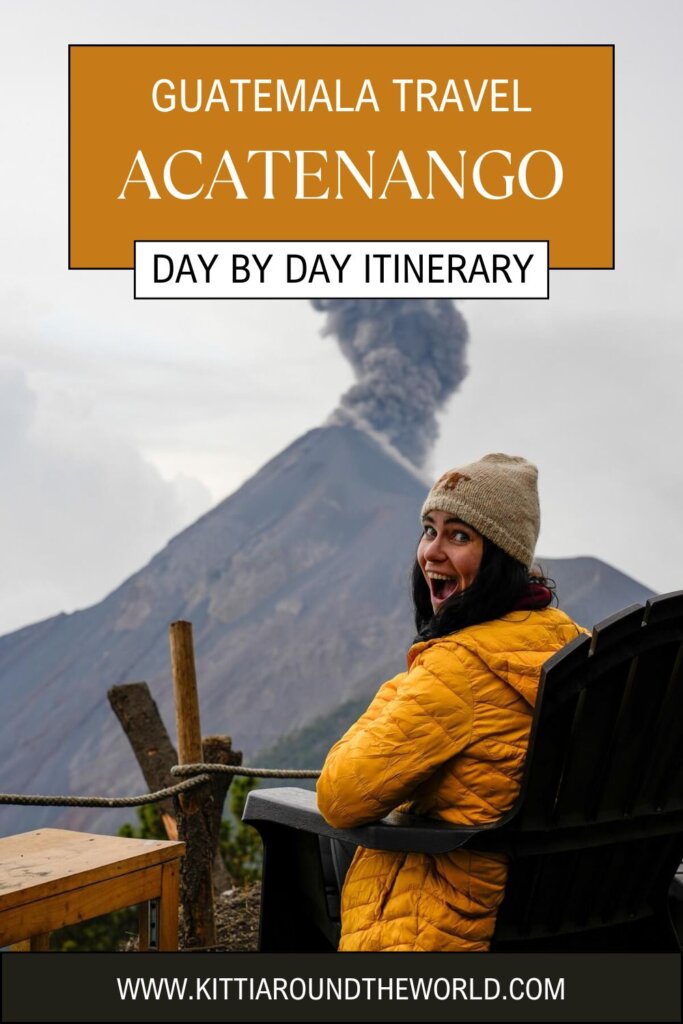
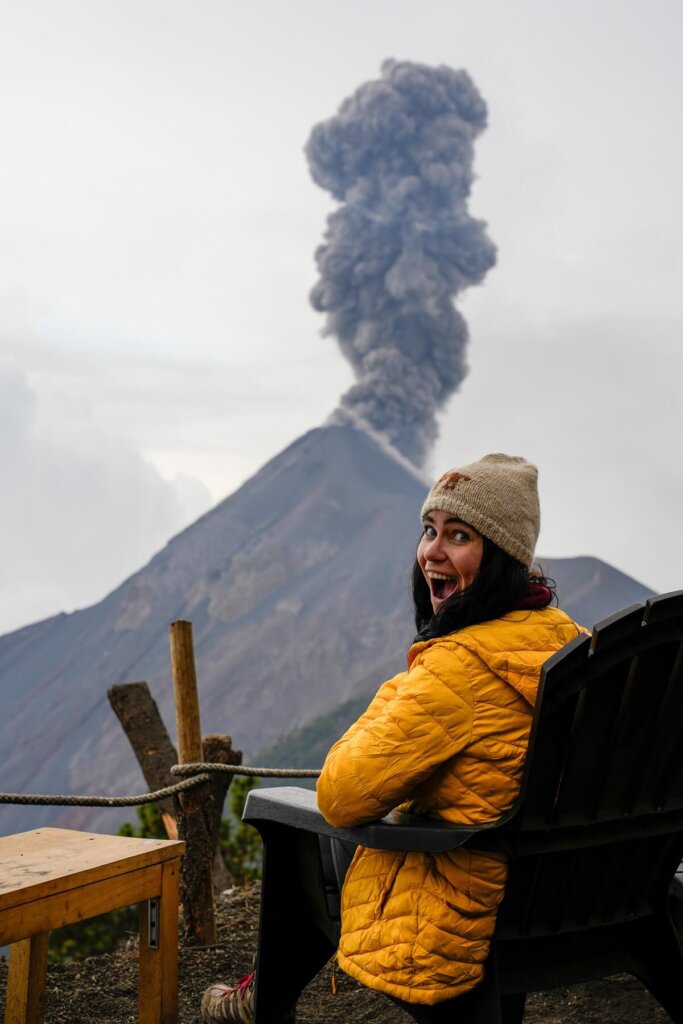
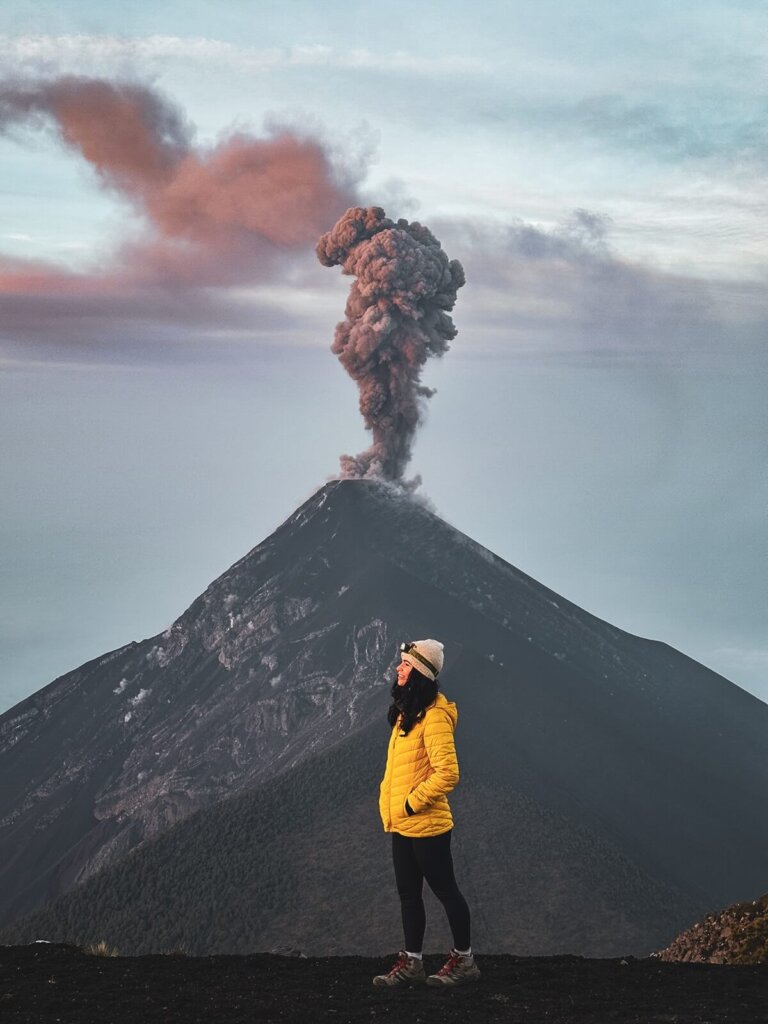
Our campsite had a seating area with some Adirondack chairs and benches, and a campfire in the middle. From here we could sit back and watch Volcan de Fuego erupting every 15 to 20 minutes whilst sipping on a soothing hot chocolate. Some of the eruptions were small, but some of them shook the ground underneath us.
Our guide offered to take us on a short hike to watch the sunset. It cost an extra Q100 per person. It was nice to move our bodies again and wasn’t so difficult that we felt tired afterwards. After returning to our campsite, the guides lit the campfire and we could roast some marshmallows whilst eagerly awaiting more eruptions. In the dark the eruptions were even more impressive because we could clearly see the red hot lava spurting out of Fuego.
We had dinner way before the rest of our group returned from the Fuego hike. Pretty much everyone was exhausted and had an early night.
Day 2: Summiting Acatenango at Sunrise and Returning to Basecamp
Summiting Acatenango for Sunrise
Pretty much all tour companies offer the sunrise hike up to the summit of Acatenango in their overnight packages.
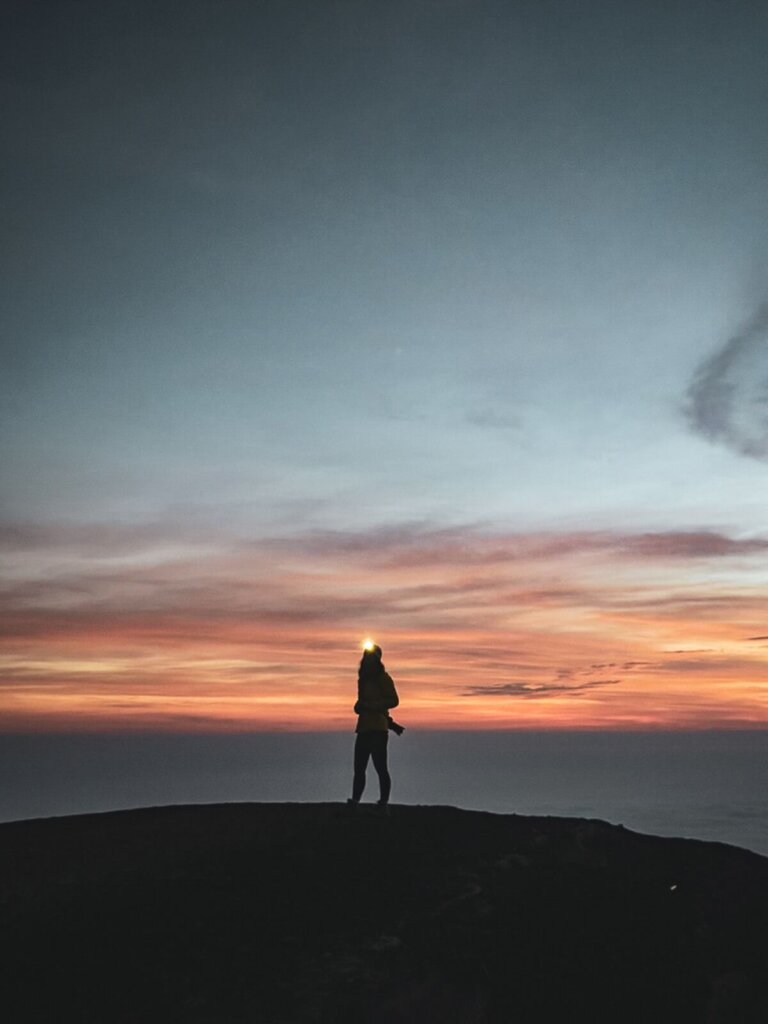
We started to hike up around 4AM and it took just under 1.5 hours to reach the summit with a few breaks. The hike up is pretty steep though, as you’ll gain about 400 m of elevation in just 2 km. The trail consists of a lot of loose rocks and volcanic sand, so it’s hard to get a good grip. We felt like we were slipping backwards every time we tried to step forwards. Luckily, we were hiking in the dark so we couldn’t see just how steep the trail actually was.
We always find it hard to start hiking straight up at high altitude right after waking up. You’re a bit dehydrated in the morning, so you’ll likely feel the altitude even more. Make sure to drink enough water on your way up. We had plenty of small breaks to catch our breaths, take a drink, and watch Fuego erupting behind us. Once we reached the top, we sat down and waited for the sunrise whilst watching Fuego erupt.
We also saw Volcan Agua, as well as being able to look down into the crater of Acatenango. It’s really special up there, so we highly recommend doing it if you feel up for it in the morning.
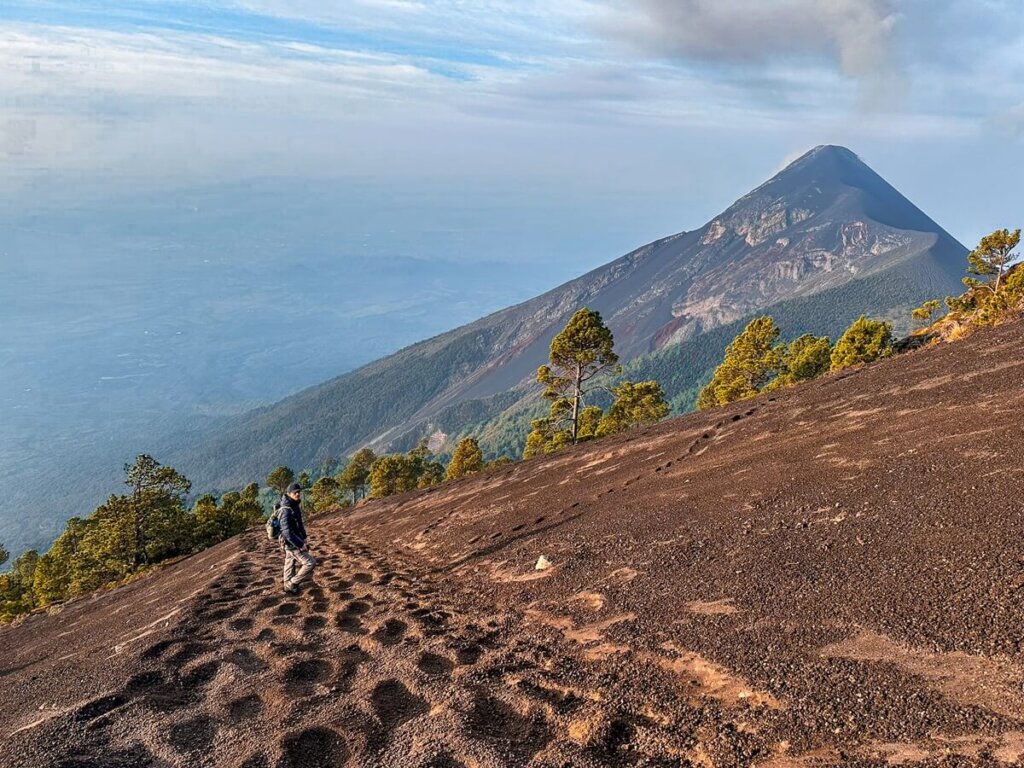
The descent back to base camp was quite fun too. You’ll basically be slide/walking down a more direct path than what you just walked up. It’s way more ashy and dusty, with plenty of tiny loose rocks. You’ll be pretty dirty by the end and will most likely have a ton of rocks in your boots.
Descending Volcan Acatenango and Returning to Antigua
After returning to base camp, we had a delicious breakfast burrito, washed it down with some coffee and packed our bags.
Since it’s an out and back hike, we walked back on the same path we came on. Again, we had to carry our big bags on the first section back to the truck.
Although the way down was a lot quicker, it was quite hard on the knees. The trail is pretty steep and very slippery, which is why having poles is a great way to stabilise yourself and take the weight off your knees.
We took a few shorter breaks but were back at the trailhead in about 2.5 hours. From there, we had a few minutes to give thanks to our guides and use the toilet before hopping in the minivan back to Antigua.
Tour Office in Antigua: Unpacking from the Acatenango Overnight Hike
Once we’d arrived to the office, we unpacked our bags and returned our borrowed gear. We also had to pay for anything that wasn’t initially included in the tour price, such as our big backpacks.
Our tour company actually served us some sandwiches and drinks for lunch, which was well needed after the morning descent. Some offices may have shower facilities where you can refresh yourself, especially if you’re heading straight off to your next destination. Once we were ready to leave, we said goodbye to our fellow hikers, exchanged contact details and headed back to our accommodation in Antigua to relax for the rest of the day.
Additional Acatenango Guides:
Things to Know Before Hiking Acatenango Volcano
Acatenango Packing List – What to Pack for the Overnight Hike
Final Thoughts on the Acatenango Overnight Hike Itinerary
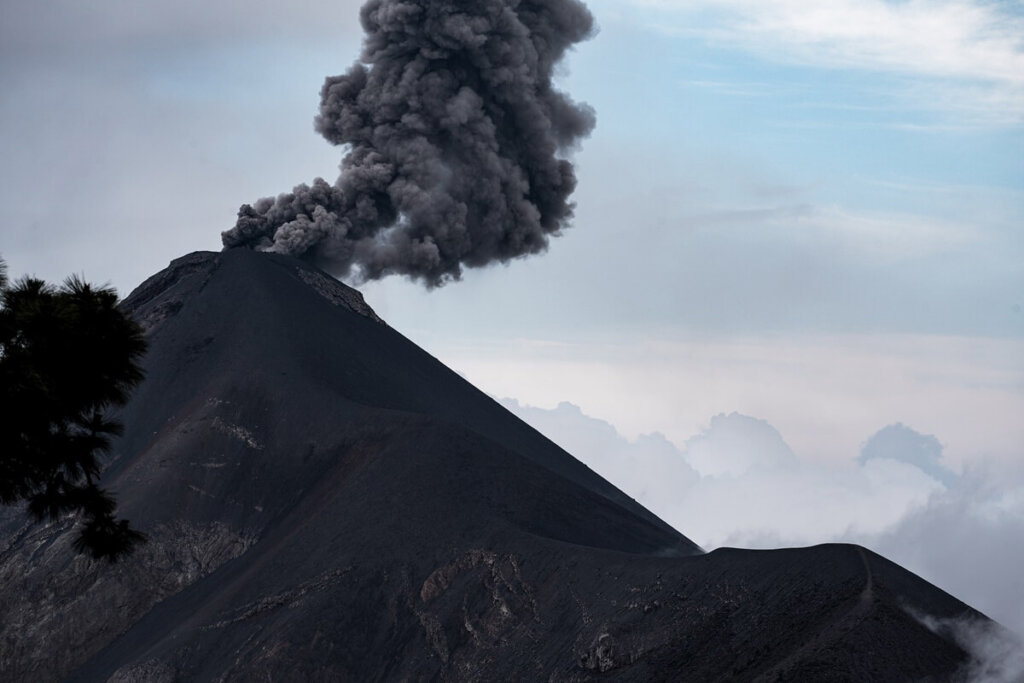
Even though it wasn’t the longest multi-day trek we’ve ever done, it definitely became one of our favourite overnight hiking experiences to date. Sleeping on the side of a volcano whilst witnessing one of the three active volcanoes in Guatemala erupting every 15 minutes was something that we’ll never forget.
The hike itself was just challenging enough for us to still be an enjoyable experience. Of course, you may struggle more depending on your fitness level. However, the reward will be worth every drop of sweat you shed to get to base camp. We also had a fantastic group, and got the chance to have some really meaningful conversations.
Have you ever done the overnight Acatenango hike before? If so, what was your experience like? If not, do you feel more prepared after reading our blog post? Let us know in the comments below.

