3-Day Colca Canyon Trek via Llahuar, Peru – A Complete Hiking Guide
If you’re planning to trek in the Colca Canyon, one of the world’s deepest canyons, then you’re in the right place. In this detailed guide you can read everything you need to know about what it’s like to embark on a 3-day Colca Canyon trek via Llahuar in the majestic Peruvian Andes.
You can read this blog post in conjunction with our comprehensive Colca Canyon guide that explains all the different ways you can visit the canyon and how to prepare for the trek, whether you do it solo or as a guided hike.
In addition, you can always watch the dedicated Colca Canyon video we shared on our YouTube Channel.
Disclosure: This post may contain affiliate links, which means we may receive a small commission if you click a link and purchase something. Clicking these links won’t cost you anything, but it will help us to keep this site up and running! Learn more about our affiliate policy.
Introducing the Colca Canyon, Peru
Located about 160km northwest of Arequipa, the second largest city in Peru, is the magnificent Colca Canyon (Cañon de Colca). Situated in the Colca Valley in the Andes Mountains, the Colca Canyon was formed by a seismic fault between the volcanoes of Coropuna and Ampato.
The nearly 100km (or 70km) long canyon is also one of the world’s deepest canyons. Its deepest point is approximately 3,400m which makes it twice as deep as the well-known Grand Canyon in the US.
In the pre-Inca era the valley was inhabited by the communities of the ‘Collaguas’: the Quechua-speaking Cabanas and the Aymara-speakers from Lake Titicaca and the Puno area. These cultures created agricultural terraces on the hillsides that are still used today by local farmers.
The Incas arrived and slowly took control of the area after 1320 A.D. Then the Spanish arrived after 1540, becoming the most influential group in the area.
The Colca Canyon is also home to Andean condors, which are the largest flying birds in the world by combined measurement of wingspan and weight. They can weigh up to 15 kg (33 lbs) and they have a wingspan of 3.2m (10.5 ft). For comparison, that’s twice as long as me!
Did you know? The Condor is part of the Inca Trilogy along with the puma and the serpent. These three animals represent heaven, earth and the world of the dead.
3-Day Colca Canyon Trek via Llahuar or San Juan de Chuccho
It’s worth noting at the start that there are various different circular routes you can choose from and there’s no right or wrong one. One thing’s for sure though. No matter which route you pick you’ll have to hike down to the bottom of the canyon and then back up again.
Many only sign up to complete a 2 day-1 night route for reasons we discuss in this blog post.
However, for those who really enjoy hiking and have the time to spare, we highly recommend planning a 3 day-2 night hike. This will give you the chance to go slower, enjoy the views longer and it’ll definitely be less tiring overall.
Without listing countless different options, we’re just going to highlight the two main routes that most people will likely do in 3 days.
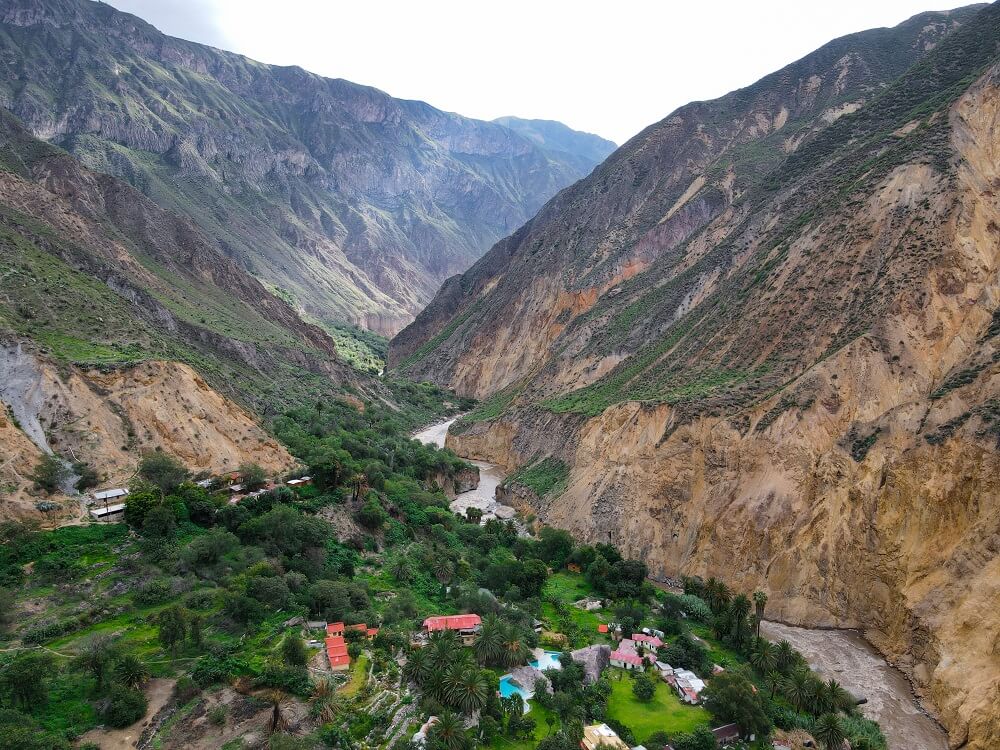
1. Cabanaconde – San Juan de Chuccho – Sangalle – Cabanaconde Route
This particular 3-day trek through the Colca Canyon is probably the most popular route. It is around 20 km (12.5 mi) overall, with a total elevation gain of just over 1,600m (5,292 ft).
On your first day you would hike from Cabanaconde to San Juan de Chuccho and spend the night there. This section is around 10 km (6.2 mi) and pretty much all downhill. The next day, you would be hiking to Sangalle which is only about a 5 km (3.2 mi) distance. You would spend the night in Sangalle and would hike back up to Cabanaconde the following morning.
This section of the hike is the toughest despite being a similar distance to the second day (5km or 3 mi). However, you’ll have 1,000 m (3,281 ft) of elevation gain to overcome before you reach the top.
It’s worth noting that if you’re only doing a 2-day hike, many guided treks will take you along this exact route but would only stop for lunch in San Juan de Chuccho and would carry on to Sangalle on the first day. For this reason, this particular 2-day Colca Canyon trek is often said to be one of the hardest hike’s tourists can complete in Peru.
It’s also going to be busier, so if you want to avoid heavily trafficked trails then perhaps consider the Llahuar route.
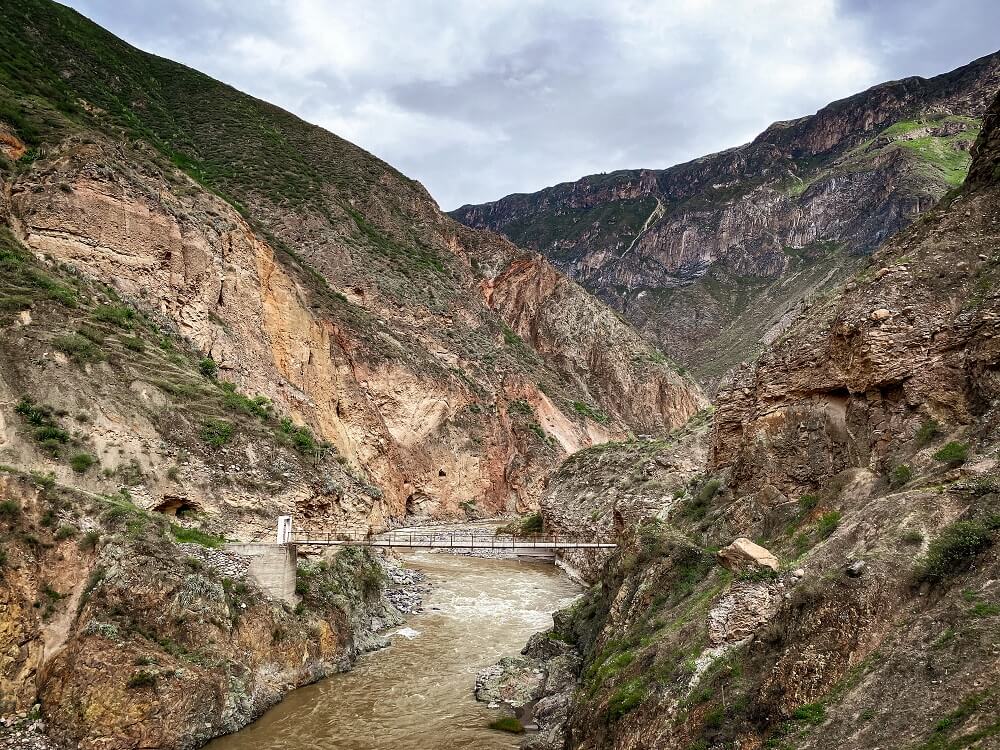
2. Cabanaconde – Llahuar – Sangalle – Cabanaconde Route
This circular route would take you from Cabanaconde to Llahuar on your first day where you would spend the night. The first day is a similar length to the above option at around 10km (6.2 mi). It’s a lot of downhill again which can be hard on your knees. The next day you would hike from Llahuar to Sangalle. This section will be just over 11km (6.8 mi). You’d spend the night in Sangalle and would hike back up to the top the following morning. This is going to be a 5 km (3 mi) section with 1,000 m (3,281 ft) of elevation gain.
Overall, the Llahuar route is around 26 km (16 mi) with a total elevation gain of nearly 2,000 m (6,562 ft). Since there are only a handful of guided tours offering this route it’s normally a little more expensive. However, it won’t be nearly as popular.
We personally picked this route and have no regrets. It was quiet until the last day when we had to hike the same section out of the canyon as other trekkers.
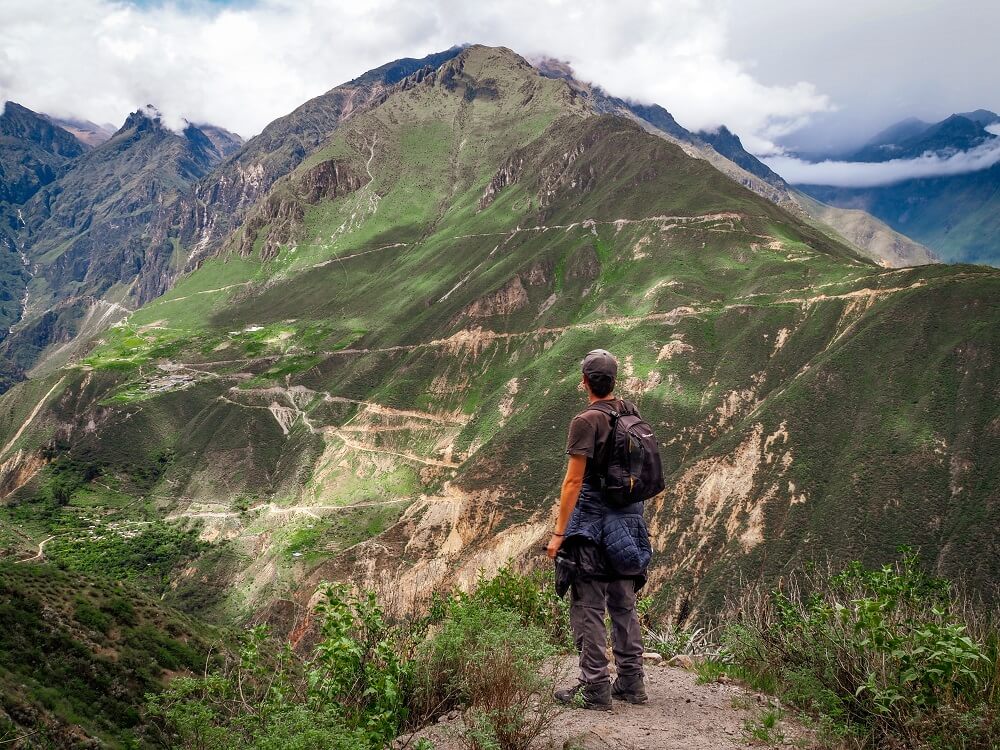
Information About the Colca Canyon Trek via Llahuar Route
1. Length of the Colca Canyon Trek via Llahuar
As mentioned above the total length of this route is around 26 km (16 mi). It is challenging but the distance is also spread across 3 days unlike the most popular 2-day trek where you’d have to hike around 20 km (12.5 mi) in just 2 days.
The first day you’ll be hiking from Cabanaconde to Llahuar which is about 10km (6.2 mi). We started to trek around 10AM and got to our accommodation around 3PM. It took us 5 hours to complete this section, but since it was our first time in the canyon we stopped a lot for photos. It was mainly downhill too, so that can slow you down a bit.
The next day you’ll hike from Llahuar to Sangalle. This section will be just over 11km (6.8 mi). We started trekking around 9AM and got to our accommodation around 14:30PM. So, it took us about 5.5 hours to complete day two.
At only 5km (3 mi), the third day will be the shortest day. However, it’s also the toughest one as it’s all uphill. We left around 5AM and got to the top just after 7AM. So it took us a little over 2 hours to complete the hardest section of the Llahuar route.
The Colca Canyon trek was a great way to prepare us for the 5-day Salkantay Trek where we had to hike 26 km (16 mi) in one day!
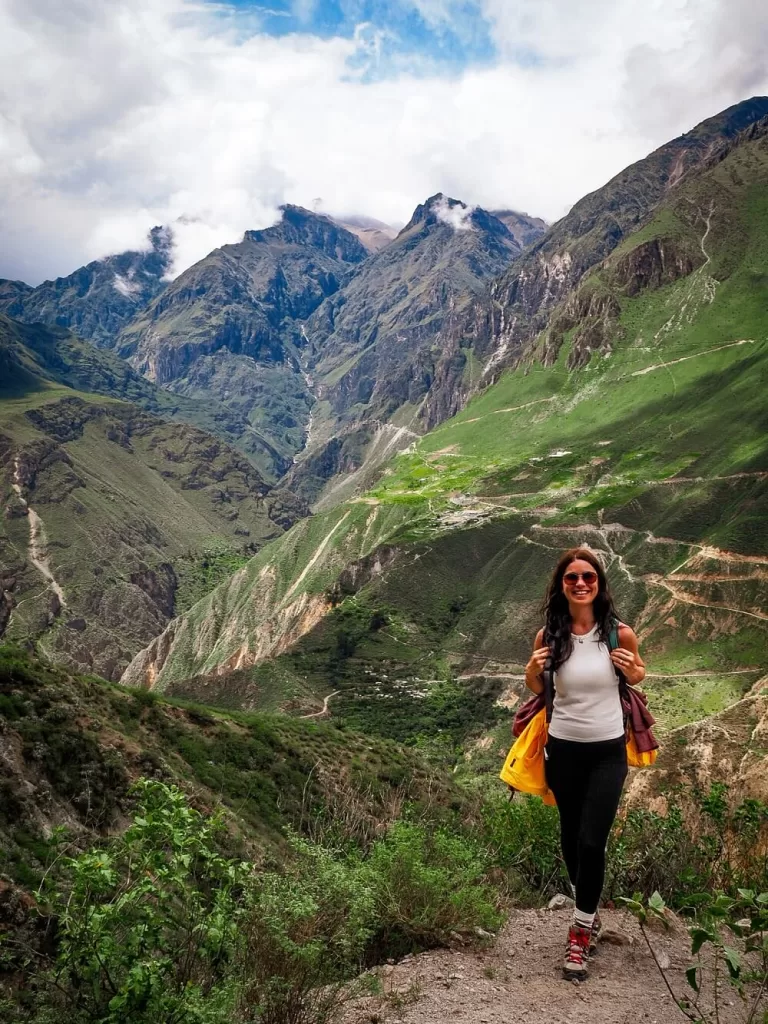
2. Level of Difficulty
The Colca Canyon trek is challenging, whichever path you choose. Whilst you don’t need to be super fit to do the hike, it’s definitely not for a first-time hiker either. We’ll detail below all the challenges you can face on this route, so make sure to be realistic about your abilities and don’t underestimate this trek.
Elevation and Altitude:
Altitude and elevation are some of the many hurdles you’ll face during your Colca Canyon trek via Llahuar. Cabanaconde, where you start your hike, is located at 3,287 m (10,784 ft) above sea level. Luckily, you’ll be going downhill on your first day which can make you feel better as the air won’t be as thin further down. However, Llahuar Lodge itself is still at 2,118m (6,949 ft) above sea level.
You won’t be going too high up the next day and Sangalle Lodge is located around 2,100 m (6,889 ft) above sea level. However, on your final day, you’ll have to hike all the way back to Cabanaconde, which means that you’ll be gaining over 1,000 m (3,280 ft) of elevation.
There are many symptoms of altitude sickness, including dehydration, dizziness, headaches, shortness of breath, heavy breathing, loss of appetite, nausea and vomiting. It’s good to remember that anyone can develop altitude sickness and its symptoms can be less or more severe depending on the person.
We highly recommend acclimatising in Arequipa first, which is located about 2,335 m (7,660 ft) above sea level. It’s also very important to stay hydrated during the trek to avoid dehydration and headaches. Try to avoid drinking too much alcohol before your trek and don’t eat too many heavy foods either. You can drink Coca tea like the locals do at high altitudes in Peru. In addition, you can also buy some altitude sickness tablets before your hike in Arequipa.
Temperatures and Weather Conditions:
If the altitude wasn’t enough to deal with, you’ll have to be mindful of the temperatures too when trekking. The sun can be pretty intense, especially in the dry season. There are hardly any trees to offer shade, so it’s important to wear a hat, sunglasses and sun-cream. There are a lot of sun-protecting hiking clothes out there that you can consider wearing too.
Again, other than wearing sun-protection, make sure to drink enough water to avoid dehydration. You don’t want to get sun-stroke or burnt.
Now, apart from the hot temperatures during the day, it’s worth noting that it’s pretty cold the higher you are, especially at night. So, bringing plenty of layers is important too.
During the wet season, the rain can make the trek less enjoyable, so if you’re trekking in that season make sure to pack plenty of waterproofs.
The Trail:
During the dry months, the paths are mainly dusty with small, loose rocks, which can be a trip hazard if you’re not careful going downhill. This can definitely make the trek more physically demanding.
In the wet season, the path can easily become muddy and slippery, which again can make the trail more difficult.
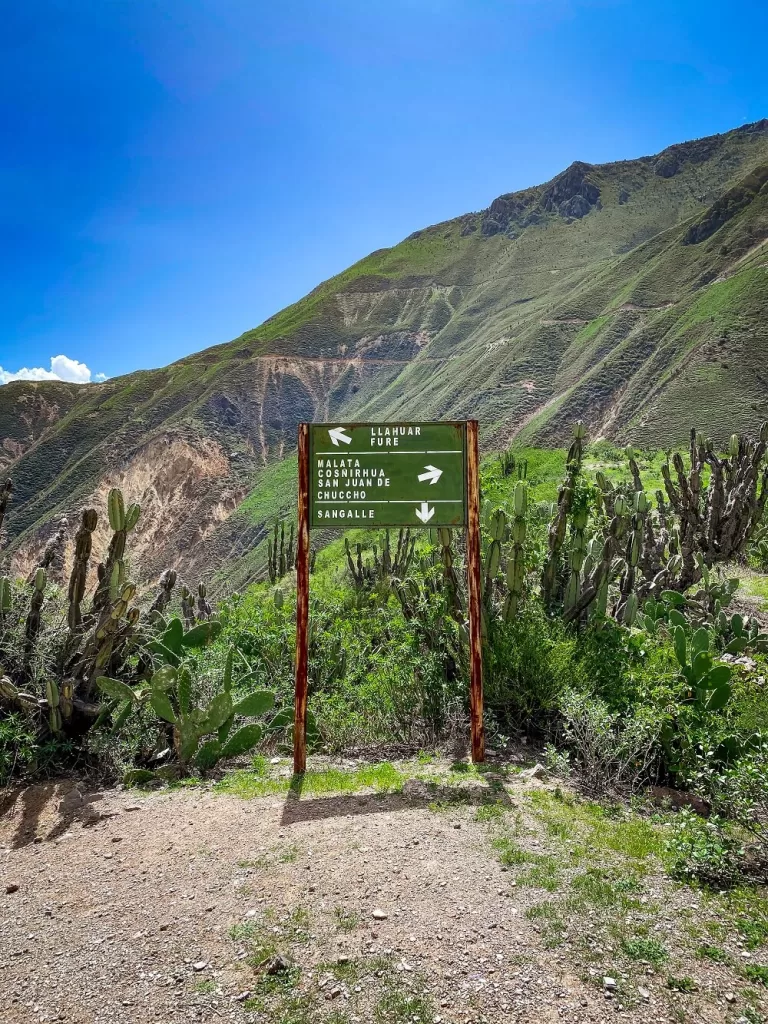
Finding the trailhead isn’t too difficult. Just follow Calle San Pedro from the main Plaza then Calle Simon Bolivar. The road will end and then turn into more of a trail. Navigating the path is relatively easy. There are general signs towards your accommodation so just follow them and have an offline map downloaded too such as Google Maps or AllTrails. Locals are also very helpful, so it’s worth downloading Spanish offline on Google Translate in case you don’t speak much Spanish.
Earthquakes:
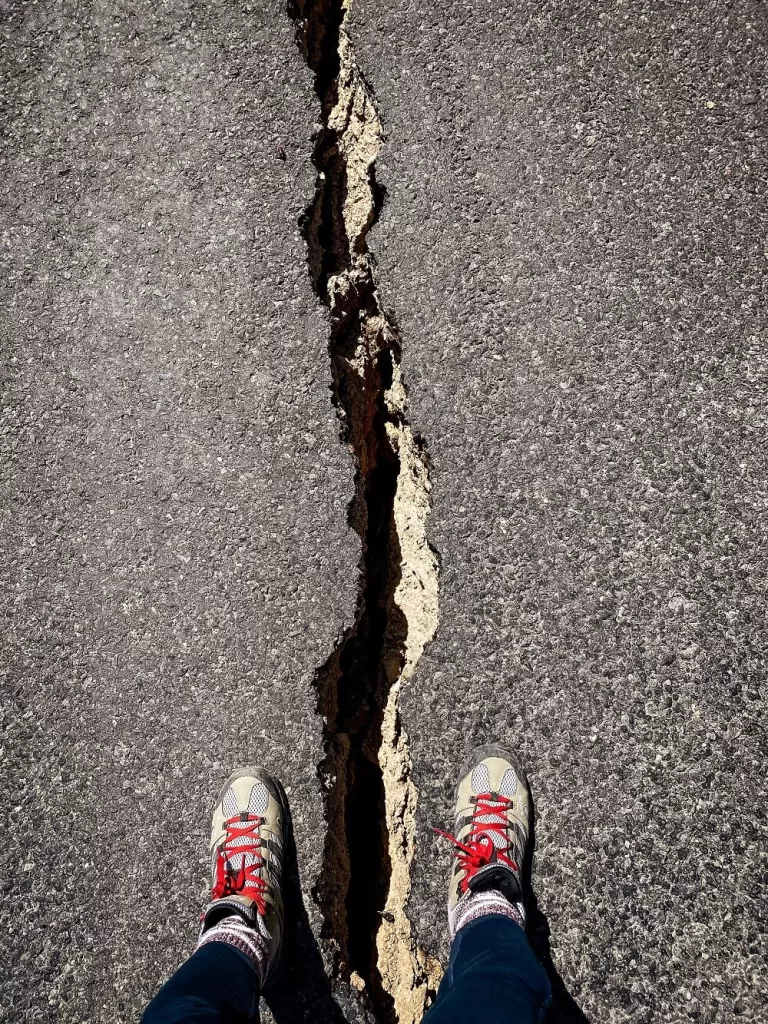
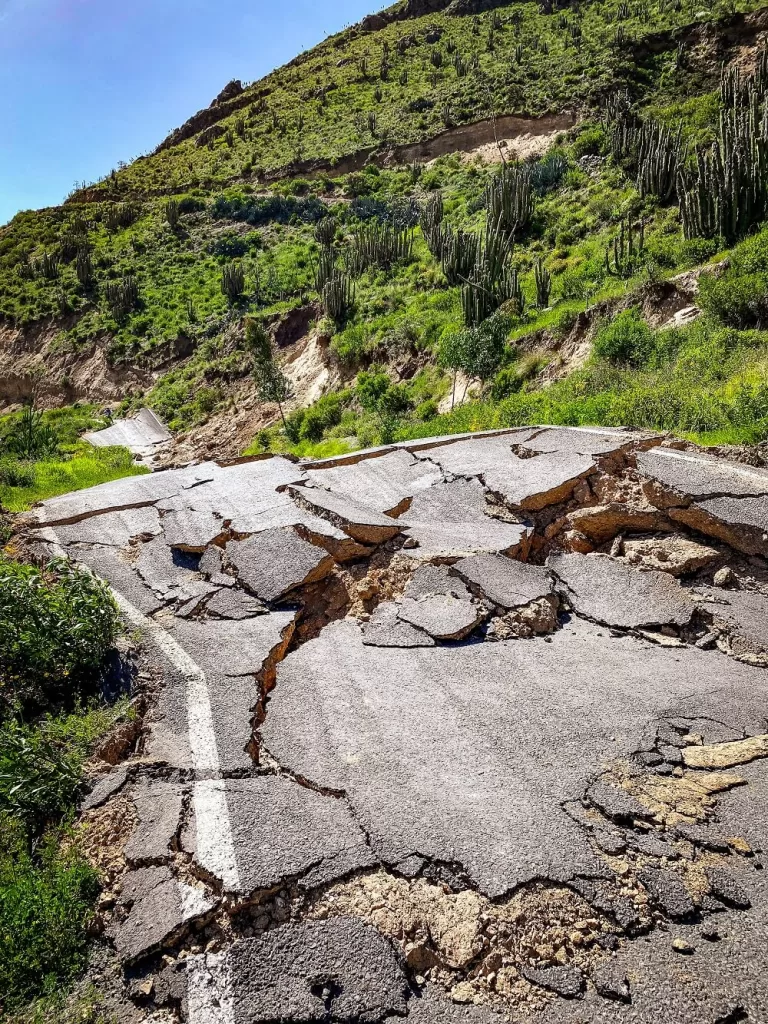
The Colca Valley is surrounded by several volcanoes and therefore seismic activity is very high in the area. This means that earthquakes and landslides are very common.
The first morning of our visit there was a small earthquake which was followed by a 5.6 magnitude one during our first night. Being woken up by a quake in the middle of a canyon can be scary. Luckily, the epicentre was located away from our accommodation but it still did some serious damage to the main road between Chivay and Cabanaconde. This meant that on our last day we had to hike through this damaged section. This was only our second experience with earthquakes on this trip after feeling one small one in Costa Rica.
Because of the damage to the roads we were very happy that we went with a guide who received regular updates, and was able to organise our transportation back to Arequipa a lot more easily than we could have on our own.
3. Best Time to Hike in the Colca Canyon
March, April and May are probably the best months to visit the Colca Canyon. The wet season is ending in March / April, so the valley is still a lush green as opposed to the dry yellow of the dry season. The temperatures are more pleasant and there will also be less chance of rain.
Click here for more pros and cons of hiking the Colca Canyon in the dry and wet seasons.
4. Facilities Along the Hike
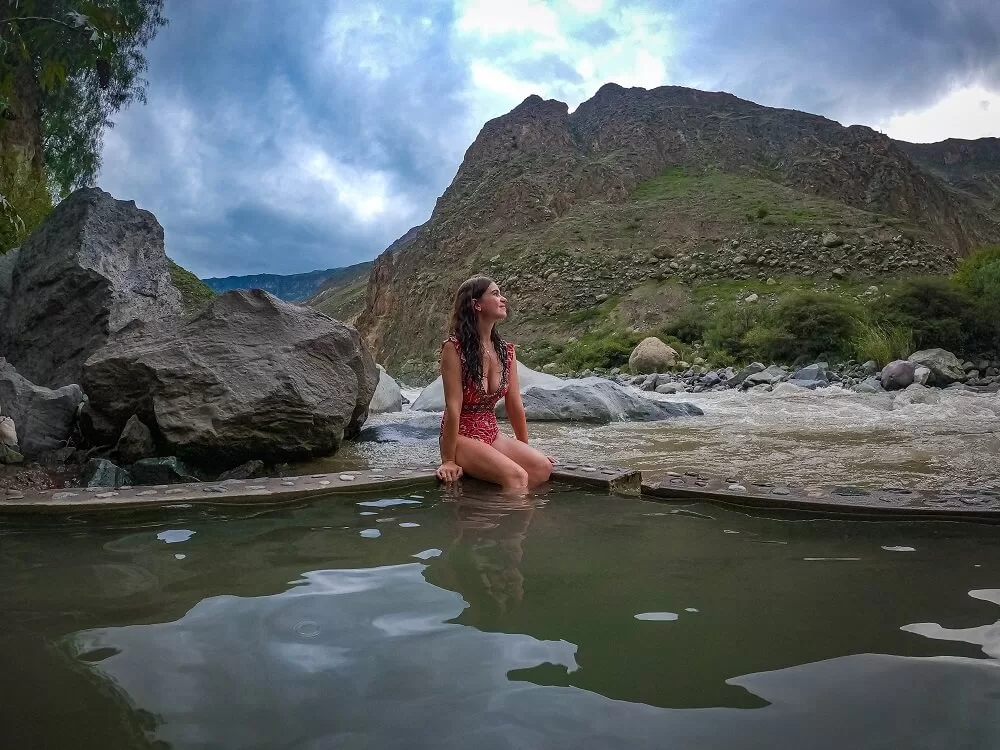
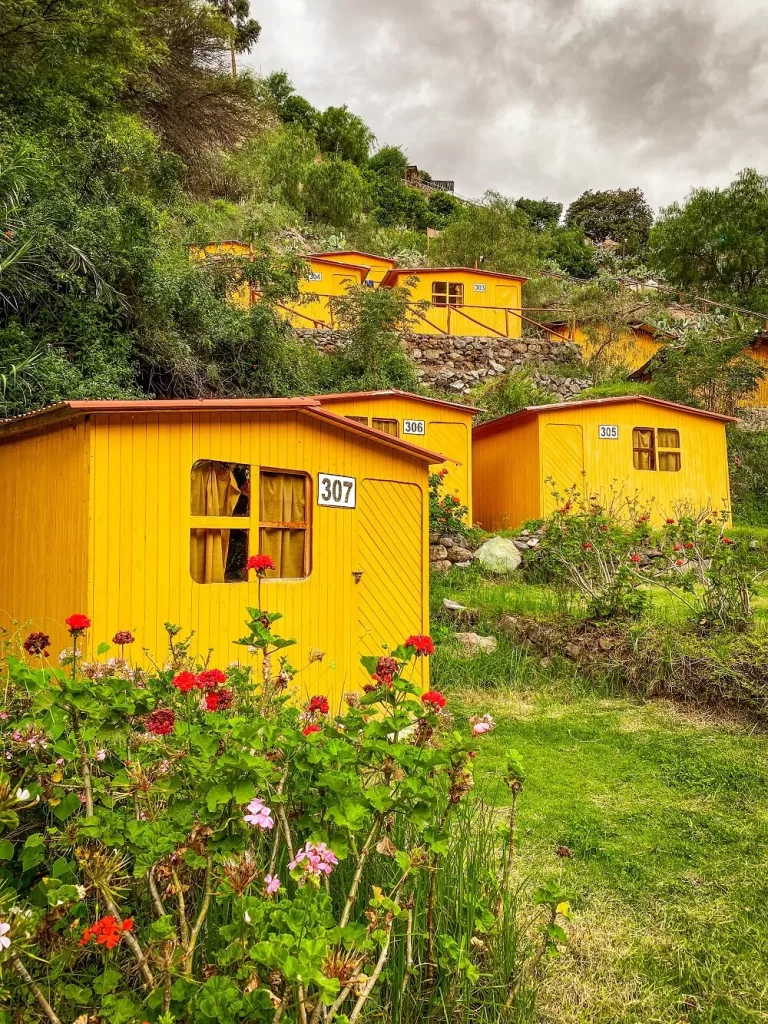
Accommodation. You can book your first night’s stay at Llahuar Lodge and the second one in Sangalle. They have some simple accommodation options you can book, such as Paraiso Las Palmeras Lodge, Oasis Paraiso Ecolodge and Eden Lodge.
Click here for more information on accommodation in the Colca Canyon.
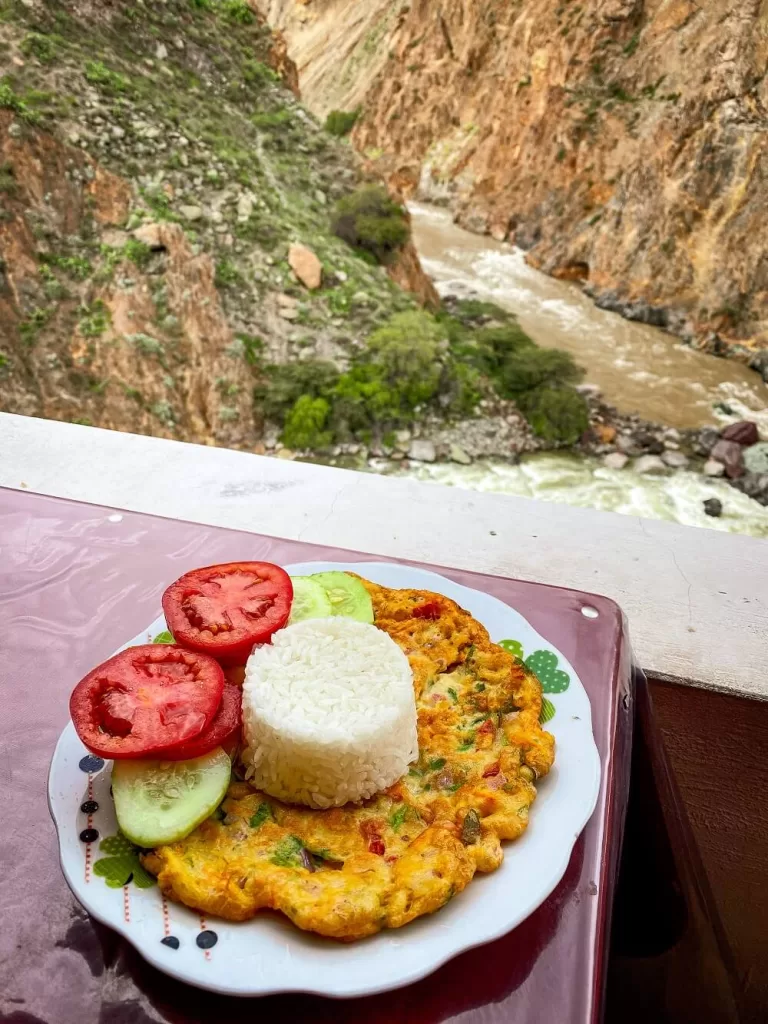
Cafes and restaurants. There are some places to buy food from in Cabanaconde. There won’t be any other pit stop options until you reach Llahuar Lodge. We recommend packing enough food and snacks to keep you going until you can have lunch at the Lodge. It’s the same on your second day, with a hot meal waiting for you in Sangalle.
Click here for more information on what to eat on the Colca Canyon trek.
Toilets. You can find toilets in Cabanaconde and at your accommodation in Llahuar and Sangalle. You’ll need to find a private spot anywhere else along the trail.
Phone reception. An important thing to mention is phone reception. We bought local SIM cards upon arriving to Peru, which we recommend doing. Unfortunately, you won’t have much signal in the canyon. For this reason, we recommend downloading offline maps and Google Translate if you’re doing the hike independently.
Click here to read about what to pack for a multi-day trek in the Colca Canyon.
The 3-Day Colca Canyon Hiking Trail via Llahuar
Please note that we completed this Colca Canyon trek via Llahuar as part of an organised hike. This meant that we had a 3AM pick up from Arequipa followed by a quick breakfast in Chivay. We stopped briefly at Cruz del Cóndor viewpoint before being taken to the trailhead in Cabanaconde.
On our last day we also stopped at the hot springs in Yanque to relax our sore muscles, before briefly stopping at Patapampa (volcanoes viewpoint) and at the National Reserve of Salinas and Aguada Blanca to see some vicuñas, llamas, and alpacas.
If you’re completing the trek without a tour, you’ll need to find ways to reach these locations with local taxis and colectivos as they are quite far apart. For more details, you can check out our day-trips from Arequipa blog post.
Day 1: Cabanaconde to Llahuar
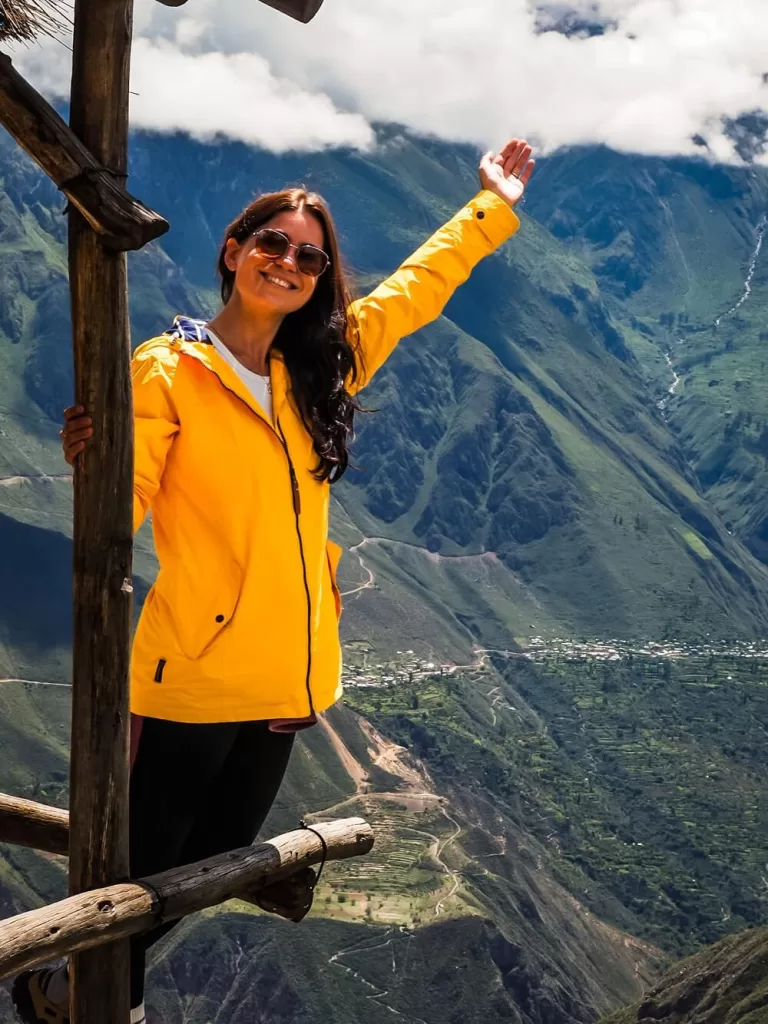
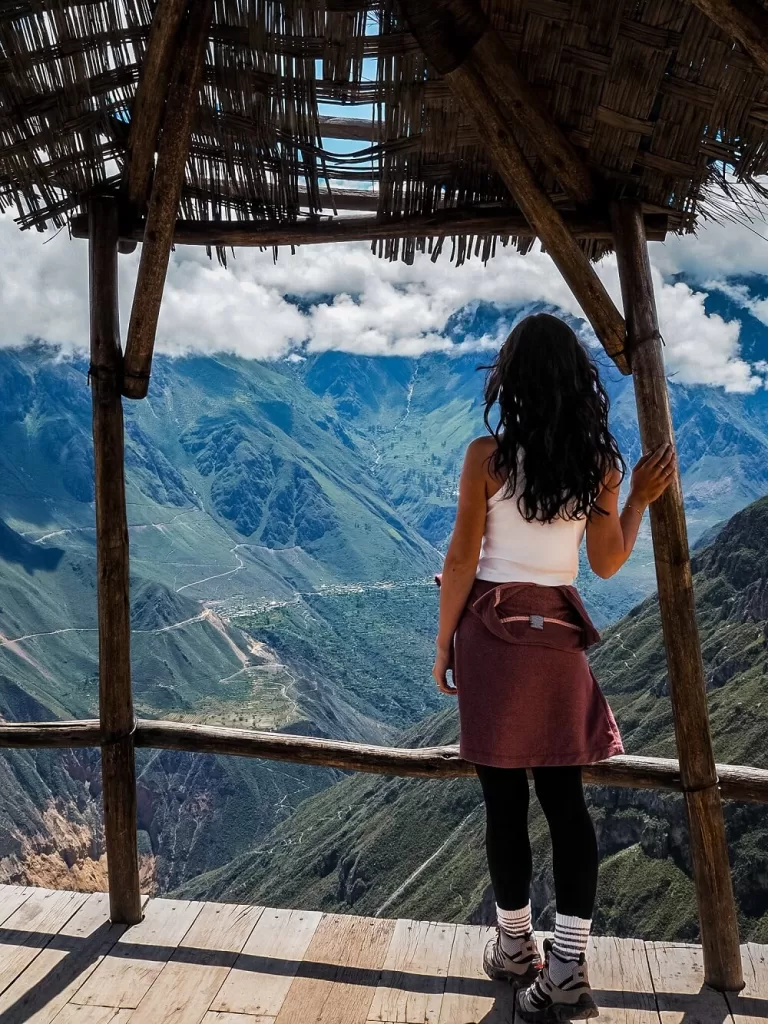
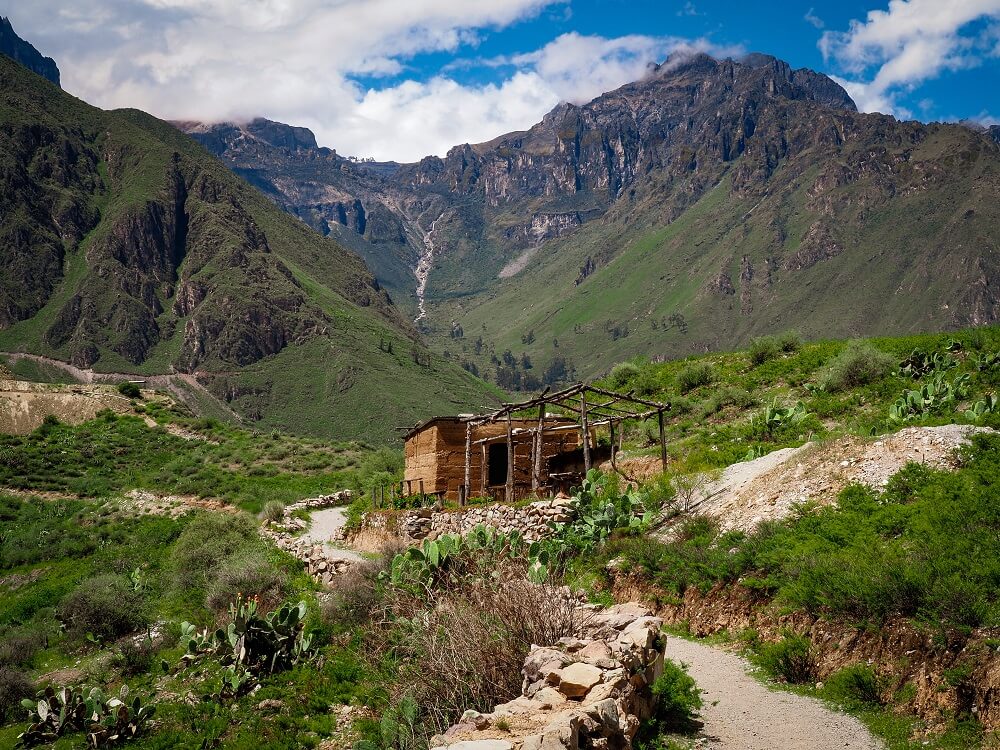
From the main Plaza of Cabanaconde you’ll have to follow Calle San Pedro and then Calle Simon Bolivar until the road ends. For reference, Cabanaconde is about 3,287 m (10,784 ft) above sea level. For the first 3 km (1.8 mi) you’ll be walking along the edge of the canyon through some lovely cornfields. Less than a km (0.6 mi) into your hike you’ll pass a viewpoint called Mirador Achachihua. It’s a beautiful viewpoint, so make sure to stop there briefly.
After about 3 km (1.8 mi), you’ll start your descent into the canyon. The first 1.5 km (0.9 mi) is steep downhill until you reach a bridge over a stream that runs into the Colca River. At this point you’ll be approximately 2,800m (9,186 ft) above sea level.
For the next 1.3 km (0.8 mi), you’ll be walking along the side of the canyon. Luckily, this section is relatively flat, a welcome break before you’ll have to tackle even more downhill.
The following 2.15 km (1.3 mi) will be another steep descent until you reach Churica village and a bridge crossing the Rio Colca. The bridge is located around 2,120 m (6,955 ft) above sea level, so you’ll be descending around 700 m (2,296 ft) give or take.
From this point, Llahuar Lodge will be about 2.3 km (1.4 mi) away located at around 2,100 m (6,889 ft) above sea level.
Once you’re at the lodge you can settle in, have lunch and then enjoy the hot springs next to the Colca River until dinner time.
Day 2: Llahuar to Sangalle
After a filling breakfast at Llahuar Lodge, you can make your way towards Paclla and Belen villages and to Mirador Apacheta. This first section of the hike will be just under 5 km (3.1 mi) with an elevation gain of nearly 700 m (2,296 ft). For reference, Mirador Apacheta is located around 2,800 m (9,186 ft) above sea level.
From there you’ll be heading towards Malata village. The first 2 km (1.2 mi) will be pretty flat, then you’ll have to start descending towards Sangalle. This downhill section will be around 3 km (1.8 mi) long. For reference, Sangalle is located around 2,200 m (7,217 ft) above sea level.
The oasis is very beautiful and has many swimming pools you can relax in whilst waiting for your dinner. You can also have lunch at your accommodation. Since most other 2 and 3-day trekkers will be staying in Sangalle, it’s going to be much busier than Llahuar Lodge.
Day 3: Sangalle to Cabanaconde
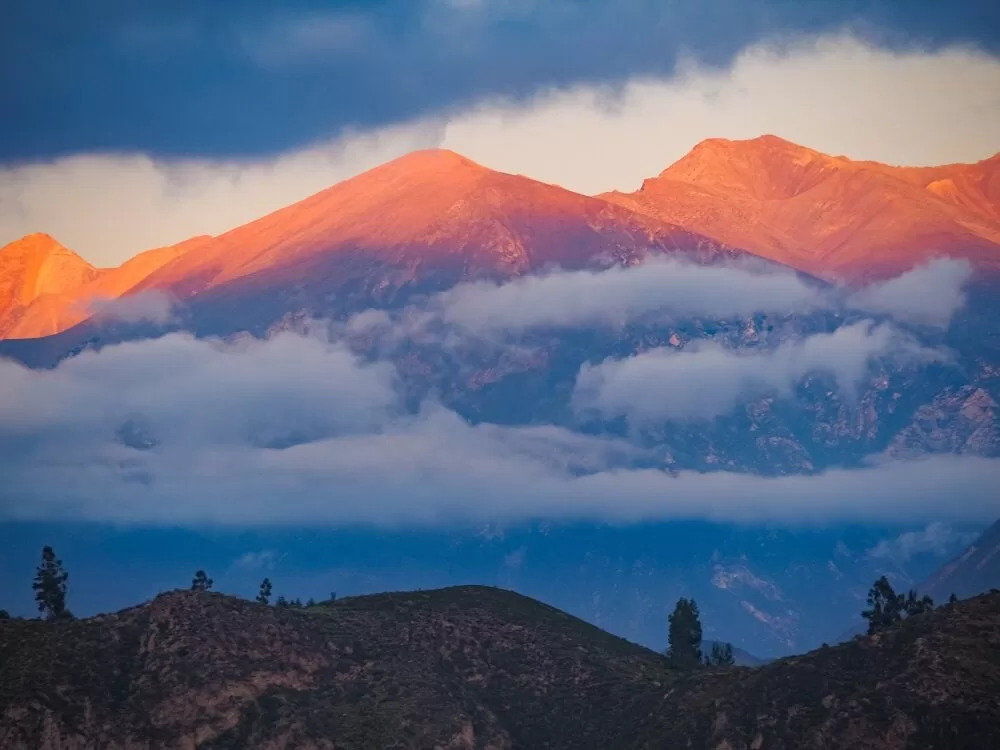
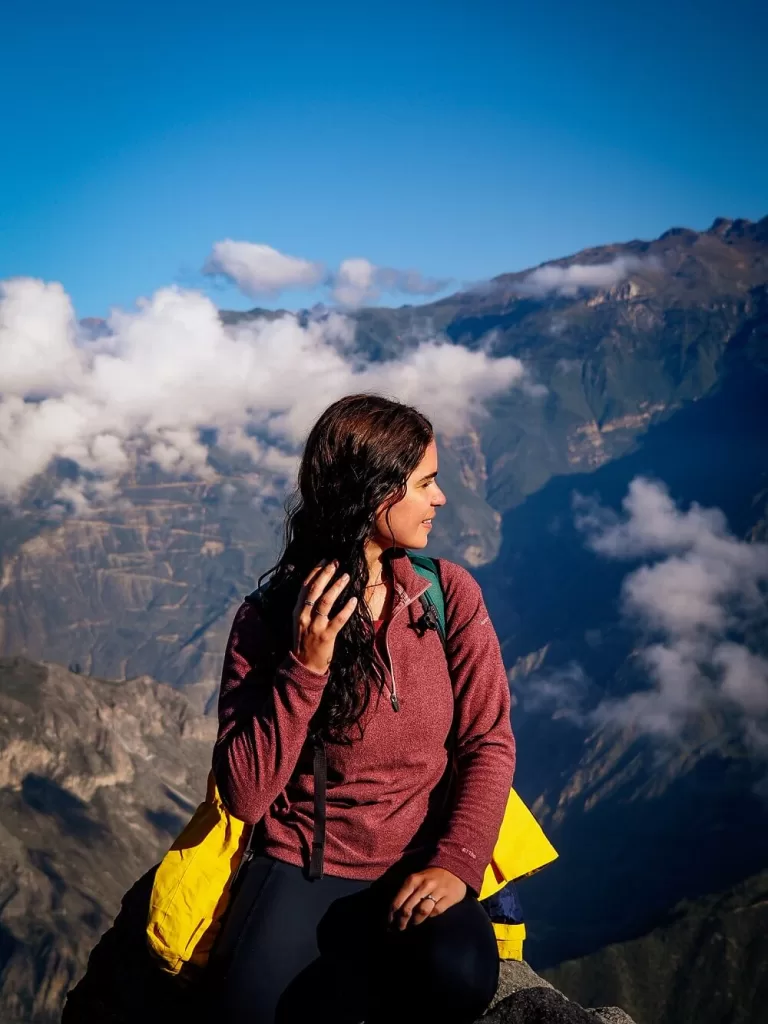
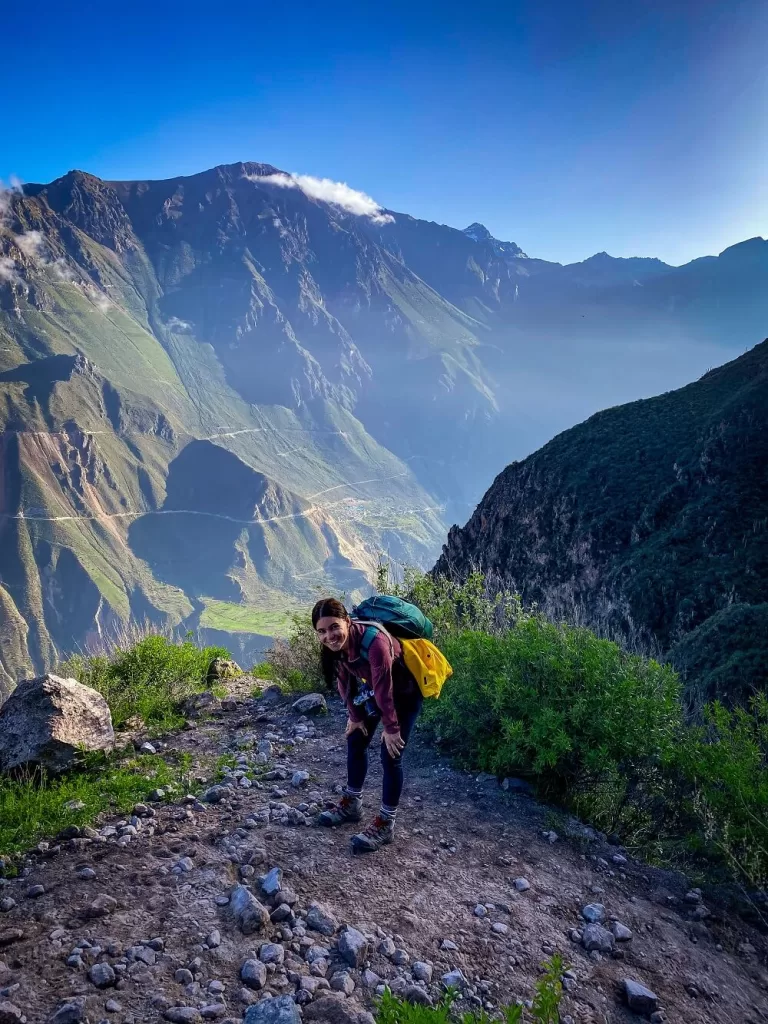
Starting your hike as early as possible is recommended on your last day of trekking. We left around 5AM and it was still dark until we got about half way up the canyon. This meant that we could witness a magical sunrise and also appreciate just how far we’d come in the dark.
On your last day, the distance of your Colca Canyon trek via Llahuar will only be about 5 km (3 mi). However, you’ll be gaining about 1,000m (3,280 ft) of elevation which is no joke. (Especially before coffee)!
You can of course hike up just after breakfast if you’re doing the hike independently. However, hiking this section with a full stomach would be a bit too much in our opinion. Also, hiking in the dark actually made us hike faster since we didn’t stop for photos or breaks that often.
Be prepared for a lot of switch-backs and false summits before you reach the top, but you’ll get there eventually and that’ll be a fantastic feeling!
Now, once you’ve reached the top, you’ll still have to get back to Cabanaconde which is another 1.3 km (0.8 mi) away from the edge of the canyon. Once you’re in Cabanaconde, you’ll have successfully completed your 3-day Colca Canyon trek via the Llahuar route.
Final Thoughts on the 3-Day Colca Canyon Trek via Llahuar
The Colca Canyon was our first ever multi-day trekking experience and we loved it. We always knew that we wanted to trek in the canyon. To maximise our time there, we opted for the 3-day hike. We were very happy with the route we chose as it was definitely much quieter. We only had to walk with a bigger group of people on our last morning when most 2 and 3-day hikers were also ascending along the same route. It was dark for the most part, so we didn’t mind that at all. It was actually quite a nice atmosphere at the top with everyone celebrating their achievement.
Have you ever visited the Colca Canyon before? If so, did you go on a trek or a tour? How was your experience? If not, would you add the Colca Canyon to your bucket list? Let us know in the comments below.
Now, let your adventure begin,
Our Top Travel Resources
Accommodation: For hotels we always use Booking.com and Hostelworld for hostels. We also book longer stays on Airbnb or Vrbo.
Flights: To find the best flight prices we always check Skyscanner, Google Flights or WayAway. Then we also check the airlines’ websites too for comparison.
Car Rentals: We use Discover Cars when we want to rent a car as it compares local, national and international companies.
Activities: If we book organised tours we always check either GetYourGuide or Viator.
Foreign Currency: Whenever we can we prefer to pay in local currency and for that we always use our Wise card. We can easily withdraw money from the ATM or pay by card at most shops and restaurants.
Travel Insurance: We never go anywhere without travel insurance. You never know what will happen on your trip, so good travel insurance like SafetyWing can protect you in case of injury, illness, theft and cancellations.
eSIM and VPN: To get data abroad we use Airalo which is an app that allows you to download a prepaid eSIM to your phone in over 190 countries. Make sure to have a VPN to avoid hackers accessing your personal data when using public WIFI. We use Surfshark which is the only VPN that offers one account on unlimited devices.
Remember…It all starts with a Pin…
Peru looks every bit as hilly and dramatic as I imagine it being. The hiking in Colca Canyon might be a little bit advanced for me, but wow what scenery! I’m so glad you didn’t get injured in the earthquake!
Feeling an earthquake while traveling sounds so unsettling! I’m glad you’re okay. Also, I love how in depth your hiking guide is!
Thank you so much. Yes, earthquakes are no joke, but luckily everything was fine at the end!
Peru is really amazing, and even if you don’t want to hike too much, you can just visit the Colca Canyon as part of a day tour.
What an amazing experience and great way to see other parts of Peru. It must have been just lovely.
Thanks Kit, the hike was really a fantastic experience.
I’ve never been to Peru, but Machu Picchu has been on my travel bucket list for a while. I had no idea about the Colca Canyon, despite the difficulty I’d definitely add trek in the Colca Canyon onto my bucket list. Thanks for sharing!
Thank you so much Anna, we’re glad that the Colca Canyon is now on your bucket list too. Hope you can get to Peru in the near future.
This hike looks incredible. And oh my – an earthquake!! I experienced one while traveling in Zapopan in Mexico but not on a hiking trip – yikes! What adventures. Adding this to my bucket list. Very fun read and interesting post with a lot of great information!
Thanks Yvonne. Luckily we didn’t experience any earthquakes when we were in Mexico, but they can be super scary!
I also visited the Colca canyon and it was fantastic. I was recommended to go with an agency since going by myself could be dangerous. After looking for tour options on internet I decided to take Trek The Colca servicies https://trekthecolca.com/
Thanks for your comment Ronny, we’re glad you had a great experience visiting the Colca Canyon. We went with a guide too and it was definitely a great decision.
Hi Kitti,
Loved this blog and I’m looking into booking this trek. Please can you advise on how much it cost you? Many thanks,
Amber
Hi Amber,
Thank you for your comment. The 3-day trek via Llahuar can cost anywhere between $250-$350 depending on who you book it with. We booked it with Peruhike, but you can also complete this trek without a guide and just book your own accommodation and use colectivos to get to the trailhead. That will probably be cheaper than a guided hike. Hope this helps.
Kitti